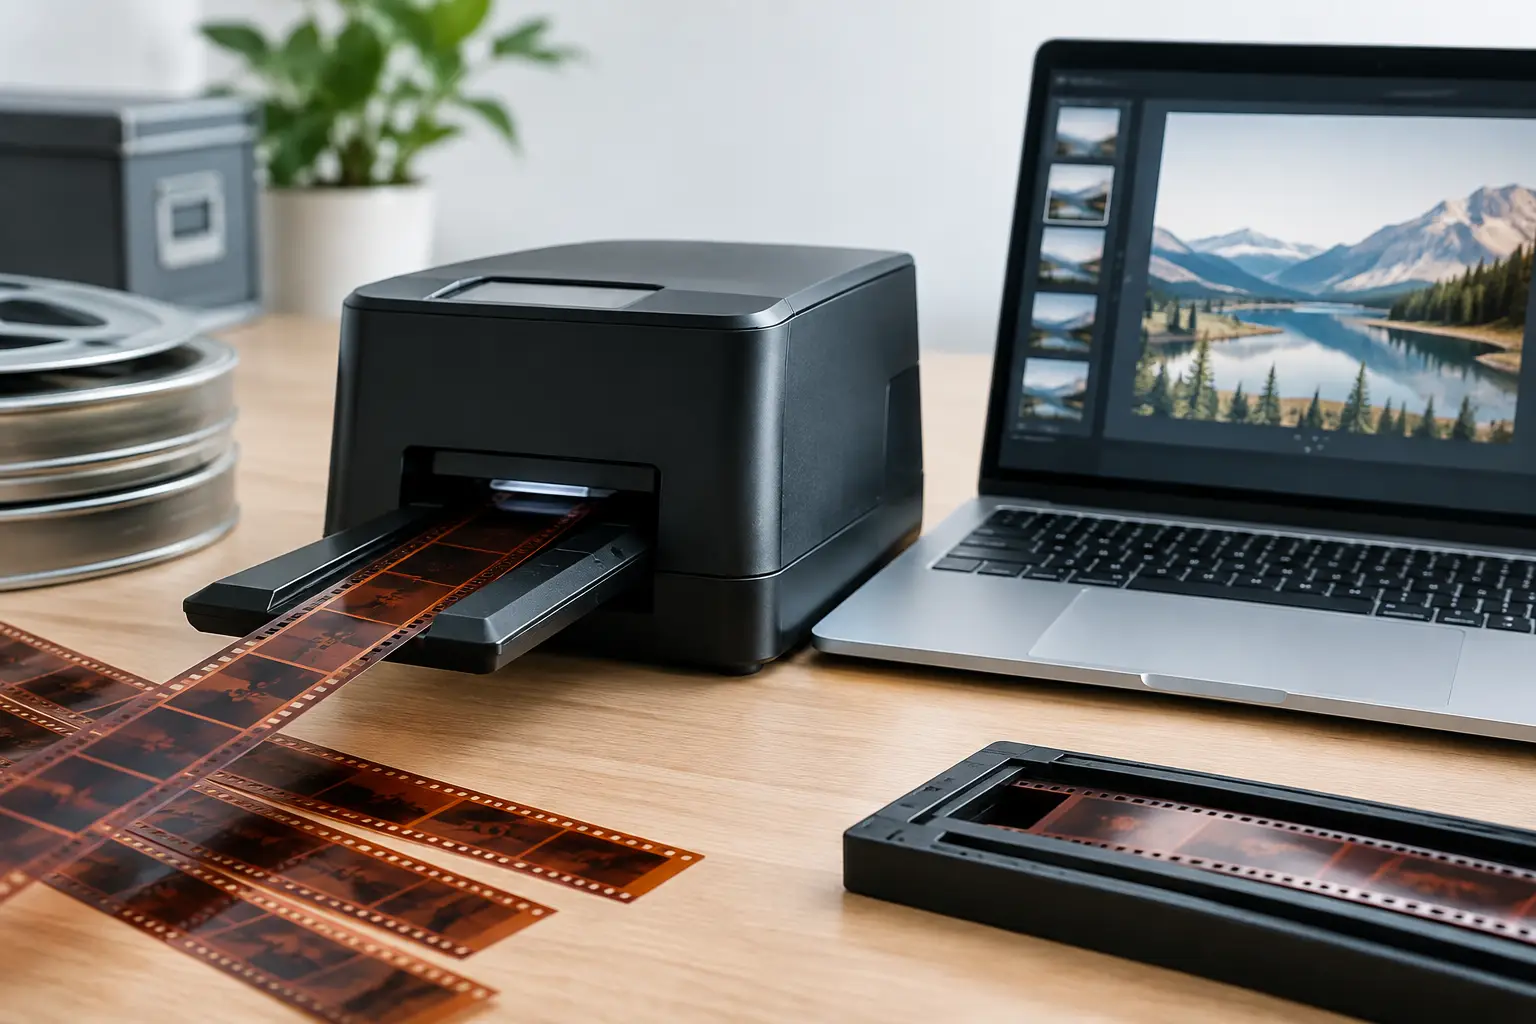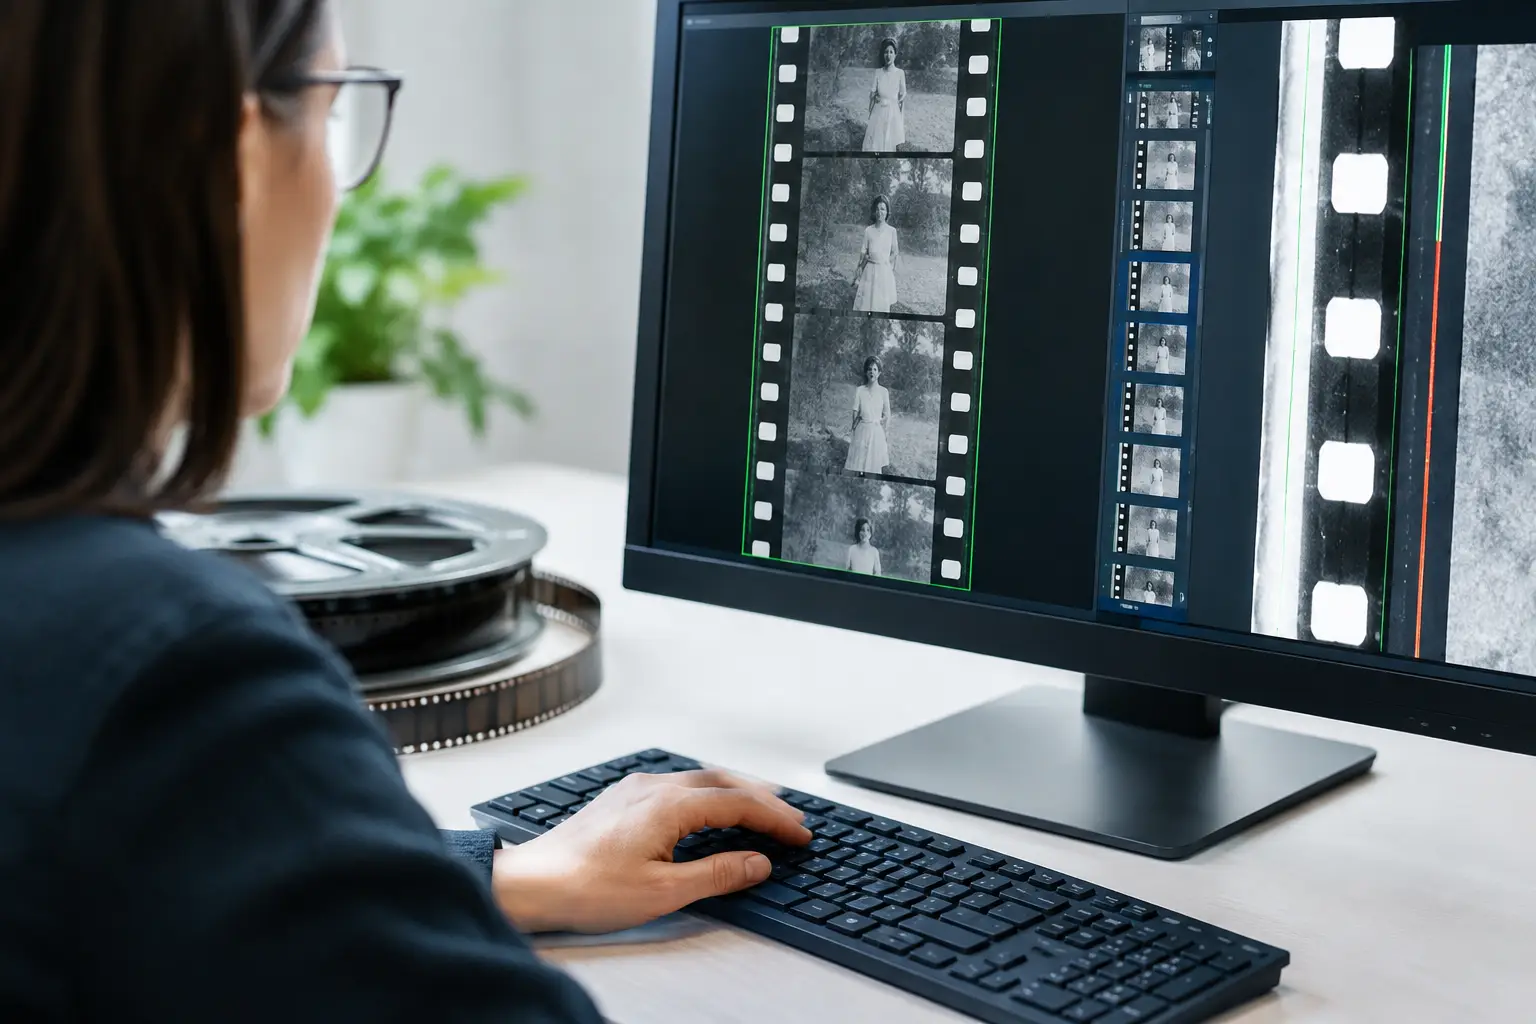
A scan can be sharp, correctly exposed, and free of obvious damage, yet still feel unusable because the image refuses to sit still. Frame drift, gate weave, vertical bounce, and subtle rotation are not merely cosmetic defects. On 8 mm, Super 8, 9.5 mm, and 16 mm footage, they can obscure composition, make titles hard to read, and turn a family archive into tiring viewing.
Perforation tracking software addresses this problem at its mechanical source. Rather than estimating camera movement from image content alone, it follows the physical reference built into the film: the sprocket perforations. When the scan includes the edge of the film and the perforations are sufficiently visible, this method can produce stable framing while respecting the motion that actually belongs in the shot.
Why scanned film moves when the scene did not
Film was never transported through a camera, projector, or scanner with perfect repeatability. Shrinkage, curl, worn perforations, splices, uneven reel tension, and scanner registration all introduce small positional changes from frame to frame. The result is often called gate weave, but the symptoms vary. A frame may wander sideways, bounce vertically, rotate slightly, or change scale as the film shifts relative to the scan area.
Conventional video stabilizers can help, especially when film edges are not present. They analyze image features such as contrast, corners, or moving objects, then calculate a compensating motion path. That approach has a limitation: a pan, handheld shot, zoom, or subject crossing the frame may be interpreted as unwanted movement. The stabilizer can then flatten intentional camera motion or create an unstable crop.
Perforation tracking starts from a different assumption. The perforation pattern is part of the physical carrier, not part of the photographed scene. By measuring its position across frames, the software can align the scan to a consistent film reference. A stationary shot stays stationary because the frame is registered to the film strip. A deliberate pan remains a pan because it exists inside the image area, independent of the tracked perforation.
What perforation tracking software actually measures
The best results come from scans that preserve enough of the film edge to show one or more perforations clearly. The software identifies recurring perforation shapes, estimates their center or edge position, and builds a frame-by-frame motion path. It then shifts, and where needed rotates or scales, each image so the perforation reference remains locked in the chosen position.
This is more demanding than simple horizontal or vertical stabilization. Different gauges use different perforation geometries and pitches. Super 8 and 8 mm require different expectations from 16 mm, while 9.5 mm presents its own central-perforation layout. A useful tool must allow the operator to define the tracking area and verify that the detected feature is truly the perforation, rather than a scratch, dust cluster, or edge flare.
Tracking is only half of the operation. Once alignment data is available, the operator needs control over how it is applied. A restoration workflow may require translation only, or it may need rotation compensation as well. It may need a locked image area for a consistent final crop, or it may preserve overscan temporarily so later cleanup does not reveal empty borders. Those choices affect both the technical result and the historical character of the footage.
Perforation lock versus image stabilization
Perforation lock is particularly valuable when the goal is repeatable frame registration. It provides a stable reference for subsequent processing, including dust removal, scratch reduction, splice cleanup, and color work. Temporal filters such as RemoveDirtMC and motion-compensated operations from MVTools2 perform more predictably when unintended frame movement has already been reduced.
Image-based stabilization still has a role. If the perforations are missing, badly damaged, hidden by the scan crop, or inconsistent due to severe shrinkage, image analysis may be the practical alternative. In some projects, the strongest result comes from a restrained combination: perforation tracking for primary registration, followed by very light image stabilization to correct residual scanner motion. The objective is not maximum smoothness. It is stable film that still looks like film.
A practical workflow for stable archival scans
Start with the scan, not the filter. Capture overscan whenever possible, including enough film edge to reveal the relevant perforations. Overscan gives the tracking engine more reliable information and provides room for stabilization movement before the final crop. It also makes it easier to inspect edge damage, warped film, and splices that may affect tracking.
Before applying correction, review several sections of the reel. Check the beginning and end, heavily worn areas, joins between reels, and scenes with strong camera motion. A clean-looking section can track perfectly while a damaged splice causes a sudden jump several minutes later. This review determines whether one tracking profile will work for the full reel or whether the material should be split into separate shots or sections.
Set the tracking region tightly around the perforation area. A region that is too wide may include frame content, edge lettering, or fluctuating exposure near the film border. A region that is too narrow may lose the perforation when the film shifts. Preview the detected path before committing to a long render. A graph or visual overlay is useful because it reveals false detections that can be hard to spot in a fast-moving preview.
Then choose the correction model conservatively. Horizontal and vertical translation resolves most gate weave. Rotation is appropriate when the scan visibly rocks from frame to frame, but aggressive rotation can amplify detection errors at damaged sections. Scale correction should be used with particular care. It can compensate for apparent size variation, yet it may introduce interpolation artifacts and inconsistent grain structure if the source does not truly require it.
Once the film is locked, crop only after confirming the maximum displacement. Stabilization creates moving edges, and an early crop can expose black borders. Keep an overscanned master through the restoration stage, then define a stable delivery aperture for the final encode. For preservation masters, retain the original overscan and export to a lossless or near-lossless format such as FFV1 where storage and workflow permit. For access copies, x264 or x265 can provide efficient delivery after the image has been finalized.
The difficult cases: shrinkage, splices, and damaged perforations
Perforation tracking is precise, but it is not magic. Shrunken film may not maintain perfectly uniform perforation pitch. Warped or curled strips can produce changing edge geometry. Torn perforations, tape splices, cement splices, and missing frames can interrupt the pattern the tracker expects to see.
These cases benefit from segmentation. Treat a damaged splice as a boundary rather than forcing one tracking path across it. A short transition can be corrected separately, or excluded from automatic tracking and adjusted manually. This is usually faster than trying to compensate for one bad section with stronger global settings that degrade the rest of the reel.
Dust can also mislead detection, particularly on high-contrast scans with dirty edges. It may be tempting to run dust removal first, but temporal cleaning before stabilization can create artifacts if adjacent frames are badly misregistered. In most cases, establish basic perforation alignment first, then apply dust and dirt reduction. If edge dirt prevents reliable detection, restrict cleanup to the tracking region or perform a minimal pre-cleaning pass designed only to clarify the perforation boundary.
Color and exposure variations create a related issue. Faded reversal film, dense underexposure, or scene changes can make the perforation edge appear inconsistent. Adjustable detection thresholds, contrast controls, and frame-by-frame preview matter here. The correct settings are not necessarily the most aggressive settings. They are the settings that continue to identify the same physical feature across the widest range of frames.
Where specialized restoration tools save time
A generic editor can stabilize footage, but it rarely treats film perforations as a first-class registration reference. That leaves the operator building workarounds, masking the edge manually, and hoping an image-based tracker does not mistake scene movement for mechanical instability.
A dedicated film restoration environment shortens that path. In AvyScan, Perfo Lock is designed for scanned film workflows, alongside stabilization, Splice Cleanup, grain reduction, color correction, and batch processing. The advantage is not simply having more filters. It is being able to build an ordered pipeline, preview its result, and reuse it across a collection without writing AviSynth+ scripts by hand.
For a service provider, repeatability is as valuable as correction quality. A saved preset for a specific scanner and gauge can establish consistent tracking regions, stabilization behavior, crop margins, and export settings. For an archivist or collector, the same structure makes it easier to return to a project months later and understand exactly how the master was produced.
Choosing the right level of correction
The strongest restoration does not erase every trace of the source medium. A 1930s 9.5 mm reel may retain slight frame variation because the film is physically distorted. A handheld Super 8 sequence should retain its intentional motion. An educational 16 mm print with a stable composition may justify a firmer lock because readability is the priority.
Judge the result at normal playback speed and on the delivery format your audience will use. A correction that looks impressive while paused can feel overly rigid when played back. Conversely, a small amount of remaining weave may be invisible on a phone but distracting on a large display. Use the perforation as a reliable reference, then make the final decision based on the image, the material, and the purpose of the restoration.
When scans preserve the film edge, perforation tracking turns a mechanical flaw into usable data. That gives the rest of the restoration pipeline a steadier foundation and lets the images, rather than the scanner's movement, hold the viewer's attention.