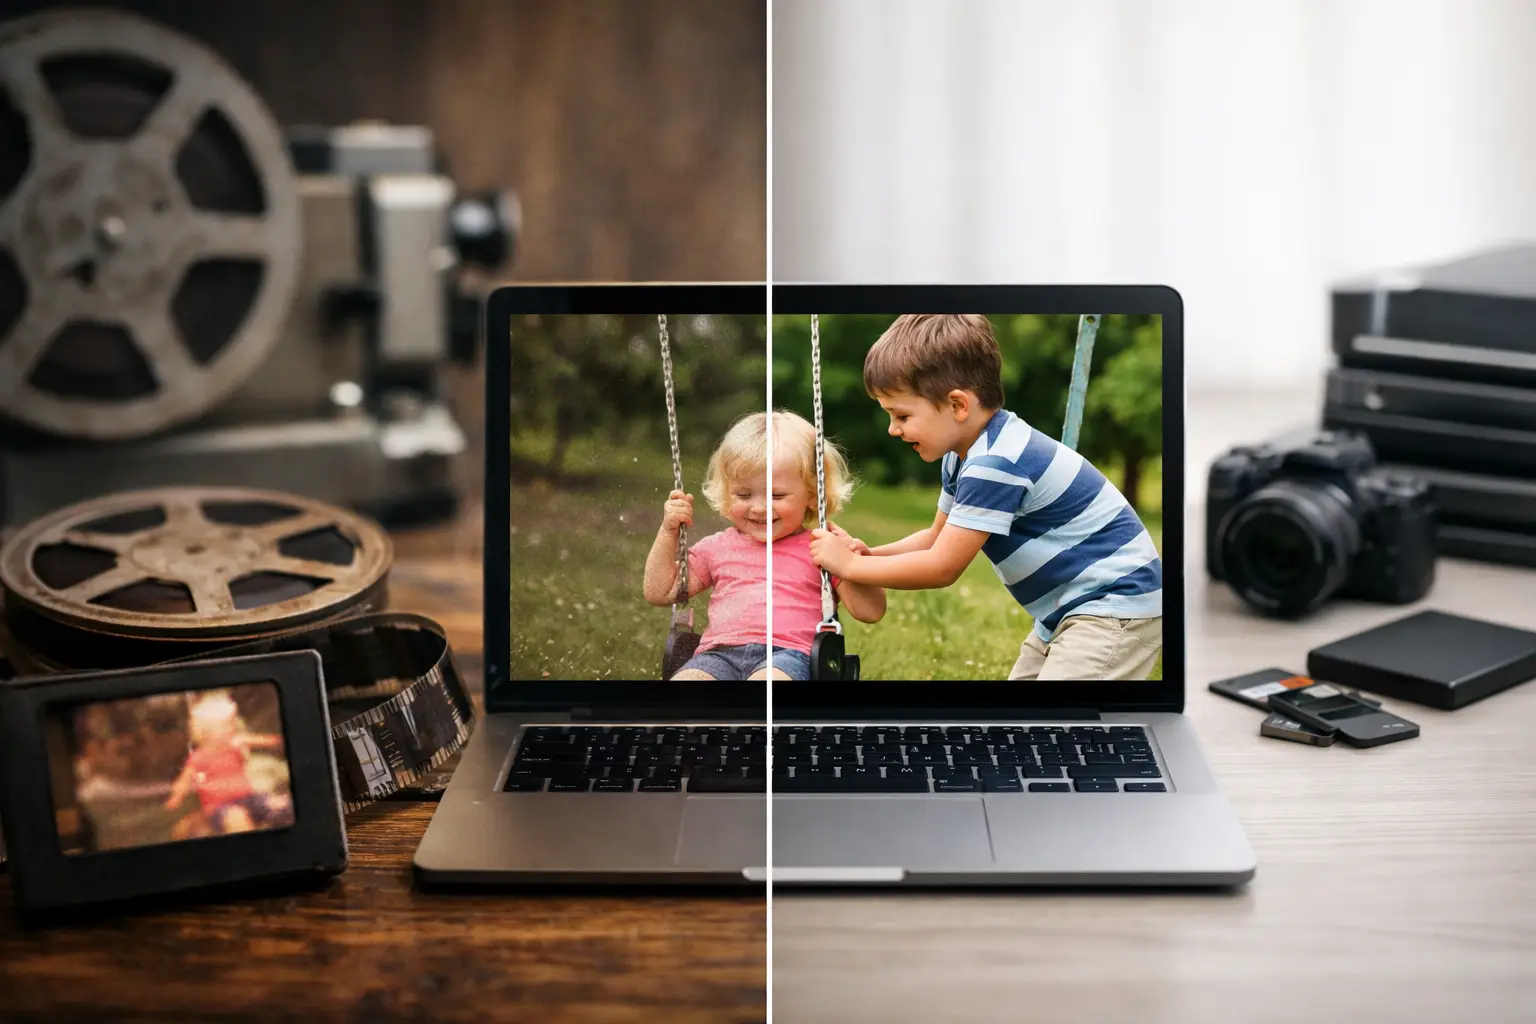
A 9.5mm scan can look deceptively clean until it starts moving. Then the format’s central perforation, worn splices, exposure variation, and decades of dust become obvious. Choosing the best tools for 9.5mm scans is therefore not just a question of resolution. The working chain must protect fragile film at capture, retain enough image data for correction, and stabilize the frame without cropping away the character of the original material.
For Pathé Baby and other 9.5mm collections, generic video workflows usually fail at the most valuable details: the perforation geometry, the full frame, and the damage patterns unique to small-gauge film. The most effective setup combines a film-safe scanner or transfer system with restoration software built to interpret scanned film as film, not as ordinary digital footage.
What makes 9.5mm scanning different
The defining mechanical feature of 9.5mm is its single central perforation, positioned between frames. That design gives the format a relatively large image area for its width, but it also changes how damage appears and how stabilization must be calculated. A stabilizer that looks only for picture edges may compensate for camera movement while leaving registration jitter intact. One that tracks the perforation can establish a much more reliable frame reference, provided the scan includes enough of the film edge or perforation area.
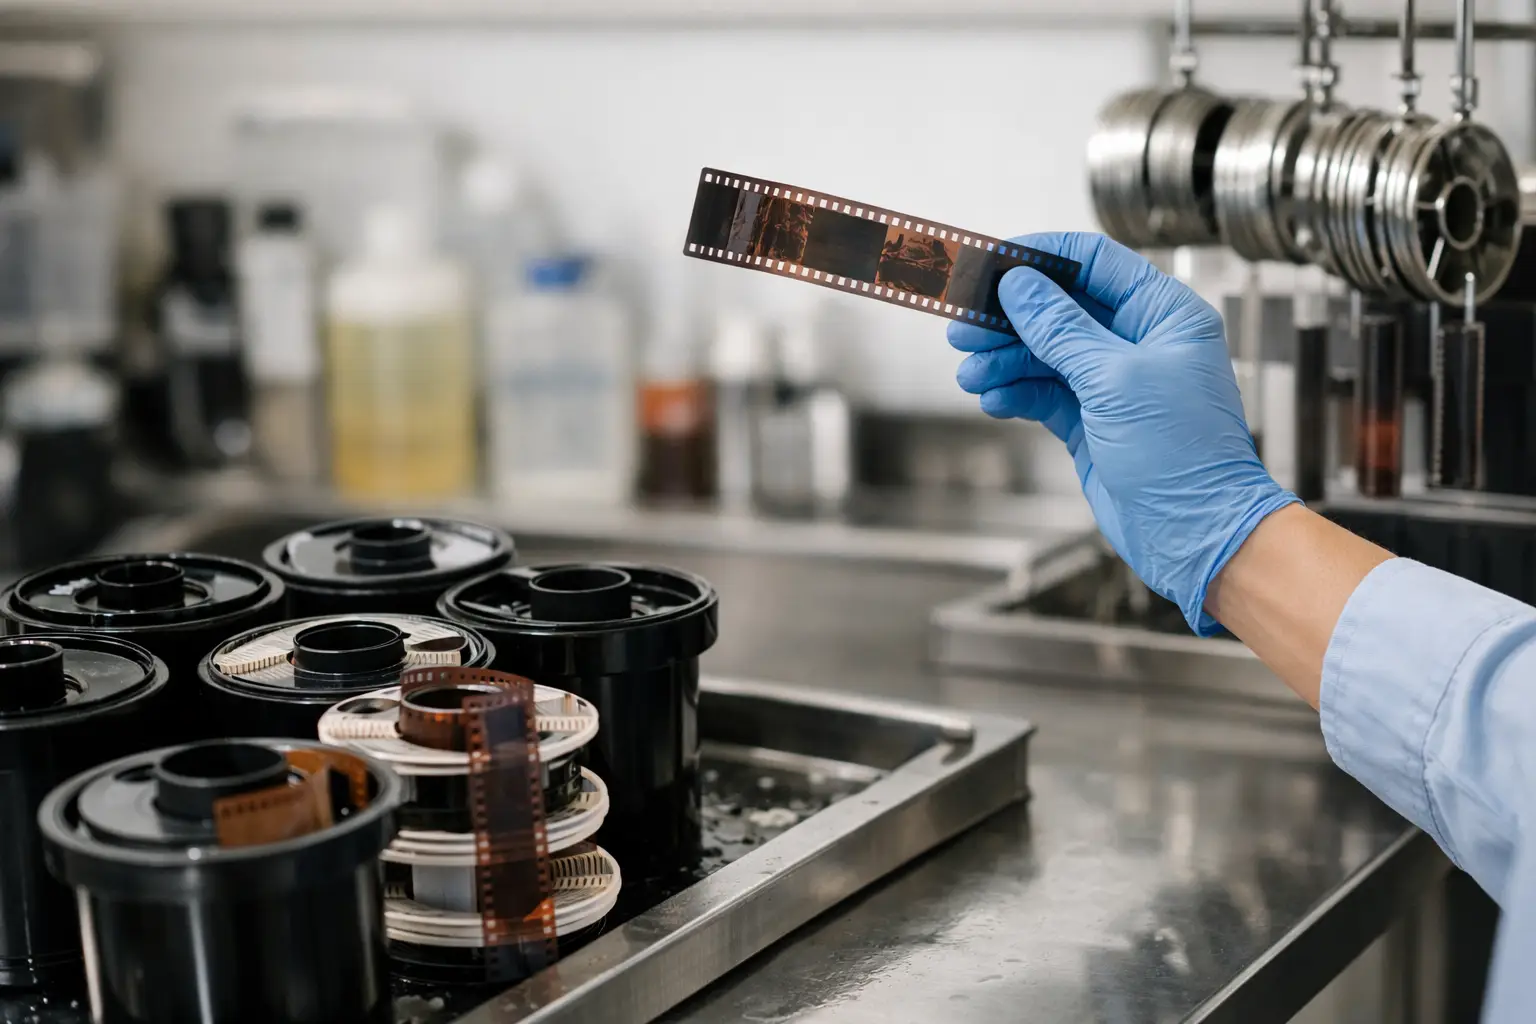
Old 9.5mm stock also deserves conservative handling. Shrinkage, curl, brittle cement splices, warped leaders, and torn perforations are common. A high-speed transport with excessive tension can cause more harm than the scan is worth. Before capture, inspect reels on a rewinder, repair only the splices that genuinely threaten transport, and remove loose surface debris with film-safe methods. Do not treat cleaning as a substitute for digital restoration. Physical cleaning reduces what reaches the scanner; restoration corrects what remains without repeatedly handling the reel.
Resolution matters, but bit depth and compression matter just as much. A scan intended for color recovery or dust removal should retain highlight and shadow information before it is squeezed into a delivery codec. If the source and budget permit it, capture to a high-quality intermediate or image sequence. A heavily compressed H.264 file may be convenient for review, but it is a poor master for denoising, color work, and repeated exports.
The best tools for 9.5mm scans work as a chain
There is no single best tool for every archive. A family reel with modest fading needs a different approach from a shrunken commercial print with damaged splices and a soundtrack. The useful question is not “Which program fixes everything?” It is “Which tools preserve the most information at each stage and give the operator control when the material behaves badly?”
1. A transport designed for fragile small-gauge film
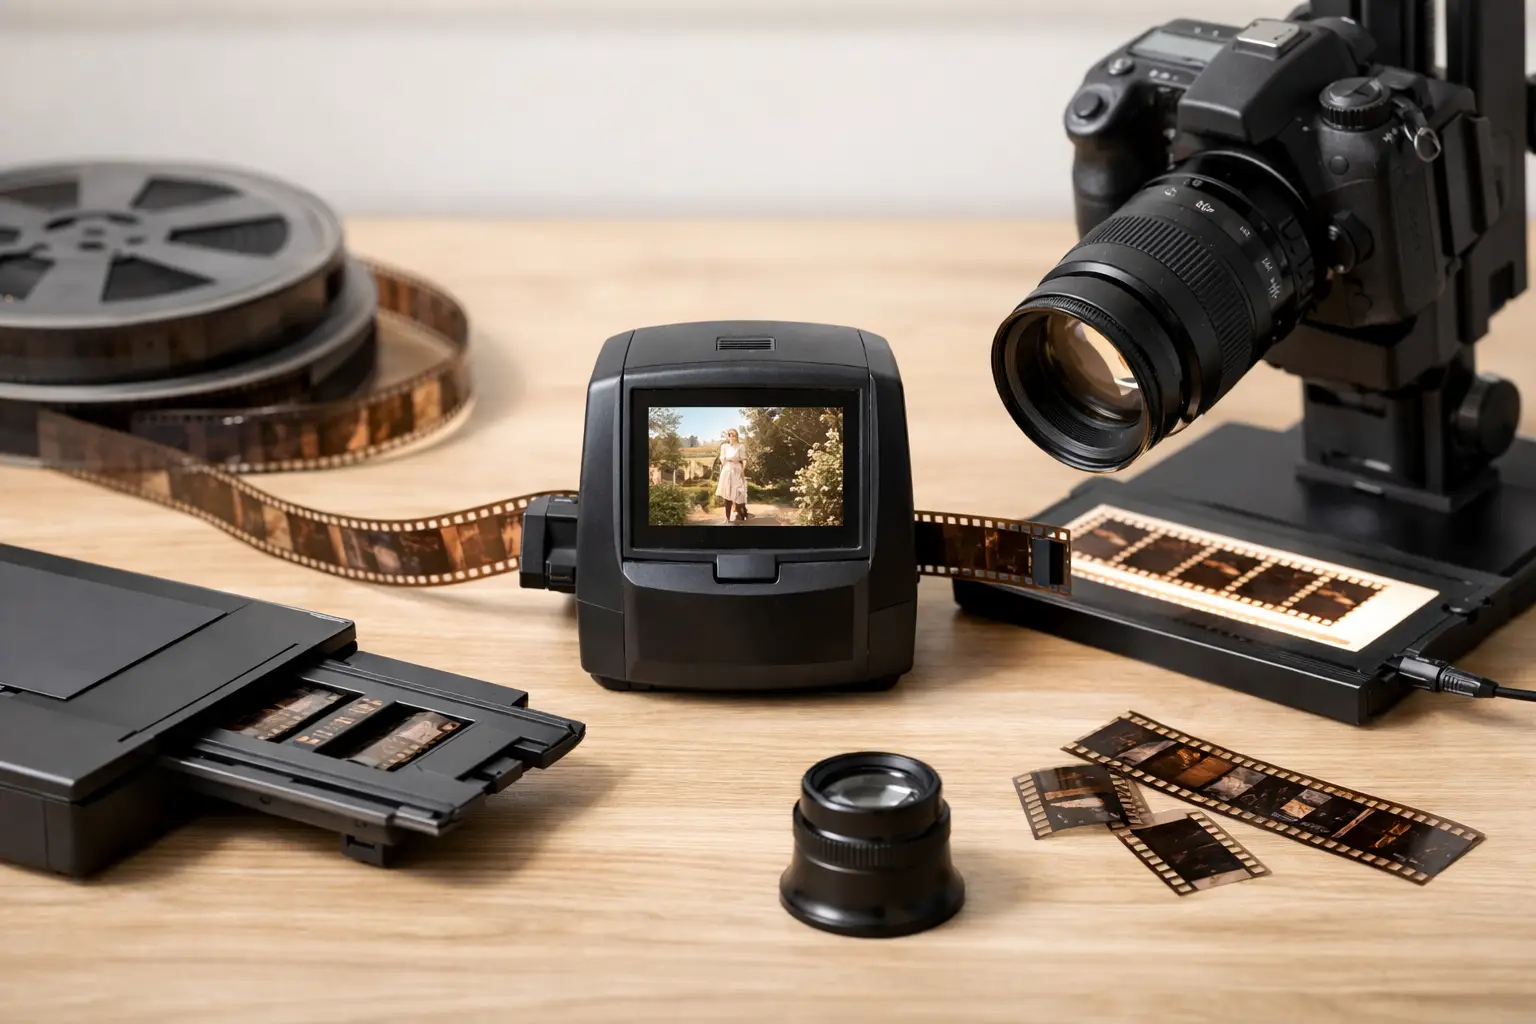
The first tool is the capture system itself. Look for gentle film transport, adjustable tension, stable frame registration, and a path that tolerates imperfect splices. Sprocketless or capstan-based transport can reduce stress on compromised perforations, although it does not eliminate the need for careful inspection. A system that scans beyond the visible picture area is especially valuable for 9.5mm because it preserves the central perforation reference needed later for stabilization.
Avoid judging a scanner solely by its advertised resolution. An oversized but soft image is less useful than a sharp, evenly illuminated scan with consistent registration. Ask whether the system holds focus across a curled film plane, how it handles exposure changes, and whether it produces files with sufficient bit depth for restoration. If a provider cannot explain its output codec, color sampling, or framing policy, request a test clip from a difficult reel before committing an archive.
2. Inspection and repair tools that prevent capture failures
A rewinder pair, inspection light, splicer appropriate to the stock, leader, and archival film containers are not glamorous purchases, but they prevent the most expensive problems. Use inspection to identify buckled splices, torn center perforations, and sections that may require slower transport or separate handling. Keep notes by reel and footage range. Those notes become useful when a defect seen during restoration must be traced back to a physical issue.
Repair with restraint. Every splice is an intervention, and excessive trimming can remove original frames. The goal is a reel that can pass safely through the capture path, not a reel that looks cosmetically new. If the film is severely shrunken, has active vinegar syndrome, or tears under minimal tension, stop and consult a specialist rather than forcing a scan.
3. Film-aware stabilization software
Stabilization is where 9.5mm footage often changes from distracting to watchable. The correct tool should offer a way to stabilize from the perforation or registration area, then allow the picture crop to be set independently. This separates mechanical correction from creative reframing. It also prevents the common result of a stabilized image that has lost the edge detail or framing chosen by the original filmmaker.
Perforation tracking is not always appropriate. If the center perforation is torn, obscured, or inconsistently scanned, a mixed strategy may work better: stabilize the reliable sections by perforation and use motion-based stabilization only for the failures. Evaluate the result shot by shot. Excessive stabilization can create a floating image, distort motion, or magnify missing-frame artifacts.
AvyScan Lab addresses this specific stage with Perfo Lock, which uses the film’s perforation structure as a registration reference while keeping the restoration workflow accessible through a Windows interface rather than manual AviSynth+ scripting.
4. Temporal dirt and grain processing with controls
Dust removal should be temporal and selective, not a blur applied to every frame. A good tool compares adjacent frames to identify transient dirt while protecting stable picture information. Filters such as RemoveDirtMC can be highly effective when configured with motion compensation, but aggressive settings can erase fine texture, small facial details, and film grain that belongs to the image.
Grain reduction needs the same discipline. Grain is not automatically damage. Fine-grained black-and-white material may need almost no reduction, while a heavily underexposed color reel may benefit from carefully limited temporal processing. Work from short representative segments: a well-exposed shot, a dark interior, a high-motion scene, and a section with visible dirt. If one setting does not work across all four, treat the reel in sections rather than accepting a compromised global filter.
Splice cleanup is another specialized requirement. A splice can introduce a flash frame, exposure jump, vertical bump, or brief frame displacement. The best restoration tools let you isolate that event and correct it locally. Trying to solve every splice with a global stabilization or denoising setting usually damages more footage than it repairs.
5. Color correction and archival encoding tools
Color correction should begin after major registration and dirt issues are under control. Faded 9.5mm color stock often has strong red, cyan, or yellow bias, but a global white-balance correction can make skin tones and neutral objects worse in scenes shot under mixed light. Use scopes when available, compare neighboring shots, and preserve the intent of the original exposure instead of forcing every scene toward the same neutral palette.
For preservation, keep a restoration master separate from viewing copies. A lossless or near-lossless master such as FFV1 is a practical choice for long-term storage when supported by the archive workflow. For high-quality production interchange, consider an appropriate 4:2:2 or 4:4:4 intermediate based on the source scan. H.264 and H.265 are useful delivery codecs, especially for sharing, but they should not be the only surviving version of a restored reel.
A practical selection test before you buy
The best way to evaluate tools is with the worst minute of your film. Choose a segment containing a splice, visible dust, perforation instability, a color shift, and camera movement. Run the same sample through each proposed workflow. Check whether the image stabilizes without excessive crop, whether dirt removal preserves motion detail, whether color correction holds shadow information, and whether the export can be reopened without visible degradation.
Also measure labor, not just visual output. A tool that produces a marginally cleaner frame but requires manual scripting or repeated render passes may be unsuitable for a collection of dozens of reels. Conversely, a simple automatic tool may be ideal for reference copies but insufficient for a preservation master. The right choice depends on the condition of the film, the scale of the archive, and how much intervention the material can tolerate.
Treat every 9.5mm scan as a preservation decision, not merely a conversion job. When capture retains the perforation area, restoration remains controlled, and archival masters are protected from delivery compression, even a damaged reel can keep its original cadence, framing, and memory for the next viewing.