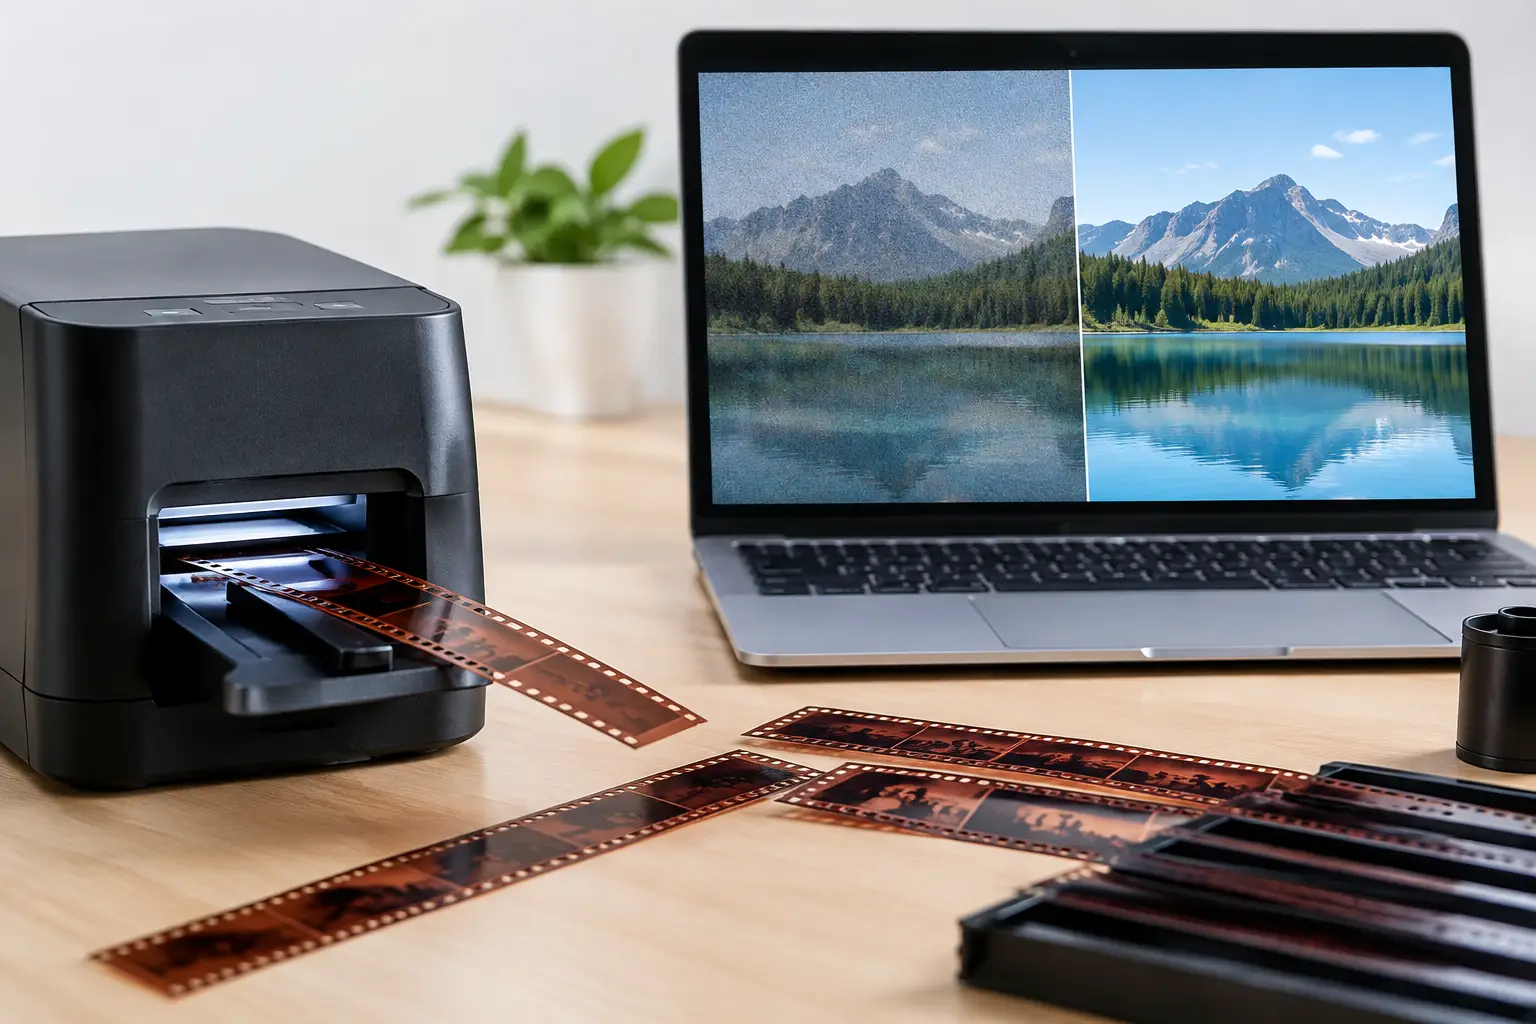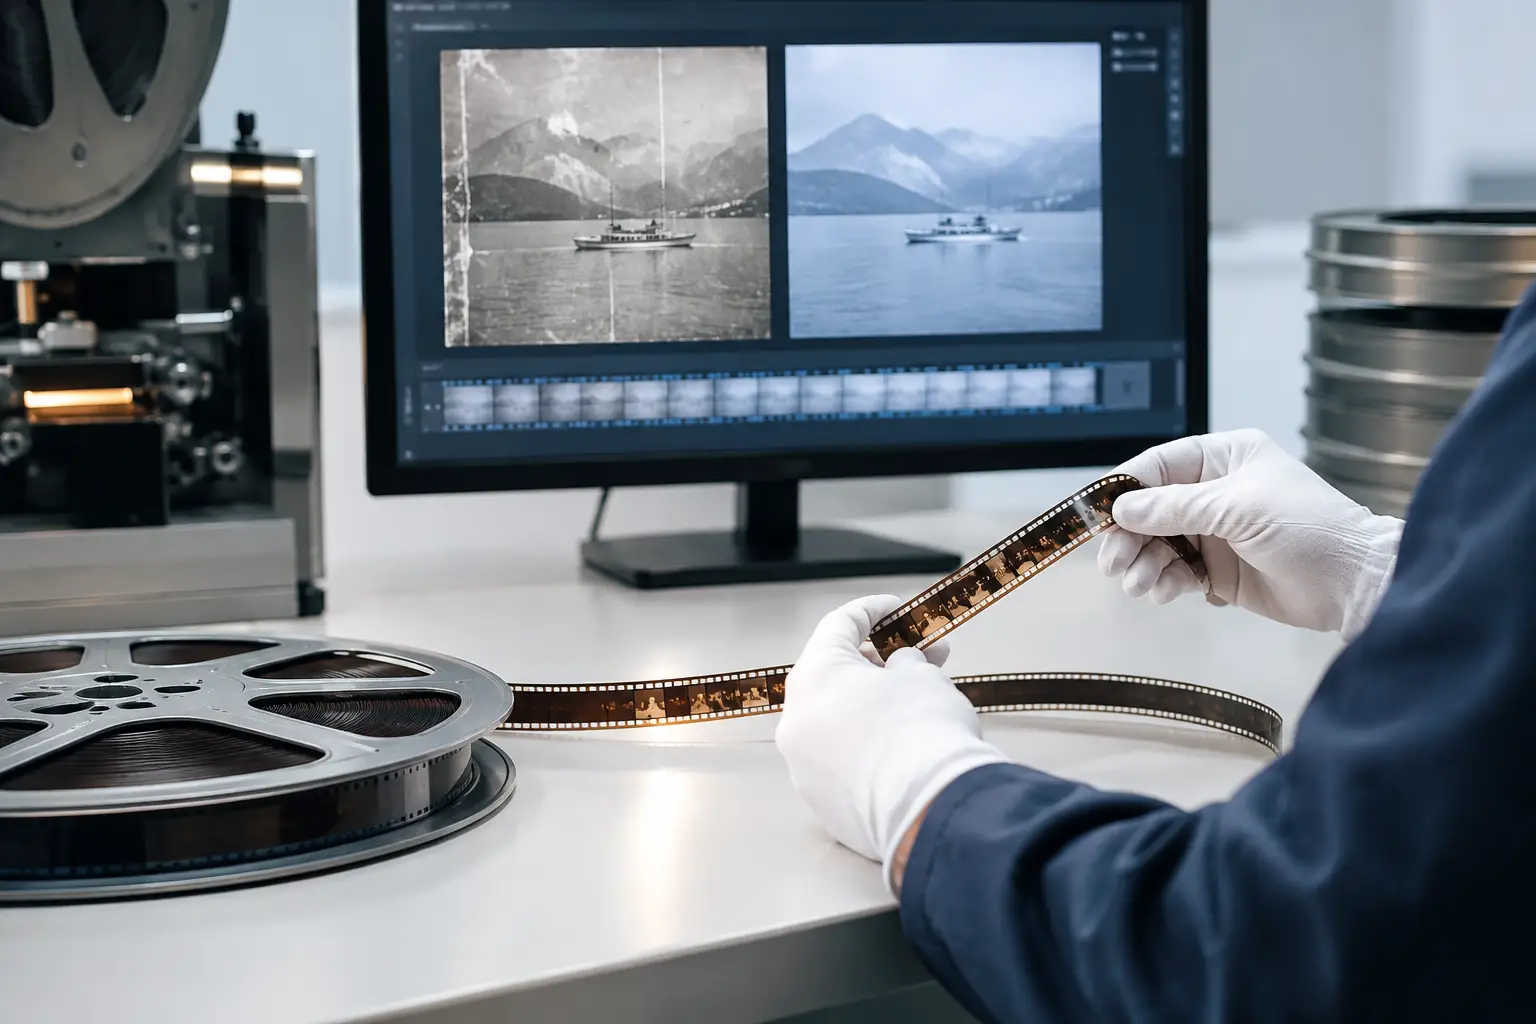
A scan can be sharp, correctly exposed, and free of major dust, yet still feel impossible to watch because the image jumps slightly from frame to frame. Learning how to correct film jitter means separating normal camera movement from mechanical instability, then stabilizing only the motion that does not belong in the picture. For 8mm, Super 8, 9.5mm, and 16mm material, that distinction protects both the character of the original film and the usable image area in the scan.
Film jitter is not one defect. It is a family of registration problems caused by the original camera, the projector or telecine transport, physical film damage, shrinkage, splices, and imperfect scanning. A reliable correction workflow begins with diagnosis, not with an aggressive stabilizer preset.
What Film Jitter Actually Looks Like
Jitter is usually visible as a rapid horizontal, vertical, or rotational movement of the entire frame. The motion may be only one or two pixels, but on a high-resolution scan it becomes distracting, particularly around titles, door frames, horizons, and other stable edges.
The most common form is vertical weave. Each frame sits slightly higher or lower than the previous one because the film was not held in exactly the same position during capture. Horizontal weave is less common but often appears with shrunken stock, damaged sprocket holes, or transport systems that pull inconsistently. Rotation can occur when a warped strip enters the gate at a slight angle.
Do not confuse this with intentional movement. Handheld home movies naturally sway, pan, and reframe. A stabilizer that tries to hold every shot perfectly still can make people appear to float against an unnaturally locked background. It can also create edge warping, excessive crop, and unstable detail in textured scenes. The objective is stable film registration, not a frozen camera.
Diagnose the Source Before You Stabilize
First, inspect a short representative section at 100% viewing size. Choose a scene with a static feature near the image edge, such as a building, table edge, or title card. Step through ten to twenty frames. If that feature shifts while the composition should remain stable, you are looking at transport or registration jitter.
Then check whether the behavior repeats across the reel. Consistent one-direction movement often points to the scan transport. Sudden jumps concentrated around joins point to splices. Irregular movement that worsens in one section may indicate shrunken, curled, torn, or poorly repaired film.
Frame cadence needs its own check. A transfer captured at the wrong rate can look jerky, but it is not necessarily positional jitter. Duplicated or dropped frames, an incorrect 16 fps to 24 fps conversion, and poorly handled variable-speed footage require cadence correction rather than image stabilization. Stabilizing a cadence problem may hide it briefly while introducing new artifacts.
Also inspect the scan borders if they are available. Visible perforations, frame lines, or overscan provide direct evidence of what the film is doing in the gate. They are often more reliable tracking references than the photographed image itself, especially in scenes with fast camera motion, zooms, smoke, water, or grain-heavy low-light footage.
How to Correct Film Jitter With Perforation Tracking
For sprocketed formats, perforation-based stabilization is usually the most accurate method. Instead of estimating motion from the picture content, the software follows the physical reference that defines where each frame belongs: the perforation or, depending on the scan, the frame boundary.
This approach is particularly effective for Regular 8, Super 8, 9.5mm, and 16mm scans where image-based tracking may mistake camera movement for gate movement. A perforation does not pan with the scene. It is part of the film strip, so it provides a stable mechanical reference.
A typical workflow starts by importing an overscanned source or a scan that retains enough border for perforation detection. Define the perforation area, preview the tracking result, and verify that the tracked point remains attached to the same physical feature through the shot. The correction should then shift and, if necessary, rotate each frame to maintain consistent registration.
AvyScan Lab provides this type of film-specific workflow through Perfo Lock, allowing stabilization to be based on the actual transport reference rather than generic image motion alone. That matters when restoring amateur footage, because a family scene often contains exactly the movement a conventional stabilizer is designed to remove: panning, handheld framing, and subject motion.
Perforation tracking is not automatic in every case. Heavy dirt near the sprocket area, missing perforations, torn edges, and splices can interrupt detection. In those sections, use a correction that can tolerate temporary tracking loss, or divide the clip into clean segments. A few separate stabilized sections are generally safer than forcing one tracking pass across damaged film.
Use Image-Based Stabilization When the Border Is Missing
Many consumer scans arrive already cropped to the image area. If there is no visible perforation or frame edge, image-based stabilization is the practical alternative. It analyzes contrast features within the picture and estimates unwanted frame-to-frame displacement.
Choose a tracking region with stable structure whenever possible. Architecture, stationary furniture, distant landscapes, and title cards are useful references. Avoid faces, vehicles, water, foliage, smoke, and moving crowds. These features can produce a motion estimate that follows the subject rather than the film.
For difficult footage, limit the correction to translation first. Horizontal and vertical stabilization often removes the most objectionable weave without the image deformation associated with rotation, scale, or perspective correction. Add rotation only when the entire frame visibly rocks. Scale and perspective correction should be rare for scanned film unless the capture system introduced those distortions.
Set Conservative Correction Limits
Stabilization is a measured trade-off between steadiness, image area, and artifact control. Every shifted frame creates an empty edge that must be cropped, filled, or synthesized. The more correction you allow, the more the final frame may need to be enlarged.
Start with a modest stabilization range and preview several different shots. Look beyond the center of the frame. Edges reveal whether the crop is breathing, whether detail is being resampled too aggressively, and whether a stabilized shot still feels natural. A stable title card can tolerate stronger correction than a handheld birthday scene.
Use smoothing carefully. Frame-to-frame correction can eliminate rapid weave, while temporal smoothing determines how gradually the correction changes over time. Too little smoothing leaves visible twitching. Too much smoothing can lag behind real changes in the film path, causing a rubbery response after a splice or abrupt camera movement.
If the software offers crop controls, set a fixed crop after you have measured the maximum needed correction. A fixed crop produces consistent framing. Adaptive crop can preserve more image area but may create subtle edge movement that viewers notice on static scenes. For archival work, a small, predictable crop is often the better choice.
Treat Splices as Separate Restoration Events
Splices are mechanical discontinuities. Even a well-made cement or tape splice can change film alignment, thickness, or frame position as it passes through a scanner. A stabilizer may interpret that single abrupt jump as camera movement and attempt to compensate over several frames.
Inspect each splice at frame level. If it produces a brief jump, split the clip before and after the splice, stabilize each side independently, then rejoin them. If the splice itself is visibly damaged, use a dedicated splice cleanup process before or alongside stabilization. The goal is not to invent missing image information, but to prevent one flawed transition from destabilizing the surrounding footage.
This is also where temporal dirt removal needs restraint. Tools such as RemoveDirtMC can be effective on isolated dirt and scratches, but heavy temporal filtering on poorly stabilized footage may confuse motion estimation. Establish stable registration first, then apply grain, dirt, and scratch treatments while checking fine detail at full resolution.
Preserve Motion, Grain, and Sound Sync
Film grain is not jitter. Fine grain moves naturally from frame to frame, and overly aggressive grain reduction can make stabilization artifacts more visible by turning textured areas into smooth, shifting surfaces. Stabilize first, evaluate the result, then apply the lightest grain treatment that achieves the intended presentation.
Keep the original frame rate and duration intact unless you are deliberately performing a frame-rate conversion. For magnetic or optical sound films, any dropped, duplicated, or retimed frames can affect sync. Positional stabilization should not alter timing, but clip splitting and reassembly must preserve the exact frame count.
For preservation masters, export a high-quality intermediate or archival format before producing delivery files. FFV1 is a strong option for lossless archival delivery, while ProRes-type intermediates and carefully configured x264 or x265 encodes can serve editing and viewing workflows. Avoid judging jitter only from a heavily compressed preview, since compression can create its own shimmer around edges.
Validate the Result Shot by Shot
The final check is visual, not numerical. Watch the corrected footage at normal speed, then inspect a few key shots frame by frame. Titles should sit calmly. Vertical lines should no longer twitch. Handheld shots should still feel handheld, and camera pans should retain their original direction and speed.
If the image looks technically stable but emotionally wrong, reduce the correction. The best restoration does not announce its processing. It lets the viewer see the event on the film rather than the limitations of the film transport.