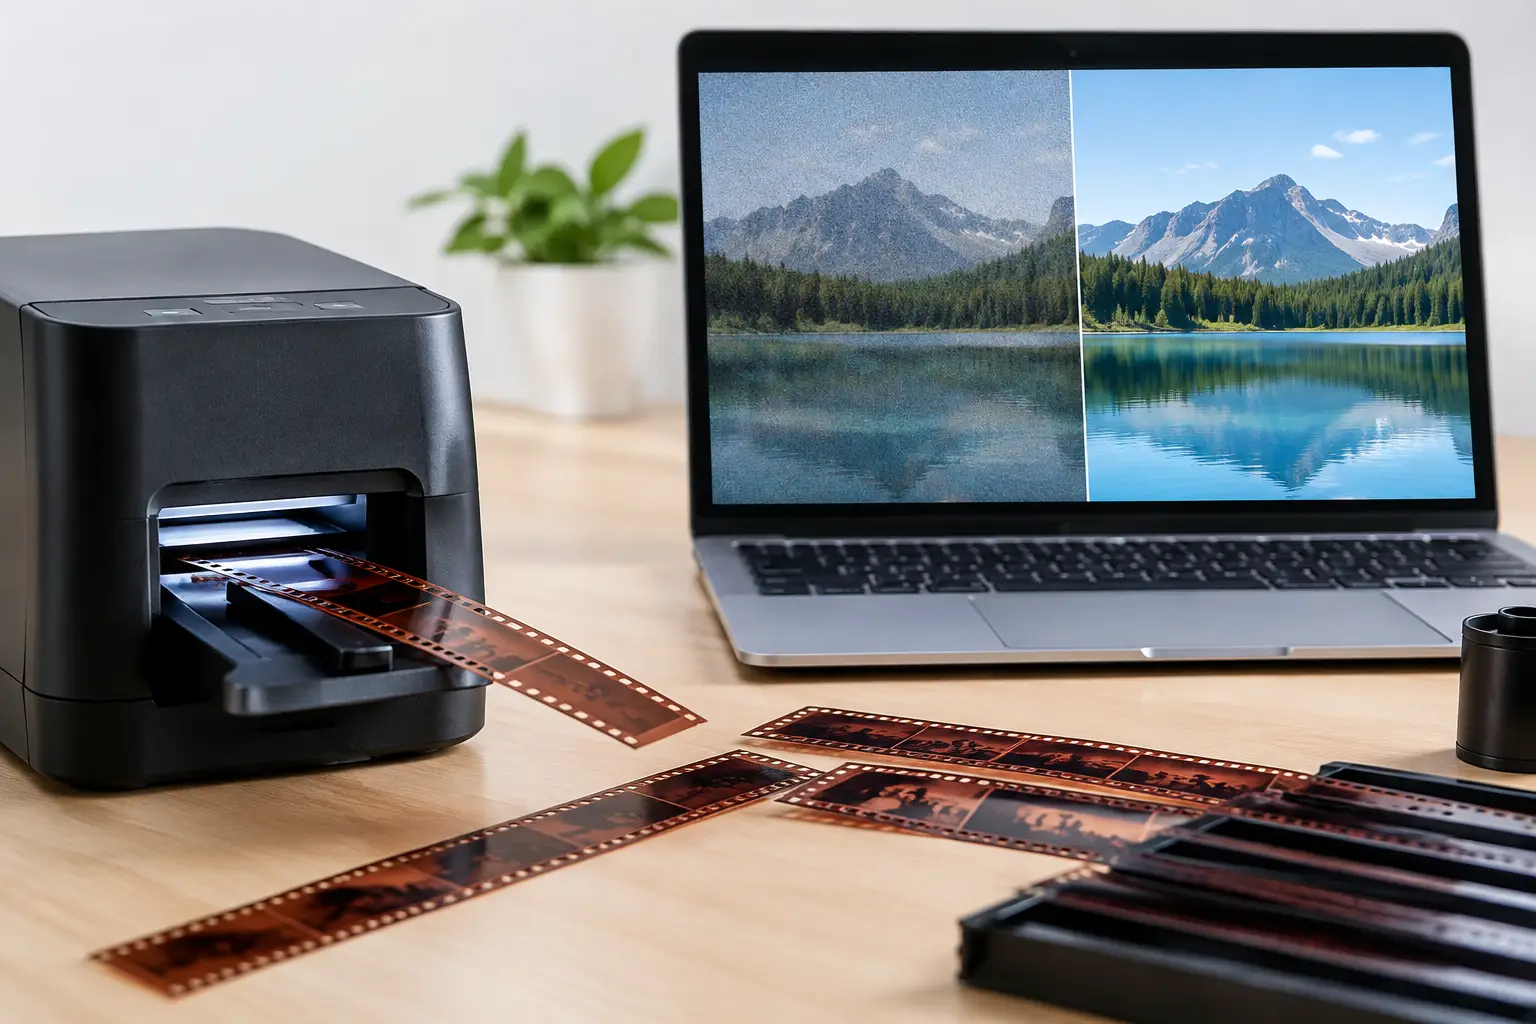
A scan can look clean, stable, and properly exposed yet still fail its archive if the film scan resolution was chosen for a delivery format rather than for the image recorded on the frame. This is common with small-gauge collections: the transfer is made for immediate viewing, then years later the same footage needs dust removal, reframing, color work, or a new master. At that point, pixels that were never captured cannot be recovered.
Resolution is not a contest for the largest number on a scanner specification. It is a decision about how much of the film image, grain structure, edge detail, and restoration latitude should survive the digitization stage. The right choice depends on gauge, stock, optical quality, physical condition, intended restoration, and the formats you expect to deliver in the future.
What film scan resolution actually measures
For motion picture film, resolution is best understood as the pixel dimensions captured across each frame. A 2K scan is commonly about 2,048 pixels wide, while a 4K scan is commonly about 4,096 pixels wide. However, those labels do not define a single universal image size. One scanner may include frame lines and a larger overscan area; another may crop tightly to the exposed image. Aspect ratio, perforation capture, and stabilization method also affect the resulting dimensions.
This is why DPI alone is a poor way to compare motion-picture scanning. DPI can be useful for still photographs, but film restoration works frame by frame. What matters is the scanned pixel count over the actual image area, the scanner's optical performance, and whether registration remains stable from frame to frame.
A larger file does not automatically contain more useful picture information. If the scanner optics are soft, focus is inconsistent, or the original amateur footage was shot slightly out of focus, 4K can produce a larger representation of softness. Conversely, a properly focused scan with good dynamic range and stable transport gives restoration tools a much better source, even before any filtering begins.
Resolution by gauge: 8 mm, Super 8, 9.5 mm, and 16 mm
Small-gauge film has a much smaller image area than 35 mm, but it should not be dismissed as inherently low-resolution. A well-exposed Super 8 reversal film can hold surprisingly fine detail. A 16 mm original, especially one made with a good lens and low-grain stock, can justify a more demanding scan and restoration workflow.
Standard 8 mm has an image area of roughly 4.9 by 3.7 mm. Super 8 expands that area to roughly 5.7 by 4.2 mm by using a smaller perforation. The practical difference is visible: Super 8 often benefits more from a high-quality 2K scan and can sometimes reward 4K capture when the source is sharp, valuable, or likely to be reframed.
The 9.5 mm format has its own geometry and central perforation. Its image area is larger than most 8 mm variants but its condition can vary widely, particularly in older collections. Capture enough overscan to inspect the frame boundary and perforation behavior when stabilization is planned. A tight crop may make a scan look finished, but it can remove the reference information needed for reliable mechanical correction.
Regular 16 mm has substantially more image area, approximately 10.3 by 7.5 mm for the camera aperture. For original 16 mm material, 2K is often a sensible minimum for preservation-oriented work, while 4K is appropriate for sharp originals, high-value collections, heavy restoration, visual effects work, or future distribution requirements. Reduction prints, duplicate elements, and faded or heavily worn footage may not reveal additional scene detail at 4K, but the added sampling can still help document damage and film texture.
When 2K is the practical choice
A quality 2K scan is not a compromise by default. For many 8 mm and Super 8 home-movie collections, it captures the meaningful detail present in the source while keeping storage, processing time, and batch workflows under control. It is particularly effective when the final deliverable is HD, when restoration is moderate, and when the source has visible grain, limited lens sharpness, or prior generational loss.
2K also gives room to stabilize a frame, correct small framing errors, and create a clean 1080p export without immediately sacrificing image detail. If a Super 8 frame needs a modest crop to remove edge damage or an unstable border, starting above HD avoids making that correction destructive.
For service providers handling large collections, 2K can be the most efficient master format when paired with a high-bit-depth, low-compression or lossless intermediate. The key is not merely to create a 2K file, but to retain enough tonal information for color correction and enough image area for the restoration steps that follow.
When 4K earns its storage cost
4K is most valuable when it preserves options rather than simply increasing file size. It is a strong choice for original 16 mm, unusually sharp Super 8, rare 9.5 mm footage, camera originals that may be reframed, and archives where a rescan would be difficult or impossible. It is also useful where physical defects need close analysis.
Dust spots, emulsion scratches, splice flashes, and gate movement occupy more pixels in a 4K scan. That does not make them worse, but it gives temporal and spatial filters more precise information to distinguish a defect from genuine picture detail. Grain management can also be more controlled when it begins with adequate sampling. The objective is not to erase grain, which is part of the film record, but to reduce distracting noise without smearing fine texture or faces.
There are real trade-offs. A 4K frame contains about four times as many pixels as a 2K frame. That affects disk capacity, decode speed, preview performance, render time, and the memory required by filters that compare multiple frames. If the intended output is 1080p and the source is a soft 8 mm duplicate, the extra overhead may not produce a visible benefit.
Scan resolution is only one part of the master
Pixel dimensions cannot compensate for clipped highlights, crushed shadows, incorrect color balance, or an 8-bit source that breaks apart during grading. A preservation-minded scan should consider resolution alongside bit depth, color sampling, and compression.
For restoration, a high-bit-depth source provides smoother room for exposure and color correction. Chroma 4:2:2 or 4:4:4 may be justified when color detail is significant, particularly on faded color reversal stock or material with strong colored edges and titles. For an archival intermediate, a lossless codec such as FFV1 can protect the processed master from generation loss. Delivery copies can then be encoded separately with x264 or x265 according to the intended platform.
The scan should also retain a little more image than the final framing requires. Edge information can be useful for perforation-based stabilization, frame alignment, and diagnosing gate weave. After Perfo Lock or another mechanical stabilization method has established a stable image, the final crop can be applied deliberately rather than guessed at during capture.
Plan resolution around the restoration workflow
Before scanning, define whether the file is an access copy, a restoration source, or a long-term master. These are different jobs. An access copy can be optimized for easy playback. A restoration source needs enough resolution and tonal data to withstand processing. A long-term master needs both, plus a codec and storage plan that will remain usable.
For difficult footage, preserve the source scan before applying cleanup. Then use a separate restoration workflow for dust and dirt removal, splice cleanup, stabilization, grain reduction, color correction, and encoding. Temporal filters such as RemoveDirtMC and motion-compensated processing with MVTools2 can produce excellent results, but their settings must respect the scan's grain, movement, and damage pattern. Overaggressive cleanup at any resolution can erase fine details that no higher-resolution master will restore.
AvyScan Lab is designed around this distinction: a visual pipeline can apply specialized film restoration operations while keeping the source, preview, processing parameters, and export decisions under direct control. Resolution should enter that pipeline as a deliberate capture choice, not as a number selected after the scan is complete.
A practical decision rule
Choose 2K when the source is typical 8 mm or Super 8, the required delivery is HD, storage efficiency matters, and no major reframing is anticipated. Choose 4K when working with original 16 mm, exceptional small-gauge footage, rare material, uncertain future uses, or restoration work that needs the extra margin for analysis, stabilization, and cropping.
If budget allows only one improvement, prioritize the quality and stability of the scan before chasing a larger pixel count. Accurate focus, even illumination, careful handling, consistent frame registration, and a high-bit-depth capture will protect more of the film's character than an inflated resolution label. Scan the frame you need today, but keep enough of it to respect the work someone may need to do ten years from now.