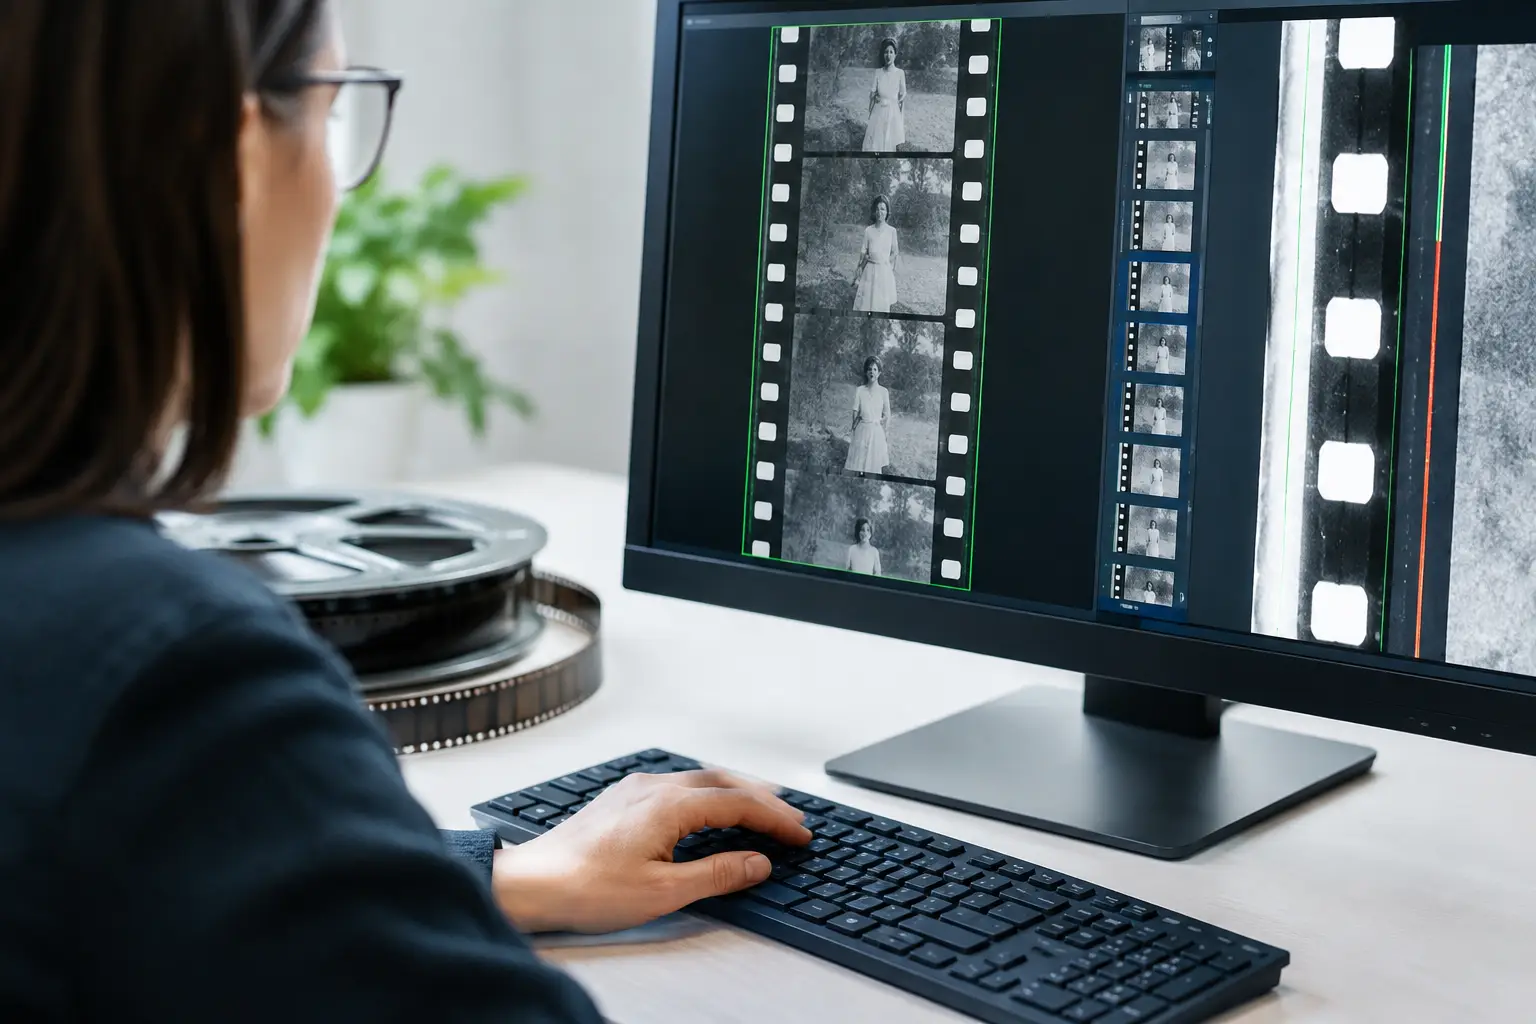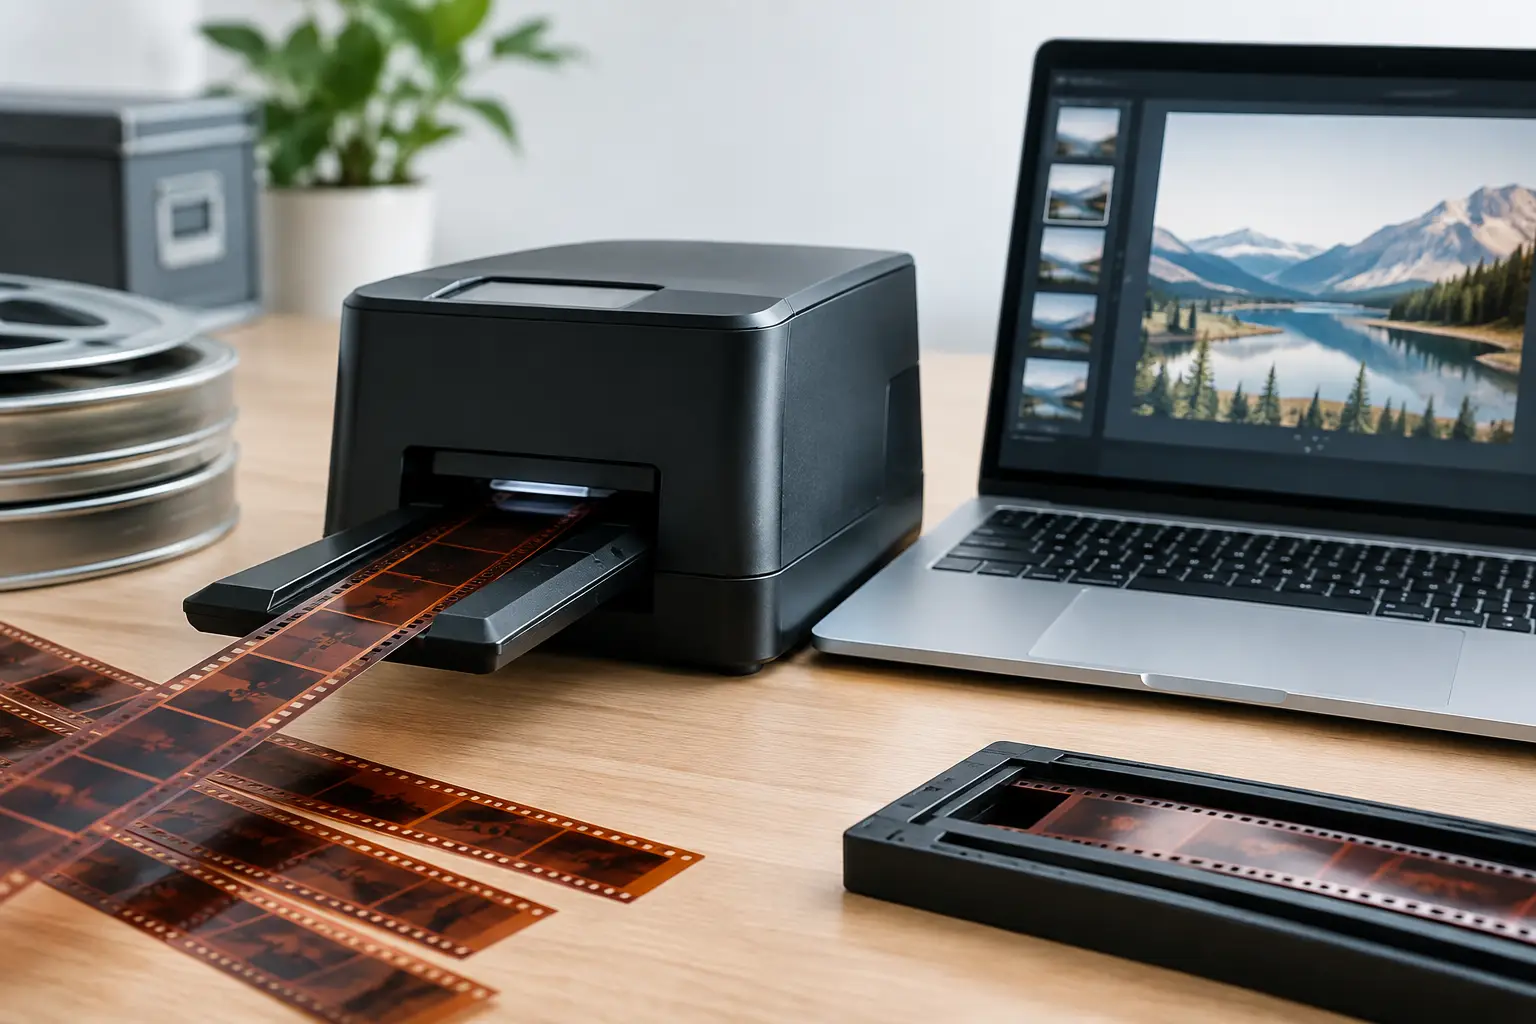
A clean scan is not yet a restored film. It is a high-resolution record of everything the projector gate, the film stock, and decades of storage have left behind: grain, dust, splice jumps, weave, fading, and unstable exposure. A film workflow application gives those defects a controlled processing path, from source import to archival master and viewing copy, without forcing the operator to assemble a different toolchain for every reel.
For 8 mm, Super 8, 9.5 mm, and 16 mm collections, the best workflow is not the one with the most filters. It is the one that preserves image character, makes every correction repeatable, and produces the correct files for both preservation and delivery. That requires a purpose-built sequence of inspection, restoration, review, encoding, and automation.
What a Film Workflow Application Must Control
Generic video editors are designed to cut scenes, mix sound, and finish productions. They can be useful at the delivery stage, but they rarely understand the mechanical defects that appear in scanned film. A perforation-related vertical movement is not ordinary camera shake. A damaged cement splice is not a standard edit point. Dirt that appears for one frame needs a different response than grain that exists across every frame.
A restoration-oriented application should therefore work as a pipeline rather than a collection of isolated effects. The operator needs to import a scan, establish its frame rate and color properties, inspect the material at full resolution, apply corrections in a logical order, and compare the result before committing to a long export.
This order matters. Stabilizing before dust cleanup can change the motion analysis used by temporal filters. Applying aggressive denoising before color correction can smear fine detail in underexposed footage. Encoding a review copy before the image is approved wastes time and can hide compression artifacts behind restoration decisions.
The application should also keep settings visible and reproducible. If a client returns six months later with another reel from the same camera, stock, or transfer setup, the operator should be able to reuse a proven treatment profile instead of rebuilding it by memory.
Start With the Scan, Not the Filter Stack
Before any restoration setting is adjusted, verify what the scan actually contains. Identify the film gauge, scan resolution, frame rate, bit depth, chroma sampling, audio configuration, and whether the image includes visible sprocket holes or a cropped gate. A 16 mm scan with optical or magnetic sound has different synchronization constraints from a silent Regular 8 home movie.
Inspect several representative sections rather than judging only the opening frames. Look at dark scenes, high-contrast outdoor shots, transitions, splices, titles, and the end of the reel. This reveals whether the problems are constant or localized. It also prevents a common mistake: tuning a filter for the worst ten seconds and overprocessing the remaining twenty minutes.
A practical project structure separates the original scan from every derived file. Keep the camera or scanner output untouched. Use a lossless or near-lossless intermediate only when required by the workflow, and reserve compressed H.264 or H.265 files for review and distribution. For long-term preservation, formats such as FFV1 can be appropriate when storage capacity and compatibility requirements support them.
Build the Restoration Pipeline in the Right Order
The most effective film restoration workflows proceed from physical instability to image contamination, then to tonal and color corrections. The precise order can vary by scan, but the reasoning should remain consistent.
Stabilize mechanical movement first
Film gate movement, shrunken stock, and inconsistent transport can produce frame-to-frame drift that distracts from every other correction. Stabilization based on image motion may help with handheld camera movement, but it can misinterpret scratches, scene cuts, and fast motion as reference points.
For scans where the perforations are visible or reliably detectable, perforation-based stabilization is more precise. It anchors the frame to the physical geometry of the film rather than the moving content inside the image. A feature such as Perfo Lock is especially useful for home-movie material where pans, zooms, and moving subjects make content-based stabilization unreliable.
Do not stabilize automatically at maximum strength. Test the result around titles, edge damage, and warped film. Excessive correction can crop useful image area, create edge artifacts, or give naturally handheld footage an artificial locked-off appearance.
Remove dust and defects without erasing the image
Dust removal works best when it distinguishes between transient defects and real picture detail. Temporal tools such as RemoveDirtMC can identify brief spots that do not persist across neighboring frames, while motion-compensation methods such as MVTools2 help preserve moving subjects during that analysis.
The trade-off is straightforward: stronger settings may remove more contamination, but they can soften hair, foliage, fabric texture, and fine grain. For a family film, a modest amount of remaining grain is usually preferable to faces that look waxy. For an archival job, visible scratches may need selective treatment rather than a global filter that alters the whole reel.
Splice cleanup deserves its own pass. A splice can introduce a flash frame, dark frame, jump, or sudden exposure change that temporal dirt filters may not correct cleanly. Specialized splice detection and cleanup allow the operator to repair these short disruptions while preserving the surrounding frames.
Correct exposure and color after the picture is stable
Once frame movement and transient defects are under control, evaluate exposure, contrast, and color balance. Reversal film may retain good color but show dense shadows. Faded color negative may require major correction for cyan, magenta, or yellow shifts. Mixed reels can change character from one scene to another, particularly when they combine indoor tungsten, daylight, and older film stocks.
A controlled gamma adjustment, including tools such as GamMac where appropriate, can recover midtone readability without crushing blacks or clipping highlights. Avoid treating every scene with one fixed color correction. If the source changes substantially, divide the reel into logical sections or use carefully managed scene-based settings.
The goal is not to make vintage footage look newly shot. Preserve the period character while restoring believable skin tones, readable shadows, and neutral areas that should be neutral. A faded 1970s Super 8 image should not become a modern digital image with exaggerated saturation.
Preview Is Where Quality Decisions Happen
Real-time or near-real-time preview changes the economics of restoration. It allows the operator to compare before and after frames, inspect motion across several seconds, and adjust parameters before a full render. This is especially valuable with temporal processing, where a single still frame may look excellent while moving footage reveals ghosting or smearing.
Review at the intended output resolution, but also zoom into difficult areas: faces, lettering, tree branches, patterned clothing, and scratches near high-contrast edges. Check the first and last frames around each splice. If the film includes sound, confirm that processing has not altered duration or created sync drift.
A good application makes this review process direct. AvyScan Lab, for example, presents AviSynth+ processing through a structured Windows interface, allowing operators to use advanced restoration filters without building and debugging scripts manually. That matters when the work involves dozens of reels, not one experimental clip.
Encode for the Actual Deliverable
Restoration and encoding are separate decisions. The restoration master should preserve as much image information as practical for future work. The delivery file should match how the client, archive, or production team will use it.
For preservation-oriented output, consider lossless codecs, sufficient bit depth, and chroma formats such as 4:2:2 or 4:4:4 when the source and processing path justify them. For access copies, x264 and x265 offer efficient delivery, but bitrate, profile, and color tagging must be selected carefully. A small file is useful only if it does not introduce banding in gradients, block artifacts around grain, or motion damage in handheld scenes.
Create at least two outputs when the project warrants it: a high-quality master and a practical viewing copy. For a commercial digitization service, a third short review file can speed client approval before final delivery. This approach prevents accidental reliance on a compressed preview as the only finished asset.
Batch Processing Turns a Workflow Into Production Capacity
A single reel can be restored manually. A collection of 100 reels requires repeatability. Batch processing is where a film workflow application becomes a production tool rather than a filter interface.
Build presets around recurring conditions: clean daylight Super 8, faded Kodachrome, unstable 16 mm work prints, or heavily spotted silent 8 mm footage. Each preset should be a starting point, not an unattended promise. Operators still need to inspect representative material, especially when reels vary in shrinkage, exposure, or scanner alignment.
Queueing also makes better use of time. Prepare projects, validate a short preview, then schedule longer encodes during off-hours. Track output destinations and naming conventions from the beginning. A reliable naming system should identify the collection, reel number, gauge, date if known, version, and output type. This is mundane work, but it prevents costly confusion when an archive grows.
Choose Control Over One-Click Restoration
The right workflow does not demand that every user become an AviSynth+ developer, but it should not hide every technical decision either. Good restoration software exposes the controls that affect quality, provides sensible defaults, and keeps the processing chain understandable.
The final test is simple: can you return to a reel, explain what was done, reproduce the result, and deliver files that remain useful beyond the current device or platform? When the answer is yes, the restoration process stops being a series of improvised fixes and becomes a dependable method for preserving film.