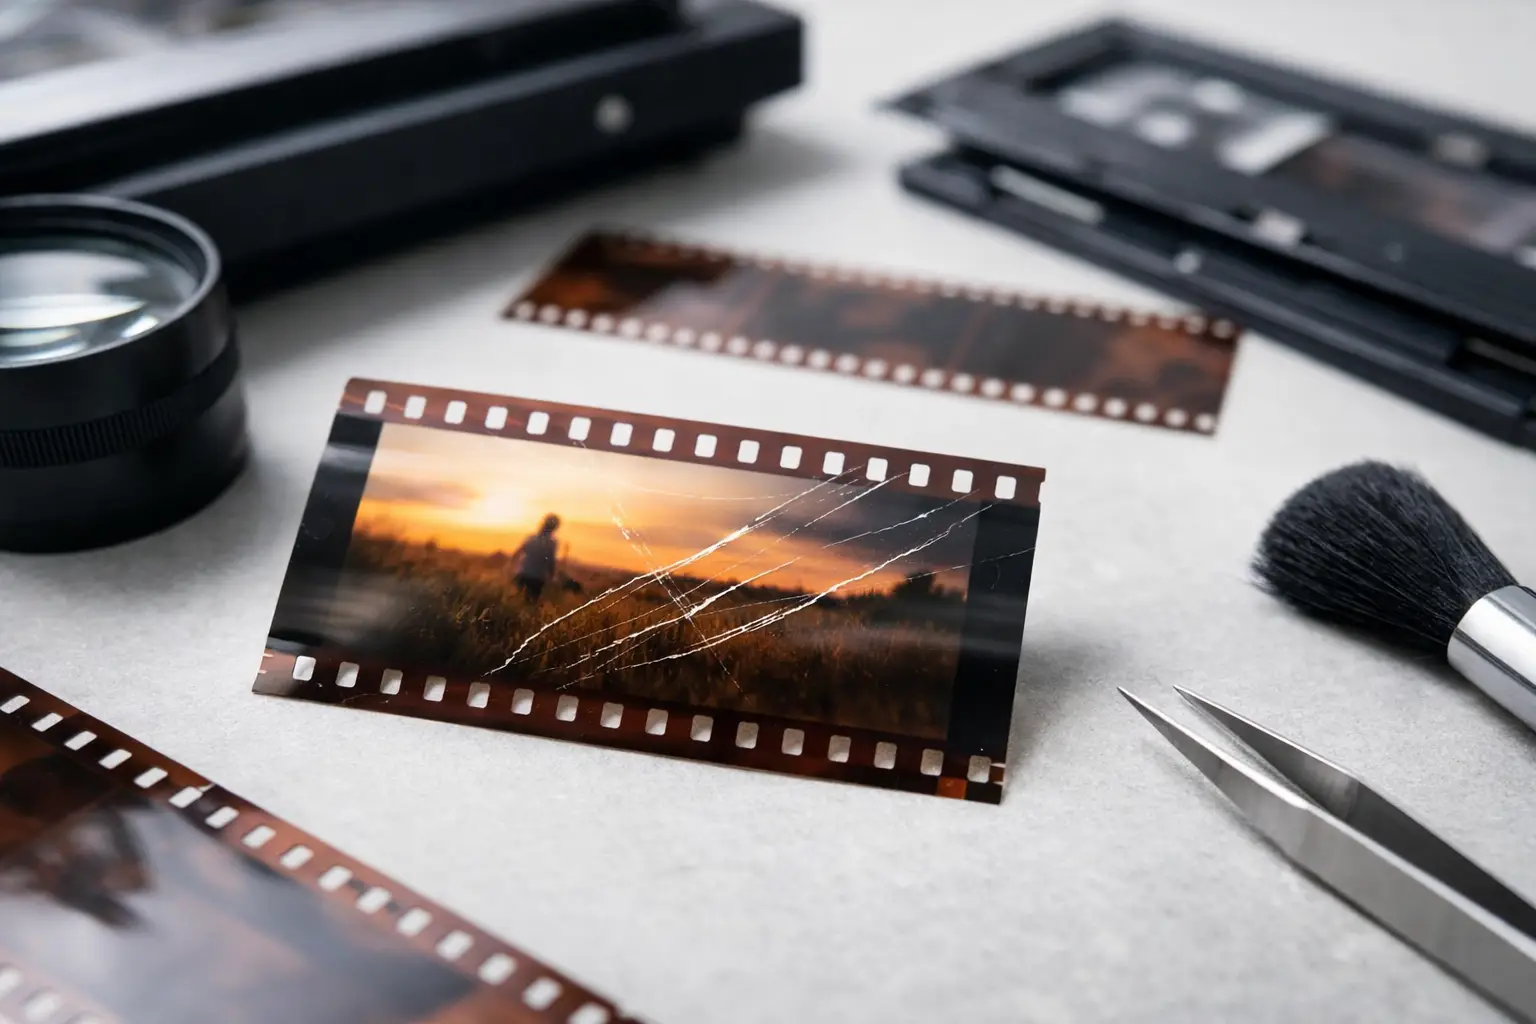
A scratch that appears in a film scan is not automatically a scratch created by the scanner. That distinction matters. The defect may have been embedded in the emulsion decades ago, introduced by a projector or transfer gate, or exaggerated by a high-resolution capture and aggressive sharpening. Knowing what causes scratches on film scans is the first step toward choosing the right fix - and avoiding restoration settings that erase real image detail.
For 8 mm, Super 8, 9.5 mm, and 16 mm collections, scratches are especially common because these films often passed through consumer projectors, editors, splicers, and storage conditions that were never designed for archival longevity. A good restoration workflow begins with diagnosis: determine whether the line is on the film, in the capture path, or only in the processed file.
What Causes Scratches on Film Scans?
A scratch is a physical disruption that changes how light passes through the film. On positive or reversal film, it can appear as a bright, dark, or color-shifted line depending on whether the damage affects the emulsion, the base, or both. On a scan, the defect can become more visible because the image is enlarged, stabilized, denoised, and viewed frame by frame.
The most useful first question is simple: does the line move with the image, or does it remain in the same place in the frame? A defect fixed at the same horizontal or vertical position across many shots often points to the capture system. A line that follows the film image, changes with the scene, or appears only on a damaged section is more likely to be on the original stock.
Emulsion-side abrasion
The emulsion is the image-bearing layer. When it is scratched, the damage removes or disturbs photographic information. On color film, emulsion scratches may reveal an unusual color because the affected dye layers no longer reproduce the scene normally. On black-and-white film, they may show as dark or light streaks depending on the film polarity and illumination method.
Emulsion damage is frequently caused by dirt trapped in a projector gate, film path, or rewind equipment. A hard particle can drag across hundreds of frames before anyone notices. Worn rollers, rough metal guides, damaged pressure plates, and poorly aligned film paths create the same result. A tight loop or a jam can make the damage much worse in seconds.
This type of scratch is permanent. Restoration can reduce its visibility, but it cannot recover image information that has been physically removed. The objective is therefore concealment with minimal collateral damage, not a fictional claim of perfect recovery.
Base-side scratches
The base is the clear support beneath the emulsion. Scratches on this side often look bright in a conventional scan because they scatter or redirect the scan light. They may be less destructive to the recorded image than emulsion scratches, which makes them good candidates for careful restoration.
Base scratches commonly come from repeated projection, mishandling during rewinding, rough leader transitions, or abrasion inside a dirty film can. They can also result from film rubbing against itself when a reel is tightly wound, warped, or stored under pressure.
Wet-gate scanning can reduce the appearance of certain base scratches by filling the damaged surface optically during capture. It is effective only under appropriate conditions and requires compatible equipment and fluids. For many small-format collections, digital cleanup remains the practical option, but the distinction between base and emulsion damage still informs how strongly you should process the image.
Dirt in the scanner or transfer path
Not every vertical line belongs to the film. Dust, hair, residue, or a damaged component in the scanner gate can produce a repeated defect that stays in the same location from frame to frame. In a frame-by-frame scanner, this may look like a stable line through an entire reel. In a telecine-style transfer, a contaminated roller or gate may create a recurring line, band, or intermittent scrape.
Capture-path artifacts are often misdiagnosed as film damage because they appear sharp and consistent. Check a second reel scanned on the same system. If the line remains at precisely the same image coordinate, clean and inspect the capture path before attempting digital repair. Otherwise, every reel will inherit the defect.
Projector damage before digitization
Many home-movie films were projected dozens or hundreds of times. Consumer projectors can be gentle when maintained, but old machines frequently have hardened rollers, worn sprockets, accumulated debris, or gate components with burrs. Shrunken, curled, brittle, or poorly spliced film is more likely to scrape against these surfaces.
A recurring scratch that begins after a splice is a strong clue. Thick cement or tape splices can alter how the film rides through the gate. If the splice catches, lifts, or passes unevenly, the following frames may be scratched or buckled. In restoration, this is often accompanied by a brief exposure change, image jump, or unstable framing around the edit.
Storage, handling, and rewind damage
Film does not need to be projected to become scratched. Dust and grit inside a reel or can may abrade the film during rewinding. A loose reel can allow layers to shift against one another. A warped spool can create uneven tension. Pulling film across a table, threading it without clean gloves or lint-free handling materials, and forcing a stuck reel all introduce risk.
Heat and moisture do not always create a scratch directly, but they increase vulnerability. Warped film may no longer travel smoothly. Sticky residue, mold, or degraded splices can cause the film to bind. Once the transport tension rises, the chance of abrasion at guides, gates, and rollers rises with it.
How to Identify the Source Before Restoration
Start with a short, unprocessed sample. Avoid judging the defect after heavy noise reduction, sharpening, stabilization, or compression. These operations can change a scratch's contrast and make a minor line look more severe.
Inspect several frames at 100 percent or higher. A base scratch often has a bright, reflective quality and may vary as the film curves or shifts. An emulsion scratch can have less predictable color and may carry texture from lost image material. A scanner-path defect tends to be geometrically stable across unrelated scenes.
Then compare the same section under different conditions. If possible, examine the physical film on a light table with appropriate care. Scan a second sample after cleaning the gate and film path. If a line appears in only one scan pass, suspect the capture setup. If it survives multiple clean scans and corresponds to visible physical damage, treat it as film-originated.
Direction also provides clues. Long vertical lines are common in film transport damage because the film moves lengthwise through a gate. Short diagonal marks, curved abrasions, and isolated scuffs are more often handling damage. Repeated marks at regular intervals can indicate a roller, sprocket, or other rotating component in the transport path.
Restore Scratches Without Smearing the Image
Scratch removal is a trade-off between defect reduction and image preservation. Temporal filters can compare neighboring frames and replace a scratch with information from earlier or later frames. This works well when the background is stable and the line is narrow. It becomes risky with fast motion, camera pans, flashing lights, grainy reversal stock, or fine texture such as hair, foliage, fabric, and film titles.
A practical pipeline usually removes the most distracting defects before final sharpening and encoding. Mild dirt and scratch processing may be followed by motion-compensated cleanup, selective grain management, color correction, stabilization, and export to an appropriate preservation or delivery format. The order depends on the source. Stabilizing a severely shaky scan before temporal cleanup can improve motion analysis, but an unstable or badly perforated film may need transport-level correction first.
For a persistent vertical line, mask-based or targeted repair is often safer than applying an aggressive global filter. If only a narrow strip is affected, restrict treatment to that strip whenever the tool permits it. This protects the rest of the frame from unnecessary interpolation. With moving subjects crossing the damaged area, inspect the result frame by frame. A clean line is not a good result if faces, lettering, or motion edges become soft or smeared.
AvyScan Lab provides a visual workflow for this kind of controlled processing, combining specialized cleanup functions with preview-based adjustment rather than requiring manual AviSynth+ scripting. The useful setting is rarely the strongest setting. It is the one that suppresses the defect while retaining grain structure, edge detail, and the original character of the film.
Prevent New Scratches During Future Scans
Prevention starts before the reel reaches the scanner. Clean the film path, gate, rollers, and pressure surfaces with materials and methods approved for the equipment. Inspect for burrs, hardened residue, worn guides, or anything that can touch the film. Never assume a machine is safe because it ran correctly years ago.
Handle film by the edges where possible, maintain even winding tension, and do not force curled or damaged stock through a transport. Repair failing splices before scanning. If the film is brittle, heavily shrunken, mold-affected, or visibly warped, stop and assess whether specialist handling is needed. One rushed transfer can create damage that no restoration pass can fully hide.
The best scratch-removal workflow is built before restoration begins: a clean transport, a careful scan, a preserved original capture, and restrained processing guided by close inspection. That approach protects both the image and the evidence of how the film was made.