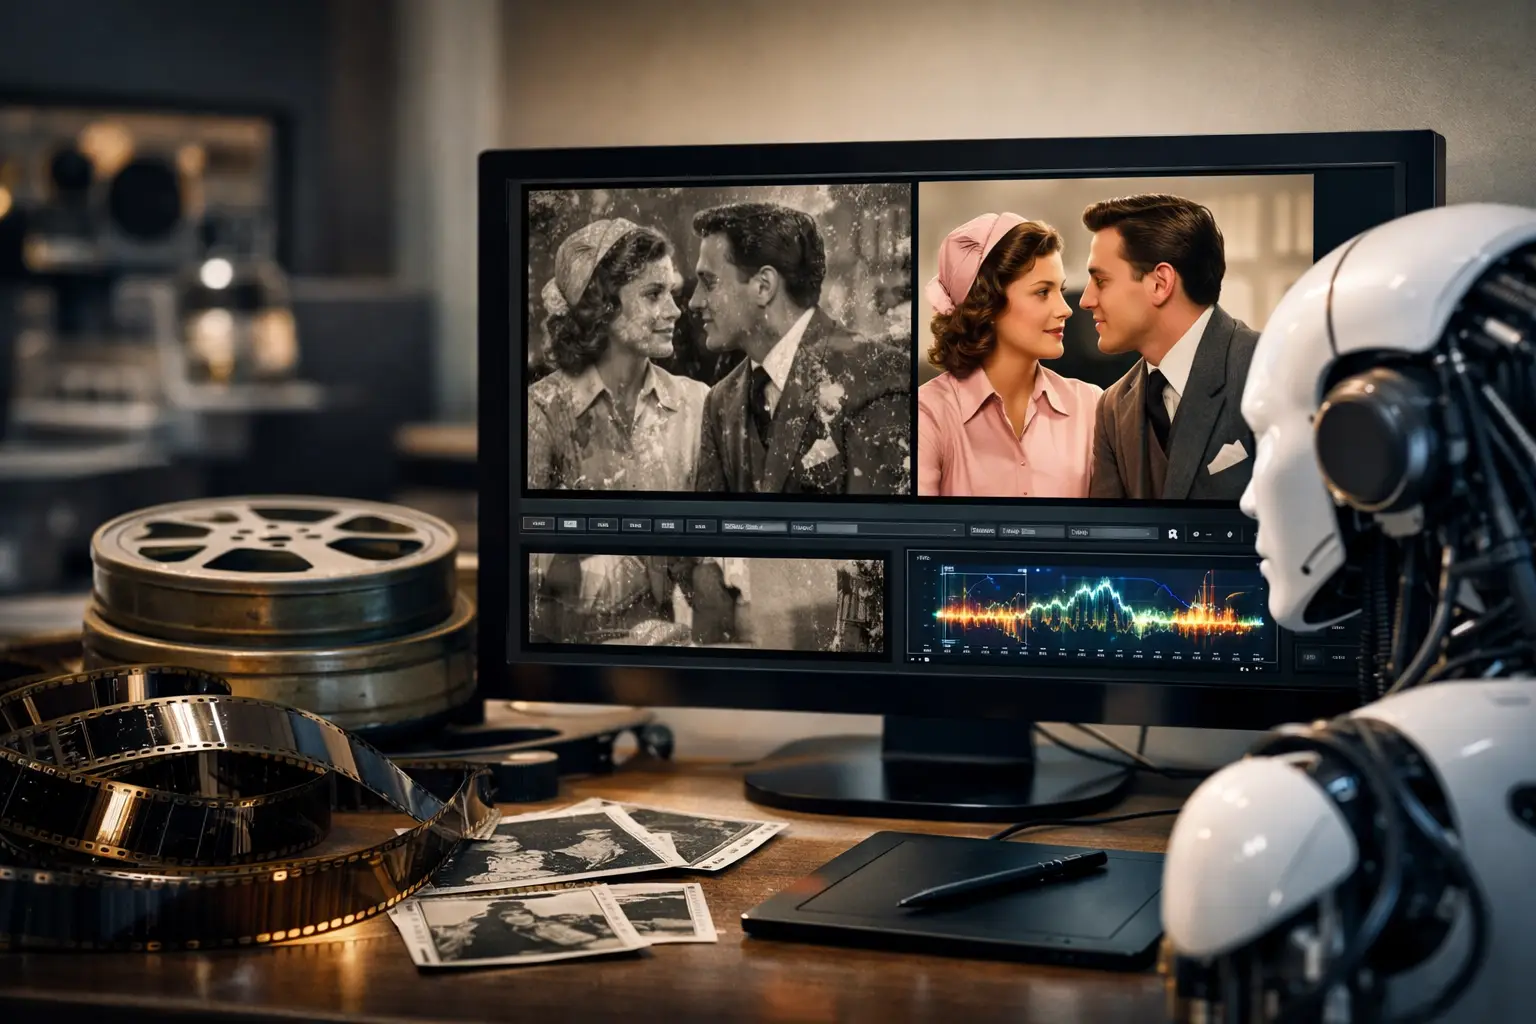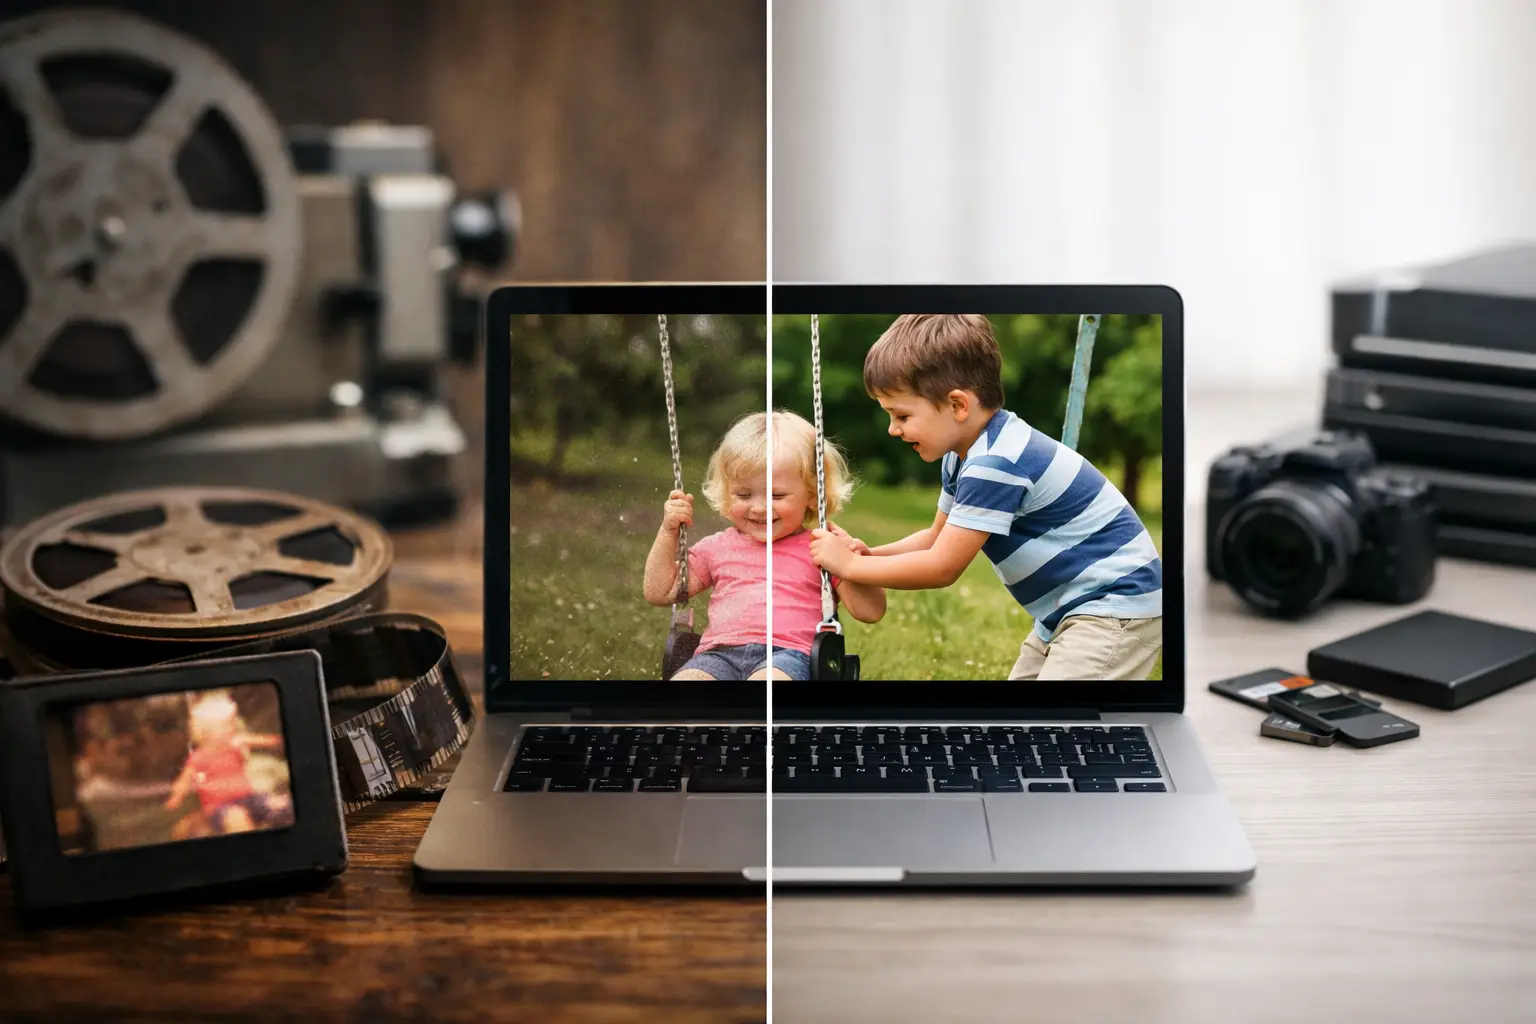
A convincing home movie cleanup before after comparison does not simply show a cleaner frame. It shows that the film’s original information is easier to see: faces stop drifting at the edge of the image, a birthday cake no longer sits behind a veil of dust, and a faded blue sky regains separation from the people in front of it. The objective is not to make Super 8 or 16 mm footage look newly shot. It is to remove distractions created by age, handling, scanning, and mechanical instability without erasing the texture that makes film believable.
That distinction matters. Aggressive processing can produce an impressive still image and a poor moving image. A restoration should be judged over several seconds of motion, at the intended viewing size, with attention to detail, grain behavior, color continuity, and frame stability.
What a Home Movie Cleanup Before and After Should Show
A useful before-and-after evaluation begins with the defects that are actually present in the scan. Film defects are not interchangeable, and treating every problem with one heavy filter is a reliable way to lose detail.
Dust and loose debris usually appear as isolated bright or dark marks that change from frame to frame. Temporal dirt removal can identify those marks by comparing adjacent frames, then replace them with nearby image information. This is highly effective on scans with repeated dust hits, but the settings must be moderated around fast motion, water, confetti, patterned clothing, or camera flashes. Those details also change between frames and can be mistaken for dirt.
Scratches are different. A long vertical scratch may persist across many frames and often requires a more targeted treatment than random dust. Small stains, embedded emulsion damage, and mold can be even less predictable. Cleanup can reduce their visual impact, but it cannot always reconstruct the material that the damage removed. In a good before-and-after result, the scratch is less distracting without creating a soft vertical smear where real picture detail used to be.
Frame instability is another major transformation. A scan may weave because the original film shrank, the perforations were damaged, or the transport was not perfectly registered. Perforation-based stabilization can lock the frame to its physical reference rather than guessing from picture content. This is particularly valuable for home movies with pans, zooms, people walking across the frame, or handheld camera motion. Image-based stabilization may interpret intended camera movement as unwanted shake; perforation tracking preserves the camera operator’s movement while reducing mechanical jitter.
Color correction often delivers the most immediately visible before-and-after change. Faded reversal film, color-negative transfers, and older telecine workflows can introduce strong casts, weak contrast, and uneven exposure. The correction should restore plausible balance rather than force every scene toward neutral gray. A warm indoor lamp scene should remain warm. A late-afternoon picnic should not become clinical blue. The reference is the scene’s likely visual intent, not an arbitrary RGB target.
Start With the Best Scan You Can Obtain
No cleanup pipeline can recover detail that a scan never captured. If rescanning is possible, it is usually the highest-value improvement you can make before applying restoration.
Choose a scan with adequate resolution for the film gauge and a high-quality, minimally compressed master. A 10-bit or higher workflow provides more room for exposure and color adjustments than an 8-bit delivery file. When available, retain a lossless or near-lossless archival master, such as FFV1 or an image sequence, before creating H.264 or H.265 viewing copies. Avoid beginning restoration from a heavily compressed social-media file, where blocking, ringing, and chroma subsampling may be mistaken for film damage.
Overscan can also be useful during restoration. Seeing the frame edge, sprocket area, or perforations gives a stabilization tool more reliable information and makes it easier to assess gate movement. Final reframing and cropping should happen after stabilization, not before. Cropping first can remove the very reference data needed to hold the image steady.
For sound film, preserve the original audio separately and verify synchronization after every frame-rate conversion or stabilization pass. A visually improved film is still unusable if speech gradually drifts out of sync.
Build the Cleanup in the Right Order
The order of operations affects the result. A practical restoration workflow generally starts by inspecting the source, then correcting geometry and stability before applying temporal cleanup. Once the image is steady, dirt removal can compare corresponding areas from frame to frame more accurately.
After stabilization, use dust and spot removal with short preview loops. Do not evaluate a setting from one paused frame. Watch motion through the difficult parts: a child running past a hedge, waves on a beach, a rapidly moving parade, or a cut with a splice. If moving texture starts to look waxy, if subjects leave ghost trails, or if fine detail flickers unnaturally, reduce the strength or limit the treatment to affected sections.
Grain management comes after defect removal, and it deserves restraint. Film grain is not automatically noise. It carries the optical character of the original stock and can help a viewer perceive fine detail. Excessive denoising turns faces into flat surfaces and leaves foliage, hair, and textiles unstable from frame to frame. A measured temporal approach can reduce scanning noise and excessive grain buildup while retaining a natural moving texture.
Color and tonal work should be performed with reference to the full scene, not a single appealing frame. Correct exposure shifts first, then address color casts, contrast, and saturation. If one reel contains several lighting conditions, a single global correction is rarely enough. Scene-level adjustments take longer, but they avoid the common result where outdoor footage looks good while every interior scene becomes too dark or too saturated.
Finally, inspect splices and edit points. Home movies often contain abrupt exposure changes, torn frames, missing frames, or jumpy joins at physical splices. A splice cleanup tool can reduce the visual interruption, but it should not hide a genuine edit by inventing motion that was never recorded. The appropriate result depends on the project: a family viewing copy may benefit from a smoother transition, while an archival master may need the splice retained as evidence of the object’s history.
How to Judge Whether Cleanup Has Gone Too Far
The best restoration is usually slightly less aggressive than the first result that looks dramatic. Before-and-after presentations encourage overprocessing because a bold transformation is easy to see in a side-by-side frame. Film, however, is viewed in motion.
Look for four warning signs: faces that appear plastic, motion trails behind moving objects, fine textures that pulse or crawl, and color that changes visibly between adjacent frames. These artifacts mean the processing is competing with the footage rather than supporting it.
Also compare at multiple scales. At 100% magnification, minor grain may look prominent but disappear during normal viewing. Conversely, an over-smoothed image can look clean at full-screen size while revealing lost facial detail at 100%. Deliverables should be checked on the display where they will actually be watched, whether that is a television, projector, computer monitor, or mobile device.
Keep an untreated source and a restoration master. A project file, filter settings, and section-specific notes are part of preservation because they make the result reproducible. This is especially relevant for archives and service providers handling multiple reels from the same collection.
A Controlled Workflow Saves More Than Time
Specialized film-restoration software is valuable because it lets the operator preview, isolate, and repeat these decisions without building an AviSynth+ script from scratch. In AvyScan Lab, tools such as Perfo Lock, Splice Cleanup, temporal dirt removal, color controls, and batch processing can be arranged as a visual pipeline, then tested against the exact frames that challenge the material.
Batch processing is not a reason to apply identical settings blindly. It is most effective when reels share a scanner, film stock, exposure profile, and level of damage. Group similar material, establish a baseline preset, then create exceptions for reels with severe warping, unusual color shifts, or damaged joins. This keeps output consistent while preserving the ability to make reel-specific judgments.
A high-quality home movie cleanup before-and-after result leaves the viewer looking at the event, not the repair. When the dust, weave, flicker, and color cast stop demanding attention, the value of the original footage has room to return.