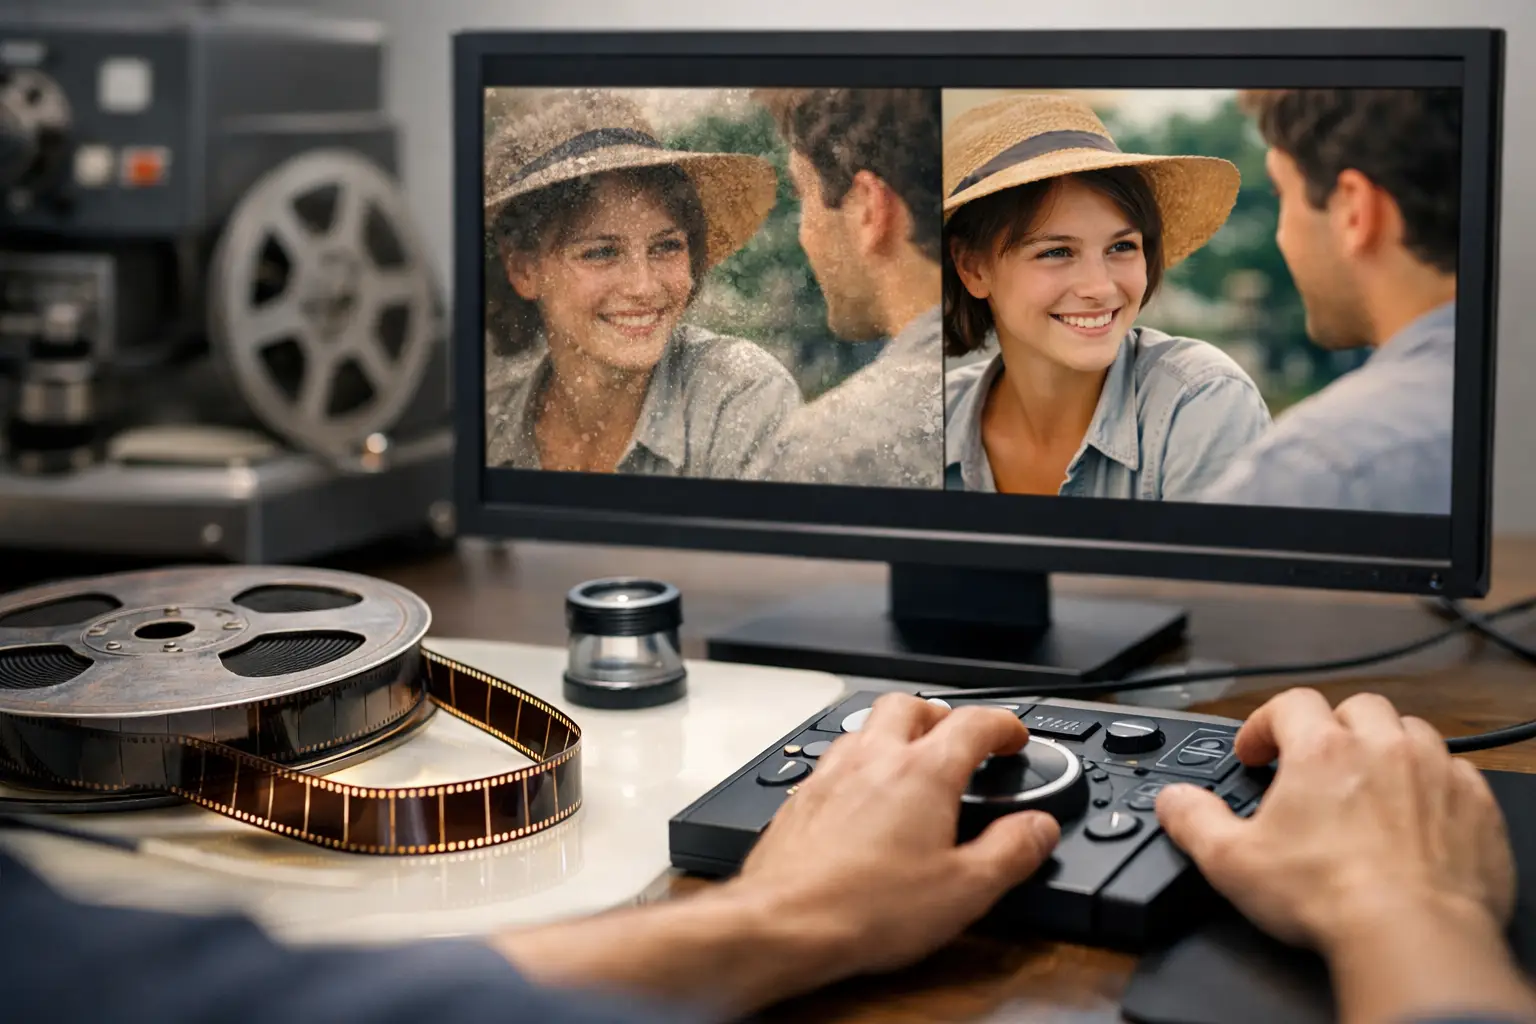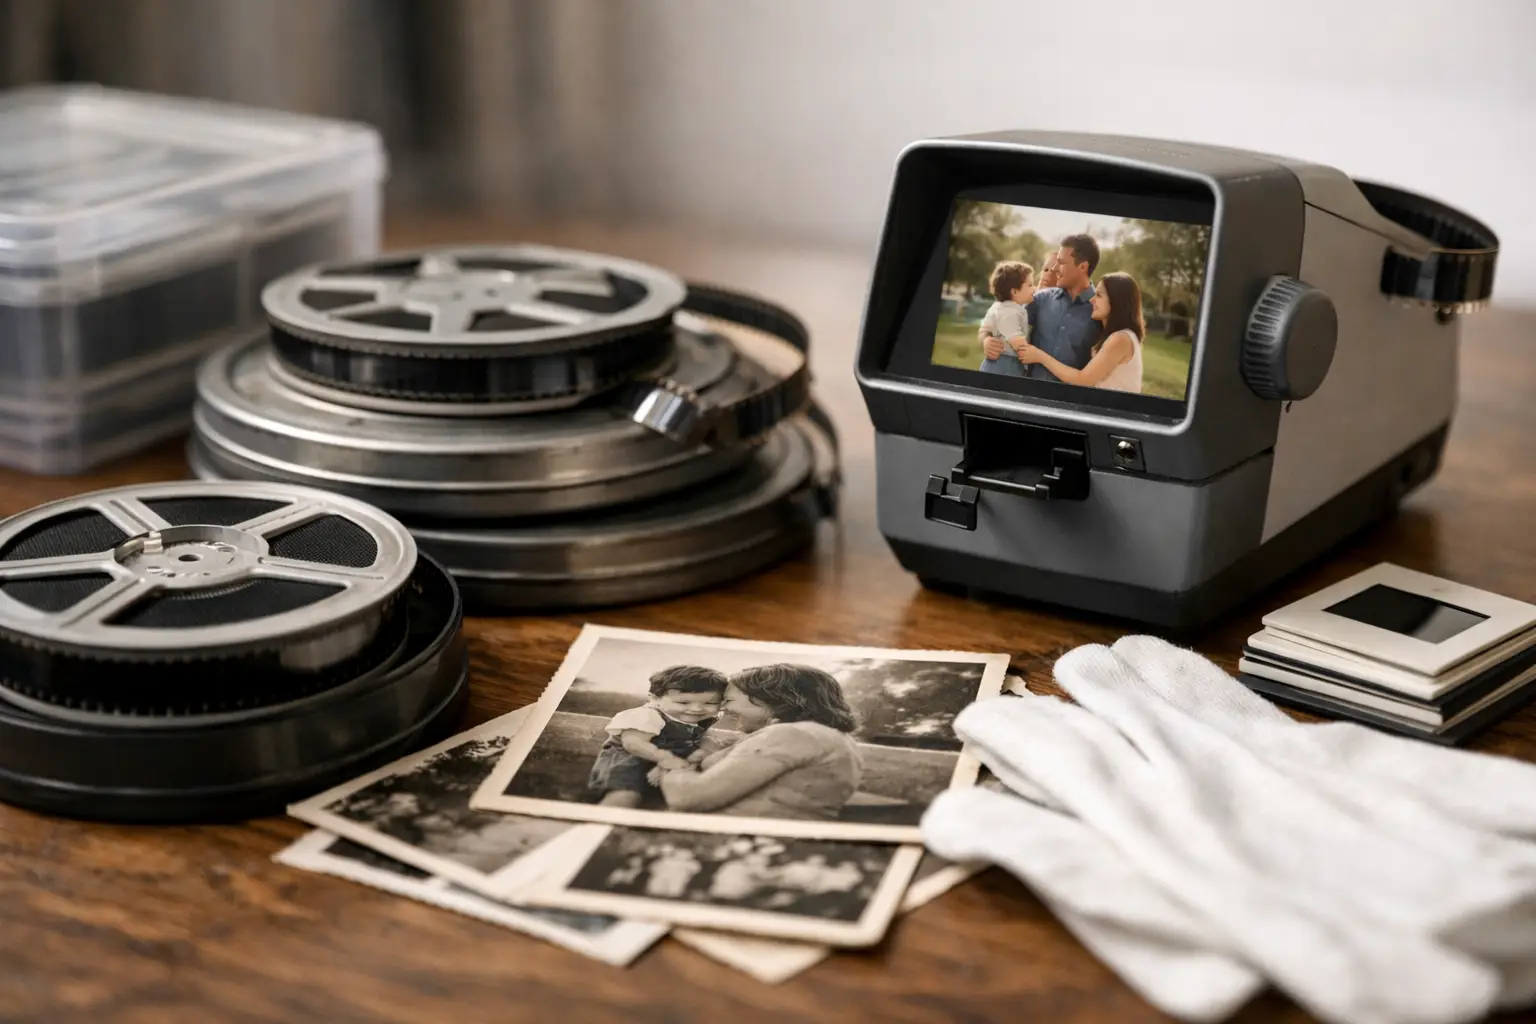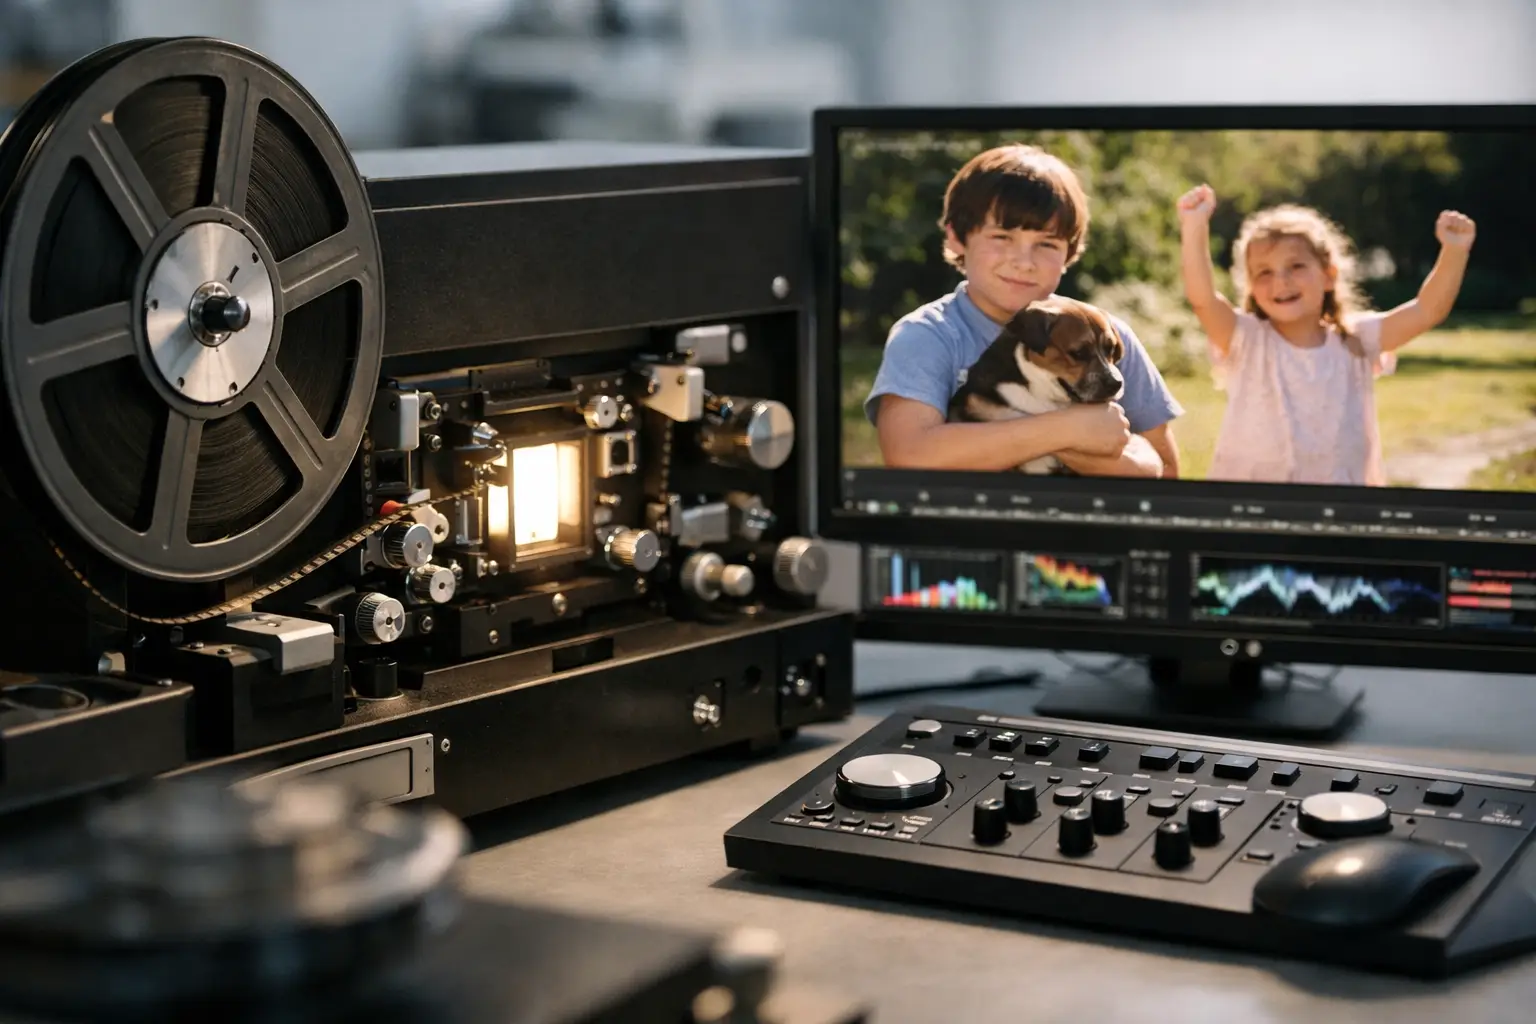
A Super 8 scan can look disappointing for reasons that have little to do with the camera that shot it. Dust becomes sharp at scan resolution, a dried splice creates a one-frame jump, shrunken stock drifts in the gate, and faded dyes turn a family picnic cyan or red. Effective super 8 telecine cleanup is the work of separating those transfer and aging defects from the visual information worth keeping.
The goal is not to make old film look like modern digital video. It is to produce a stable, clean, correctly balanced image that still carries the texture, motion cadence, and detail of the original Super 8 frame. That requires a controlled processing order. Applying powerful filters without inspection can erase fine detail, smear motion, or create an unnaturally plastic image.
Start with the scan, not the filter
Cleanup quality is limited by the telecine source. Before processing, inspect the scan at 100% magnification and identify whether its most visible problems come from the film itself or from the transfer. This distinction determines which corrections are justified.
Film-origin defects include embedded dust, scratches, mold marks, faded color layers, warped splices, and physical damage near the perforation. Transfer-origin defects often include gate weave, uneven exposure, frame timing errors, scanner flicker, poor white balance, or chroma subsampling artifacts. A scanner may also reveal every piece of surface debris with more clarity than the projector-era image ever had.
Whenever possible, retain a high-quality master before restoration. A lossless or near-lossless scan with enough bit depth provides more latitude for color work and avoids repeated compression damage. For archival work, 4:2:2 or 4:4:4 chroma and a suitable intermediate such as FFV1 preserve more useful information than an early H.264 delivery encode.
A short test segment is more valuable than processing a full reel blindly. Choose footage containing a splice, camera movement, skin tones, dense shadows, and a bright outdoor shot. Those conditions quickly show whether a setting is correcting a defect or damaging the image.
Build the Super 8 telecine cleanup pipeline in order
A practical restoration pipeline usually follows the physical logic of the film: stabilize the frame first, repair obvious temporal defects, clean dirt conservatively, then correct exposure and color. Final sharpening and encoding come last.
Stabilize the image without stabilizing the action
Super 8 was designed for amateur cameras and projectors, not for perfectly registered postproduction. Gate weave and frame drift are common, especially on older transfers. If the image shifts from frame to frame, dirt removal and color analysis become less reliable because the software reads that movement as changing content.
Perforation-based stabilization is the preferred method when the scan includes enough of the film edge. It tracks a physical reference rather than trying to infer camera motion from the picture area. This matters when the footage contains pans, handheld movement, zooms, or a subject crossing the frame. Content-based stabilizers can mistake authentic motion for unwanted jitter and produce a floating or cropped result.
With a tool such as Perfo Lock, stabilize only as aggressively as the transfer requires. A badly wandering frame may need a firm lock; a lightly unsteady home movie may benefit from a gentler correction. Check the borders after processing. Excessive stabilization can force cropping or introduce blank edge areas that must be filled.
Repair splice jumps and isolated damaged frames
A Super 8 reel often contains multiple edits, and each cement or tape splice has its own behavior. Some cause a brief vertical jump. Others create an exposure flash, a frame duplicate, or a torn-looking transition. Treating the entire reel with global temporal filtering to hide a handful of splices is usually the wrong trade-off.
Mark splice locations during review and address them locally. Splice Cleanup is useful because it targets the brief disturbance associated with a join rather than softening the entire sequence. In severe cases, a single damaged frame may be replaced, blended, or left visible if reconstruction would create a more distracting artifact. Preservation work is not always about making every defect disappear. It is about making informed, reversible decisions.
Remove dust and dirt with temporal judgment
Dirt removal is where many Super 8 restorations become overprocessed. A dust speck typically exists for one frame or a few frames. Fine film detail, however, can also be small, bright, and short-lived - particularly foliage, fabric texture, rain, or highlights in moving water.
Temporal tools such as RemoveDirtMC and motion-compensated analysis through MVTools2 can distinguish many transient defects from persistent image detail. The key is motion compensation. Without it, a filter compares pixels that no longer correspond once the camera or subject moves, increasing the risk of trails and smearing.
Use the lowest strength that removes the distracting dirt visible at normal viewing size. Then inspect difficult scenes frame by frame. If faces acquire waxy surfaces, tree branches leave ghosts, or moving objects develop stains behind them, reduce the cleanup strength or exclude that shot from the filter. A small amount of surviving dust is usually preferable to lost photographic information.
Reduce grain only when grain is the problem
Super 8 grain is not automatically noise. It is part of the film image and often carries real edge detail. Grain reduction becomes helpful when the scan exaggerates grain, when underexposure has made the image noisy, or when a delivery encode breaks the grain into distracting artifacts.
Apply grain reduction after stabilization and basic dirt repair, but before final sharpening. Start with a low setting and compare a paused frame as well as motion playback. A still image can look impressively clean while motion reveals pulsing texture or a loss of natural detail.
The desired result depends on the footage. A carefully exposed daylight Kodachrome reel may need little or no denoising. A dim indoor Ektachrome sequence may benefit from modest chroma cleanup and limited luma noise reduction. Different stocks, cameras, and scans should not be forced into one preset simply because they share a reel.
Correct exposure and color shot by shot
Color correction is often more consequential than dust removal. Super 8 reversal films can shift dramatically with age, storage conditions, and original exposure. A global correction may improve one scene while making another look implausible.
First establish black and white points without crushing shadow detail or clipping bright clothing, clouds, and window highlights. Then correct the color cast. GamMac-style controls can be especially useful where the issue is not a simple white balance error but a nonlinear shift in the film response.
Use neutral references carefully. A white shirt may be yellowed, a gray wall may be painted blue, and indoor tungsten footage should not necessarily be forced to daylight neutrality. Skin tones, familiar objects, and consistency within a scene are more reliable guides than a theoretical neutral gray.
Watch for reel changes. A family collection may contain footage shot years apart, on different stocks, and transferred in separate sessions. Match adjacent shots when they belong to the same event, but do not normalize every reel into identical color. Historical accuracy includes the character of the stock.
Protect frame rate and sound synchronization
Super 8 motion is commonly associated with 18 frames per second, though cameras may have run at other speeds and projector transfers frequently introduce timing variation. Do not assume that a 30 fps or 29.97 fps telecine file represents the camera's original cadence. Determine whether frames were duplicated, blended, or interpolated during transfer.
For silent footage, restoring an even cadence can make a major difference in perceived quality. For sound film, synchronization adds another constraint. Changes to frame timing must preserve the relationship between picture and the magnetic soundtrack. A restoration application that handles image and sound together avoids the common mistake of producing a clean picture that slowly drifts away from the audio.
Preview before committing to an export
A reliable workflow alternates between correction and verification. Preview the same demanding clips after each major stage: stabilization, dirt removal, grain reduction, and color adjustment. Review at full resolution, at intended delivery size, and in motion. Each view exposes different problems.
This is where a visual AviSynth+ workflow has a practical advantage. The underlying filters can be sophisticated, but restoration decisions remain visible and adjustable rather than buried in a command-line script. AvyScan Lab is built around that approach: specialized Super 8 controls, real-time preview, and batch-capable export without requiring the operator to write the processing pipeline manually.
For a preservation master, prioritize a high-quality codec and avoid unnecessary resizing. Create a separate viewing copy afterward with x264 or x265 settings matched to the destination. The archival file should preserve the corrected scan; the delivery file should be optimized for playback, storage, or client handoff.
The best cleanup is often the one viewers do not notice. They notice the child running through the yard, the faces at a birthday table, or the details of a place that no longer exists. When dust, instability, and color damage stop competing for attention, the film can do its original job again: hold the memory.