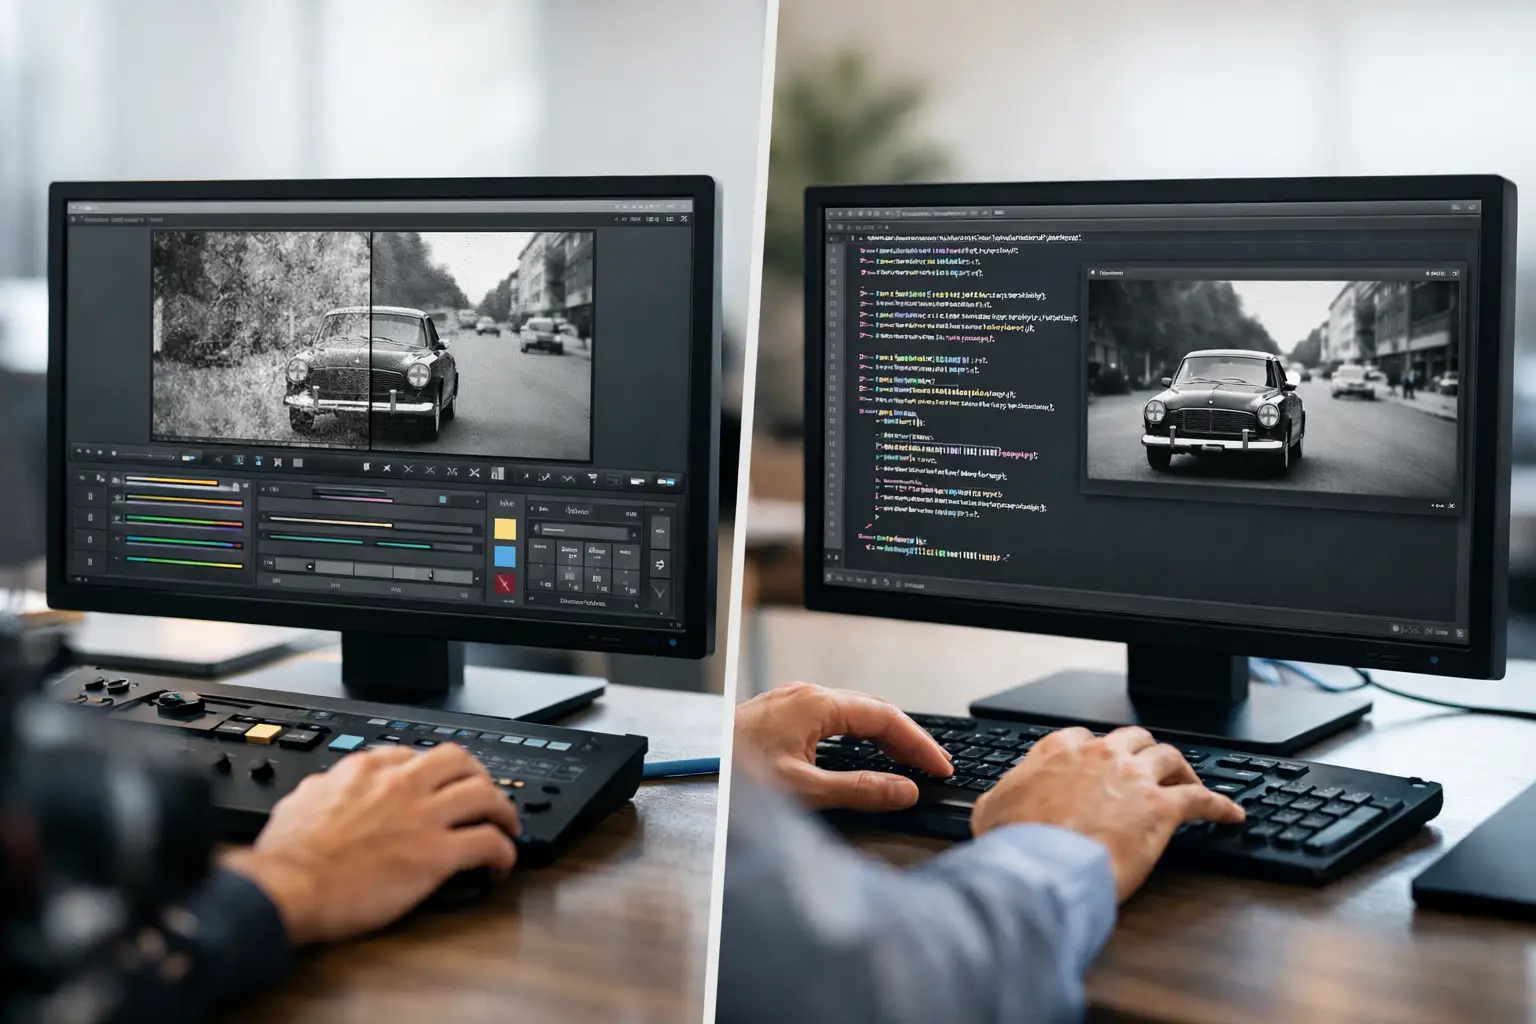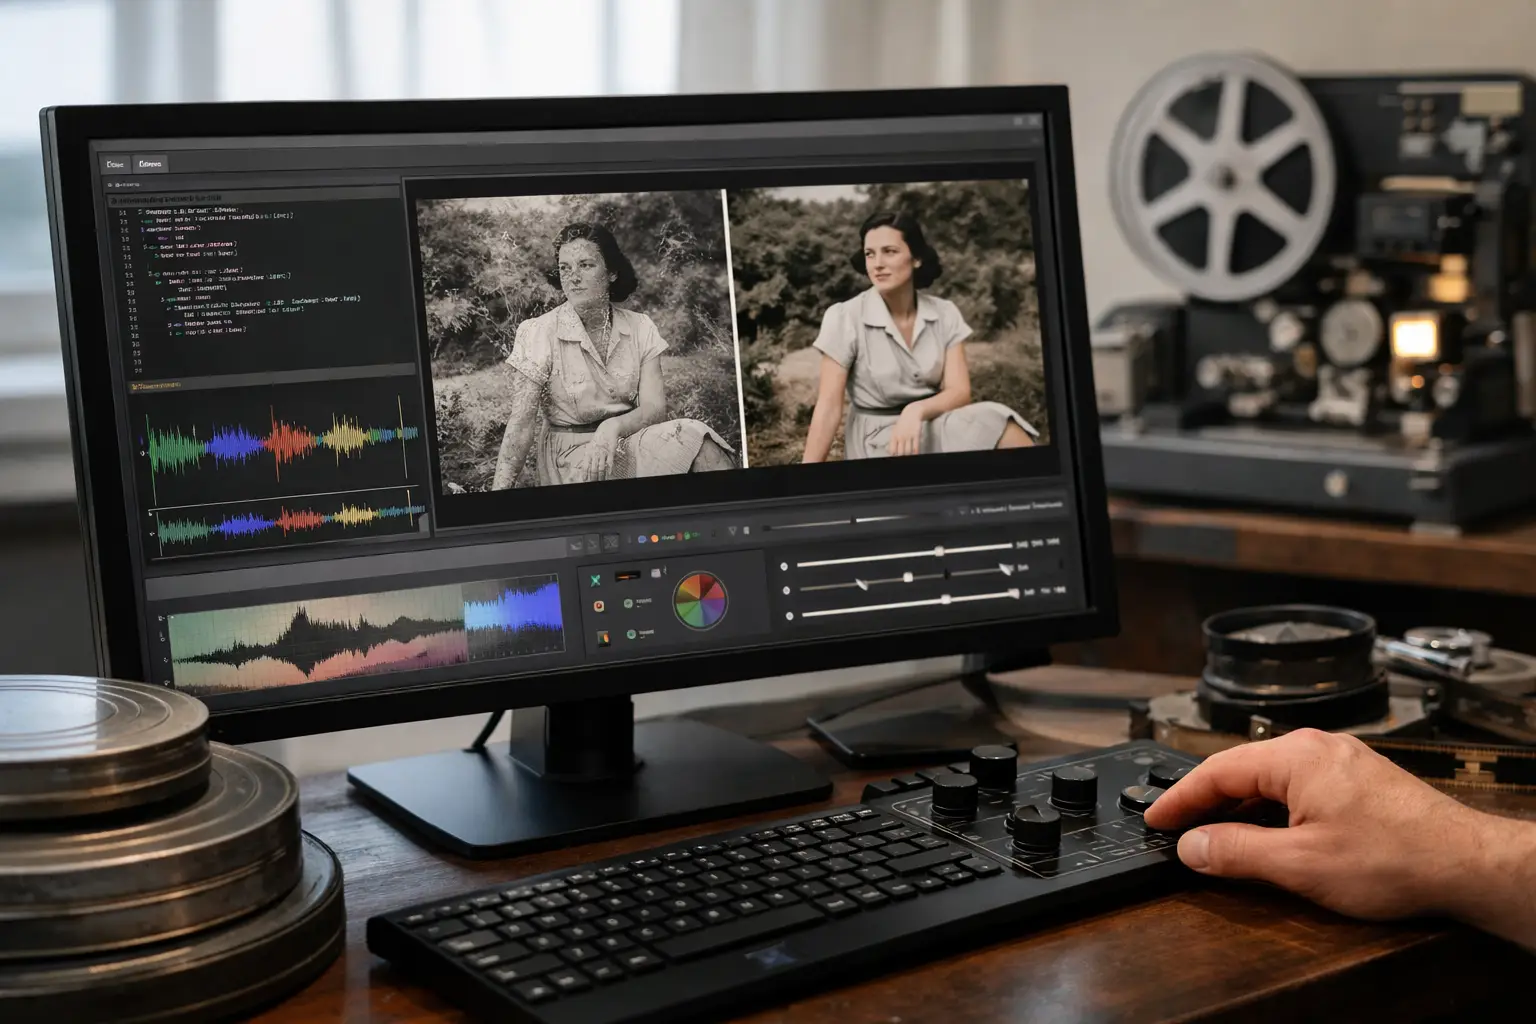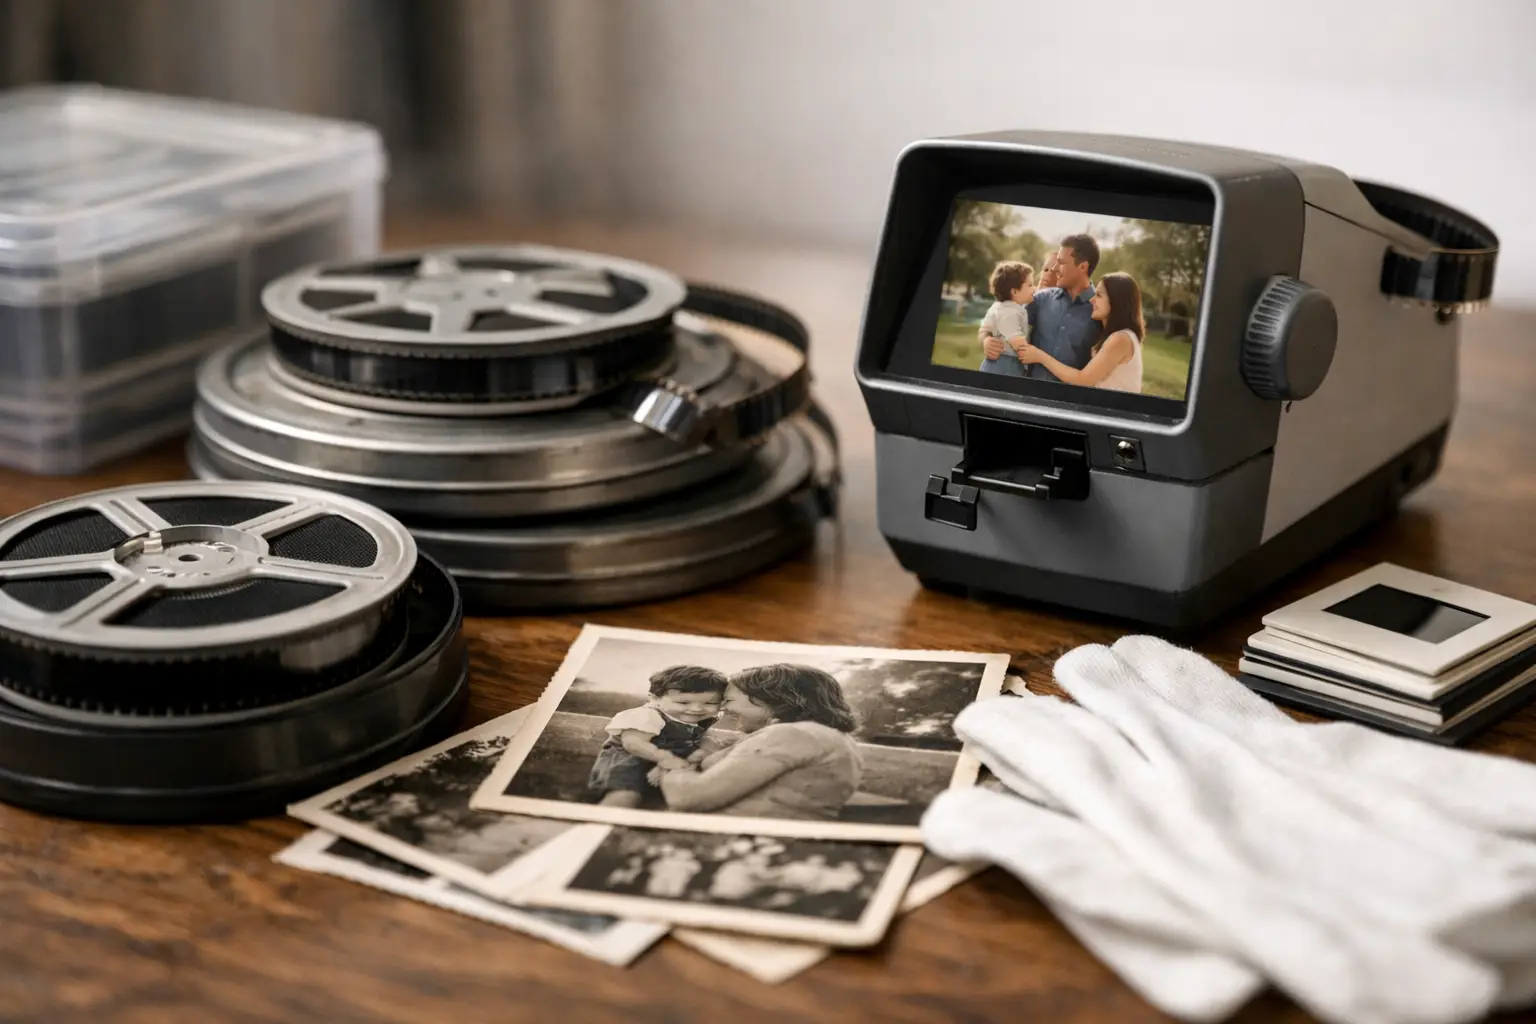
A family film archive rarely fails all at once. It fails one reel, one splice, one fading color layer, or one obsolete hard drive at a time. To preserve family film archives properly, treat the project as a controlled chain: assess the physical film, create a high-quality scan, restore without rewriting history, and store multiple verified copies.
That approach matters whether you have a few 8 mm reels from the 1950s or hundreds of Super 8 and 16 mm rolls from a family business. The goal is not simply to make the footage watchable on a phone. It is to retain the most complete, stable, and faithful digital representation of the original film while the source material can still be scanned.
Start With the Film, Not the Software
Before a reel reaches a scanner, identify what you actually have. Film gauges are not interchangeable: Regular 8 mm, Super 8, 9.5 mm, and 16 mm use different image areas, perforations, and sometimes different sound formats. Label each reel with a unique identifier, then record visible information such as title, date, location, people, reel diameter, and any notes written on the box.
Inspect film on a clean rewinder or viewing bench. Look for dust, warped or shrunken stock, broken perforations, brittle splices, vinegar odor, mold, and curled leaders. A strong vinegar smell can indicate acetate deterioration. It does not mean the film is already lost, but it does mean the reel should be prioritized and isolated from unaffected material.
Avoid projecting damaged film just to see what is on it. A projector can stress weak perforations, pull apart failing cement splices, and add fresh scratches. If content identification is necessary, a professional scan or a gentle inspection setup is safer than repeated projection.
Organize the archive before scanning
A scan without context becomes an anonymous file remarkably quickly. Build a simple inventory spreadsheet or database before transfer begins. Include the reel ID, gauge, approximate runtime, condition, ownership, scan date, and storage location. Add a field for descriptive notes after viewing the scan.
Use a consistent file naming structure from the start. For example, `FAM_0042_1973-07_LakeTahoe_Reel01` is far more useful than `movie-final-new.mp4`. The identifier on the reel, the scan file, the restoration project, and the storage record should all match.
Choose a Scan That Preserves Recovery Options
The scan is the preservation master. Compression decisions made here determine how much latitude remains for dust removal, stabilization, color correction, and future reprocessing.
For valuable material, request or create a frame-by-frame scan rather than a real-time transfer. Frame-by-frame capture avoids the flicker, speed variation, and registration instability commonly associated with projector-based telecine. It also gives restoration tools cleaner image data to analyze.
Resolution should match the gauge and the intended preservation purpose. A high-quality 2K scan is often appropriate for 8 mm, Super 8, and 9.5 mm because it captures the usable image area while providing room for stabilization and modest reframing. For 16 mm, 2K or 4K may be justified, particularly when the film has fine detail, professional origins, or long-term historical value.
Ask for the least processed scan available. Heavy sharpening, noise reduction, contrast boosts, and baked-in color correction can destroy detail or make later restoration harder. A flat or log-style scan may look muted initially, but it retains more usable tonal information for grading. If possible, retain the full frame including edges and perforation area. Those edges can be essential for perforation-based stabilization.
For preservation files, use an edit-friendly, low-loss or lossless format such as FFV1 where the workflow supports it, or another high-bit-depth archival intermediate. Delivery files for relatives can be H.264 or H.265, but those should not be the only copies. A small MP4 is a viewing derivative, not an archive master.
Restore Defects Without Erasing the Film
Restoration should solve mechanical and photographic defects while keeping the original character of the footage. Grain is part of film. So are certain exposure shifts, soft lenses, and the occasional hand-held movement. Removing every trace of those qualities can produce footage that looks synthetic, waxy, or historically false.
A disciplined restoration workflow generally follows the order in which defects affect later processing:
- Correct frame registration and stabilize image movement.
- Repair or reduce visible splice flashes, frame jumps, and damaged frames.
- Remove transient dust, dirt, and scratches.
- Apply restrained grain reduction where it improves readability.
- Correct color, gamma, exposure, and flicker.
- Encode preservation and viewing deliverables from the restored master.
Stabilization deserves special attention. Generic motion stabilization can mistake a moving person, a passing car, or a camera pan for unwanted shake. For film scans, perforation-based methods are often more reliable because they track the mechanical reference of the film itself. A tool such as Perfo Lock can stabilize the frame from the perforation area, preserving intended camera movement rather than flattening it.
Dust and dirt removal also needs restraint. Temporal filters such as RemoveDirtMC can identify defects that appear for only one or a few frames, but aggressive settings may blur fine textures, faces, hair, or moving details. Preview short representative sections at full resolution before batch-processing an entire reel. A sunny outdoor scene, a low-light interior, and a fast-motion segment may need different settings.
Color correction is not a search for modern color. It is a search for plausible color based on the film stock, lighting, and surviving image information. Correct obvious magenta, cyan, or yellow casts, recover neutral blacks and whites where possible, and protect skin tones. GamMac-style gamma and color controls can be more useful than a broad automatic correction because they let the operator evaluate each adjustment rather than accepting a global guess.
Keep an untouched scan
Never replace the original scan with the restored version. Keep both, along with the restoration project or processing notes. Future tools may recover more detail, and a family member may prefer a lighter restoration that retains more grain or a different color interpretation.
This is where a structured Windows workflow can save substantial time. AvyScan Lab combines AviSynth+ processing with visual controls for inspection, preview, batch processing, Perfo Lock stabilization, splice cleanup, and professional encoding. The value is not automation for its own sake. It is the ability to apply specialized film-restoration operations consistently while still reviewing the result before committing to a full render.
Preserve Sound and Sync Carefully
Some 8 mm, Super 8, and 16 mm films include magnetic or optical sound. If sound is present, capture it separately or through a scan system designed to preserve synchronization. Do not assume that a silent-looking reel is silent, especially with Super 8 sound cartridges or 16 mm prints.
Sound sync can drift when film shrinkage, transfer speed, or dropped frames are involved. Verify sync against recognizable events such as a door closing, applause, or speech. Save the original audio capture as well as any cleaned version. Noise reduction may improve intelligibility, but excessive processing can introduce metallic artifacts and erase room tone that is part of the recording.
Build Storage Around Redundancy and Verification
Preservation is not finished when files are exported. Digital files require active management. Keep at least three copies: a primary working copy, a local backup on separate storage, and an off-site copy. The off-site copy can be cloud storage or a drive stored in another location, but it should not depend on the same building, account, or single device as the primary archive.
For each reel, retain the original scan, the restoration master, a high-quality access file, audio files where applicable, project settings, and a text record of the work performed. Store checksum information when possible so you can verify that files have not changed silently over time.
Review the archive periodically. Open sample files, check drive health, confirm that backups still exist, and migrate the collection before a storage device or codec becomes inconvenient to access. Hard drives are not permanent containers, and cloud storage is not a preservation plan unless it is monitored and paid for over time.
Give the Archive Back Its Meaning
The technical archive protects pixels and sound. The family archive protects context. After restoration, invite relatives to identify people, places, dates, and events while memories are still available. Add that information to your catalog, not only to a video platform caption field that may disappear later.
A carefully scanned and documented reel can outlast the projector that once played it, the box that once held it, and the people who first recognized every face. Preserve the image with technical discipline, then preserve the story with the same care.