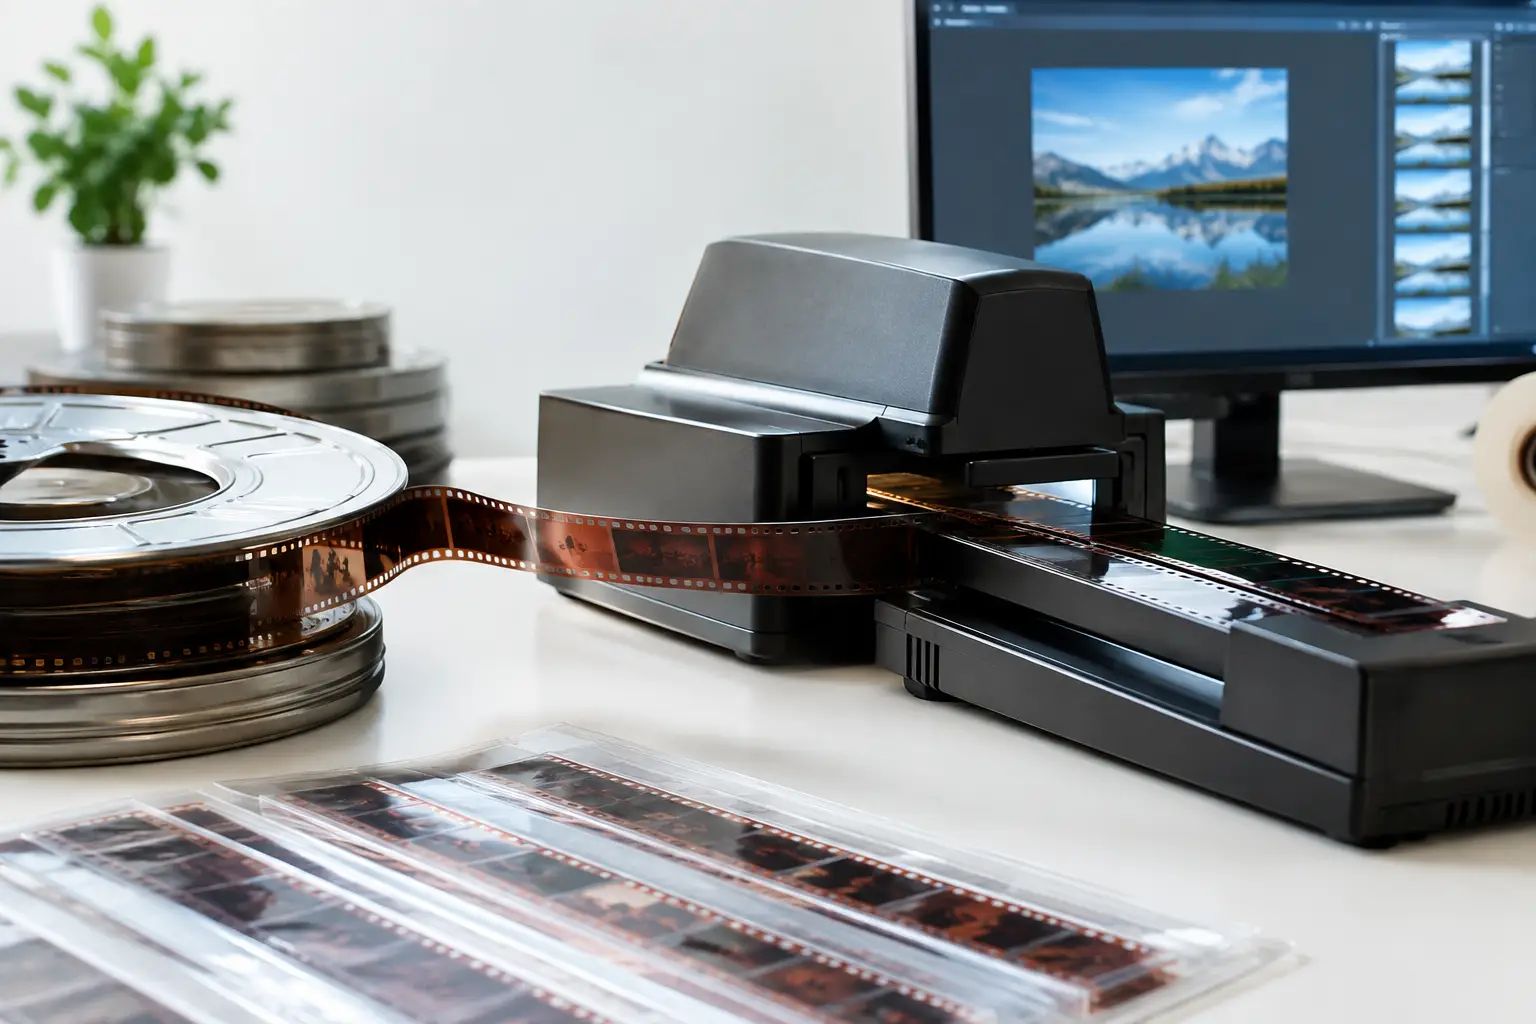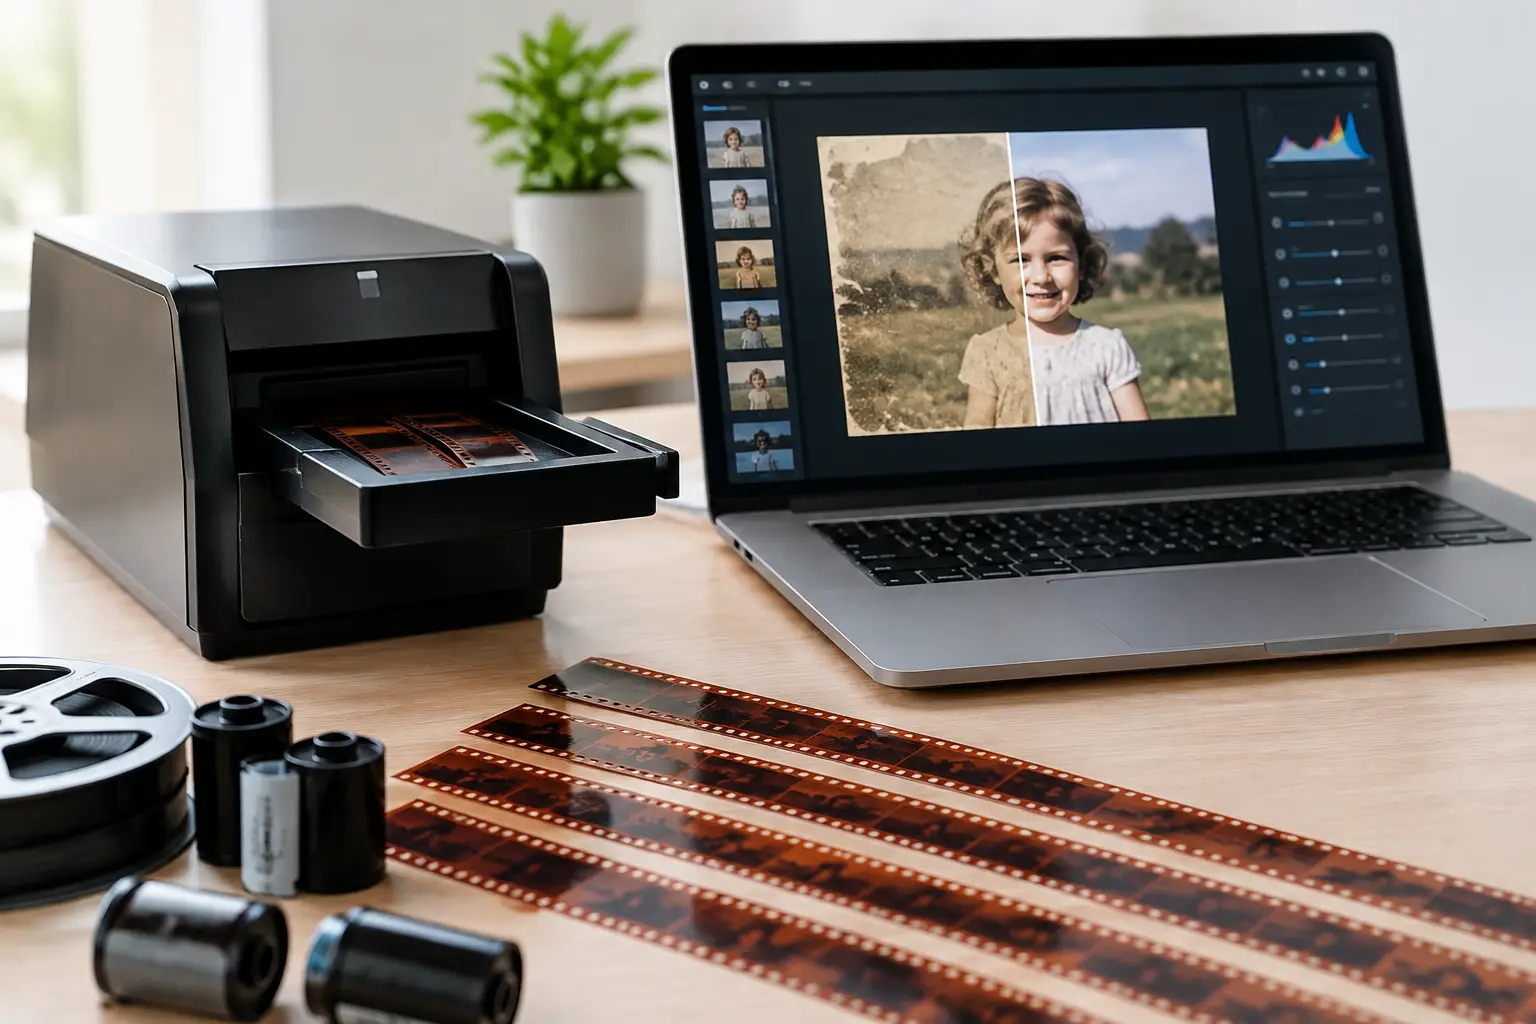

A transfer can be sharp, correctly exposed, and clean of dust, yet still feel unstable because each frame moves by a few pixels. Understanding scan jitter causes is the first step toward correcting the right problem. What viewers call “shaky film” may originate in the original camera, the scanner transport, an imperfect registration method, frame-rate handling, or the stabilization pass itself.
For 8mm, Super 8, 9.5mm, and 16mm material, the distinction matters. A correction designed for camera shake can damage a scan affected by sprocket slip. Likewise, aggressive digital stabilization can conceal a transport defect while introducing cropped edges, warped geometry, or unstable framing around splices.
What Scan Jitter Actually Looks Like
Scan jitter is frame-to-frame positional variation introduced during capture or processing. It commonly appears as a rapid horizontal or vertical vibration, often most visible on title cards, window frames, building edges, or any fixed object near the edge of the image.
It is not automatically the same as gate weave. Gate weave describes the small movement of film within the camera or projector gate, and it may be present in the original footage. Scan jitter is more often a repeatable capture or registration problem. If a stationary edge shifts in a regular pattern while handheld camera movement remains natural, suspect the scan chain before blaming the footage.
The character of the movement provides useful evidence. Random, low-amplitude motion may come from worn perforations or shrunken film. A repetitive hop every few frames can point to capstan behavior, a damaged roller, or a scanner using unstable frame detection. A sudden displacement at a splice usually has a different cause from continuous instability across an entire reel.
The Main Scan Jitter Causes
Film shrinkage, curl, and damaged perforations
Film must be held and advanced consistently for every frame. Aged acetate or polyester stock can curl, cup, shrink, or develop brittle edges. On small-gauge formats, even modest perforation wear can change how the film seats against a sprocket, claw, capstan, or guide.
Super 8 is especially sensitive because its perforation is small and its frame is relatively large. A torn, elongated, or clogged perforation may cause a single-frame shift that repeats whenever the damaged area reaches the transport. With Regular 8 or 16mm, wear may be less visually dramatic but can still defeat pin registration or optical perforation tracking.
Check whether the jitter concentrates in one section of the reel. If it does, inspect that length for shrunken stock, old cement joins, tape splices, edge damage, or warped film. A global correction cannot fully compensate for physical damage that changes from frame to frame.
Inconsistent film transport
Transport instability is one of the most direct scan jitter causes. The film may be pulled unevenly by a capstan, intermittently slip against a drive roller, or encounter resistance at guides, take-up hubs, or reels. Dust, residue, deteriorated rubber, incorrect tension, and misalignment all increase the risk.
A scanner can also become unstable when supply and take-up tension are poorly balanced. Excessive tension may pull curled film away from its intended path. Too little tension can allow slack loops, delayed take-up, or inconsistent contact with the transport components. The resulting motion often has a mechanical cadence rather than the irregular motion of handheld footage.
Before applying software stabilization, confirm that the transport path is clean, the rollers rotate freely, the reel is centered, and the film is not binding. For archival or fragile material, prioritize gentle handling over speed. A slower, stable pass is preferable to a fast capture that produces hundreds of correction-intensive frames.
Registration limitations in the scanner
Not all scanners register film in the same way. Some systems rely mainly on friction transport. Others use sprockets, optical perforation sensing, or pin registration. Each method involves trade-offs.
Friction transport can be gentle and practical for damaged film, but it depends heavily on stable film geometry and consistent traction. Sprocket-driven transport can improve positional control, although damaged perforations can then become the limiting factor. Pin registration generally offers the highest positional precision, but it may not be appropriate for every fragile or shrunken reel.
If jitter is visible across clean, undamaged film and persists from the first frame to the last, the scanner’s registration approach may be the determining factor. This is particularly noticeable when digitizing material intended for restoration, reframing, or high-resolution delivery, where a one-pixel movement remains obvious after sharpening or cropping.
Splices and thickness changes
Splices do not move through a scanner like intact film. Tape splices add thickness. Cement splices may shrink, buckle, or leave uneven edges. Older repairs can have adhesive residue that catches on guides or changes the way the film is held at the gate.
A brief vertical kick, horizontal offset, or exposure disturbance centered on a splice is usually a localized issue. Treat it locally when possible. Stabilizing a wide section around a single join may force stable frames to move unnecessarily.
Specialized splice cleanup can be more appropriate than general stabilization when the defect lasts only a few frames. The goal is to preserve surrounding image geometry and avoid turning a short mechanical event into visible correction artifacts.
Incorrect frame detection or capture timing
Frame detection errors occur when a scanner captures during film movement, misidentifies a frame boundary, or varies its timing from one frame to the next. The result may look like jitter, but the image can also show partial frames, fluctuating framing, or occasional duplicate and skipped frames.
This problem is distinct from physical weave. If the capture sequence contains a duplicate frame followed by a jump, or if motion has a regular stutter unrelated to image position, inspect the source frame count and cadence. A transfer intended to run at 18 fps, for example, can look unstable when interpreted, conformed, or exported at an incompatible rate.
Maintain a clear record of the capture rate, the intended playback rate, and any speed changes made during editing. Frame-rate conversion should be deliberate. It should not be used as an accidental substitute for correcting registration.
Scanner vibration and optical instability
The film path is not the only moving system. Scanner vibration can come from motors, fans, an unstable support surface, or a loose camera assembly. At high resolution, very small physical vibrations can appear as visible frame motion.
Optical changes can also be misleading. Auto exposure, auto focus, or electronically shifting crop boundaries may create the impression of movement, particularly in high-contrast scenes. Disable automated capture controls where the equipment allows it, and use fixed settings for a reel whenever the scene content permits.
A simple diagnostic is to scan a stable test section twice without changing the film setup. If the motion pattern changes between passes, the cause is likely in the transport or capture hardware. If it repeats at the same frames, inspect the film itself.
Separate Original Motion From Transfer Defects
Restoration works best when the operator separates intended camera movement from unintentional frame displacement. Handheld home movies often contain pans, tilts, and operator shake. Those movements belong to the original image and may be part of its character. A static wall drifting left and right while the camera is otherwise locked off is a different signal.
Use a fixed reference in the frame to judge stability. Door frames, horizon lines, buildings, subtitles, and the edge of a projection screen are useful. Compare several shots from the same reel. If the motion appears only during handheld scenes, avoid assuming the scanner is at fault. If it appears in titles, tripod shots, and leader alike, the issue is probably systematic.
Perforation-based stabilization is especially valuable when the image itself contains heavy camera movement. Instead of asking the software to infer stability from scene content, it can use the film’s physical reference. In AvyScan, Perfo Lock is designed for this type of workflow, helping retain natural camera motion while correcting the positional instability introduced by the film path.
A Practical Diagnostic Workflow
Start with the raw scan, before denoising, cropping, speed changes, or image stabilization. Examine it at 100% magnification and advance frame by frame through a stable shot. Identify whether the displacement is horizontal, vertical, rotational, or a combination.
Then compare three areas: clean film, a section with visible perforation damage, and a splice. If only damaged sections jump, use targeted repair and conservative stabilization. If the whole reel weaves consistently, test the transport and registration method. If the instability begins only after export, inspect the project frame rate, field handling, and any resizing or interpolation stages.
Apply stabilization after major frame defects have been assessed but before final sharpening and delivery encoding. Sharpening can make residual jitter more conspicuous, while a crop applied too early can leave insufficient margin for stabilization. Preview the correction on difficult shots, not just on a stable test frame. Watch edges, faces, title cards, and splices for warping or unnecessary image movement.
Correct the Cause Before You Correct the Picture
Software can substantially improve a transfer, but it cannot restore missing physical registration information without making choices. Strong stabilization may produce a quieter image while sacrificing border area or creating subtle motion artifacts. The appropriate setting depends on the material, the intended output, and whether the reel is a family record, a preservation master, or a commercial restoration source.
The most reliable results come from a controlled capture followed by measured correction: clean transport, stable frame detection, accurate cadence, then stabilization tailored to the actual defect. When each frame has been captured consistently, restoration tools can spend their effort preserving the film’s image rather than compensating for preventable motion.