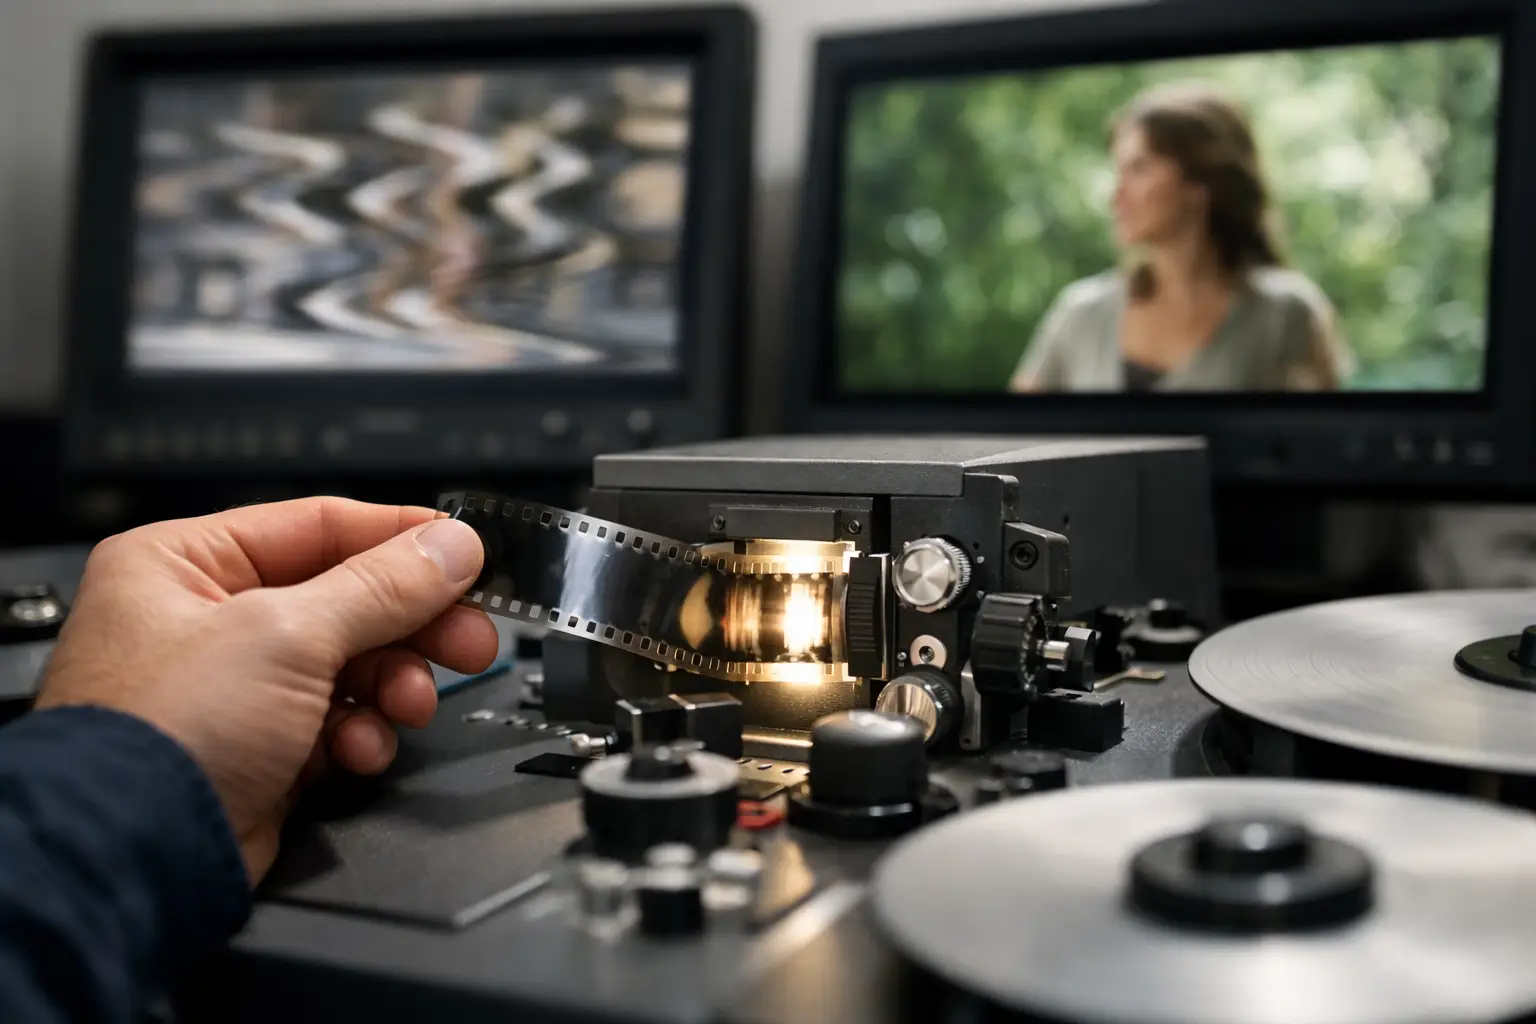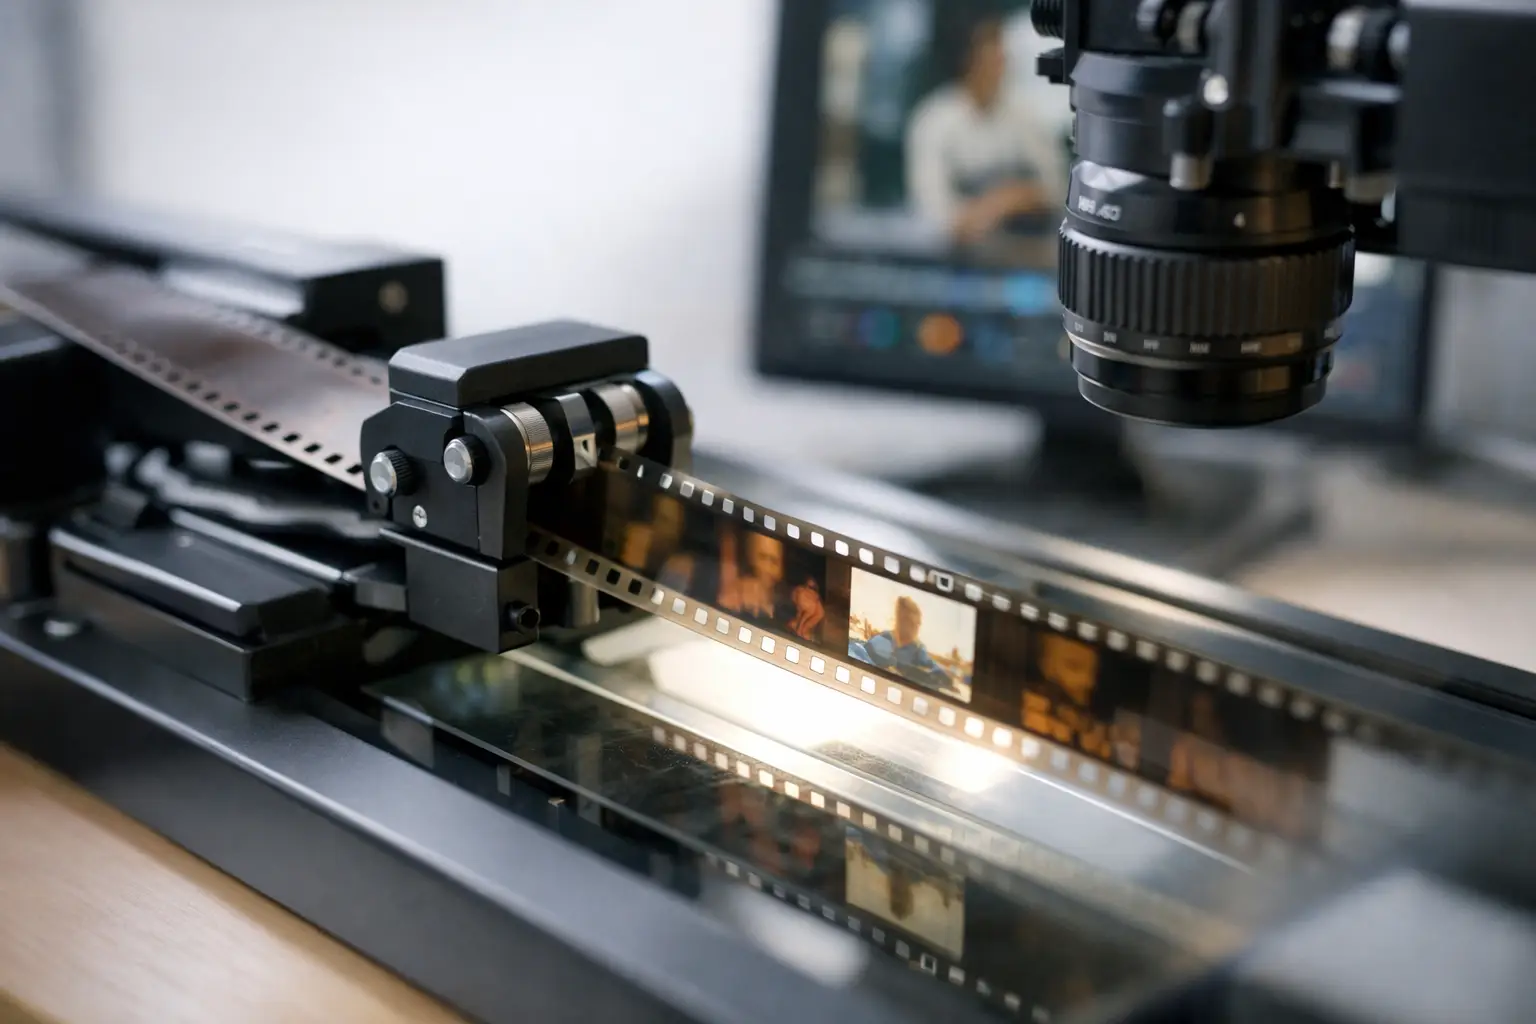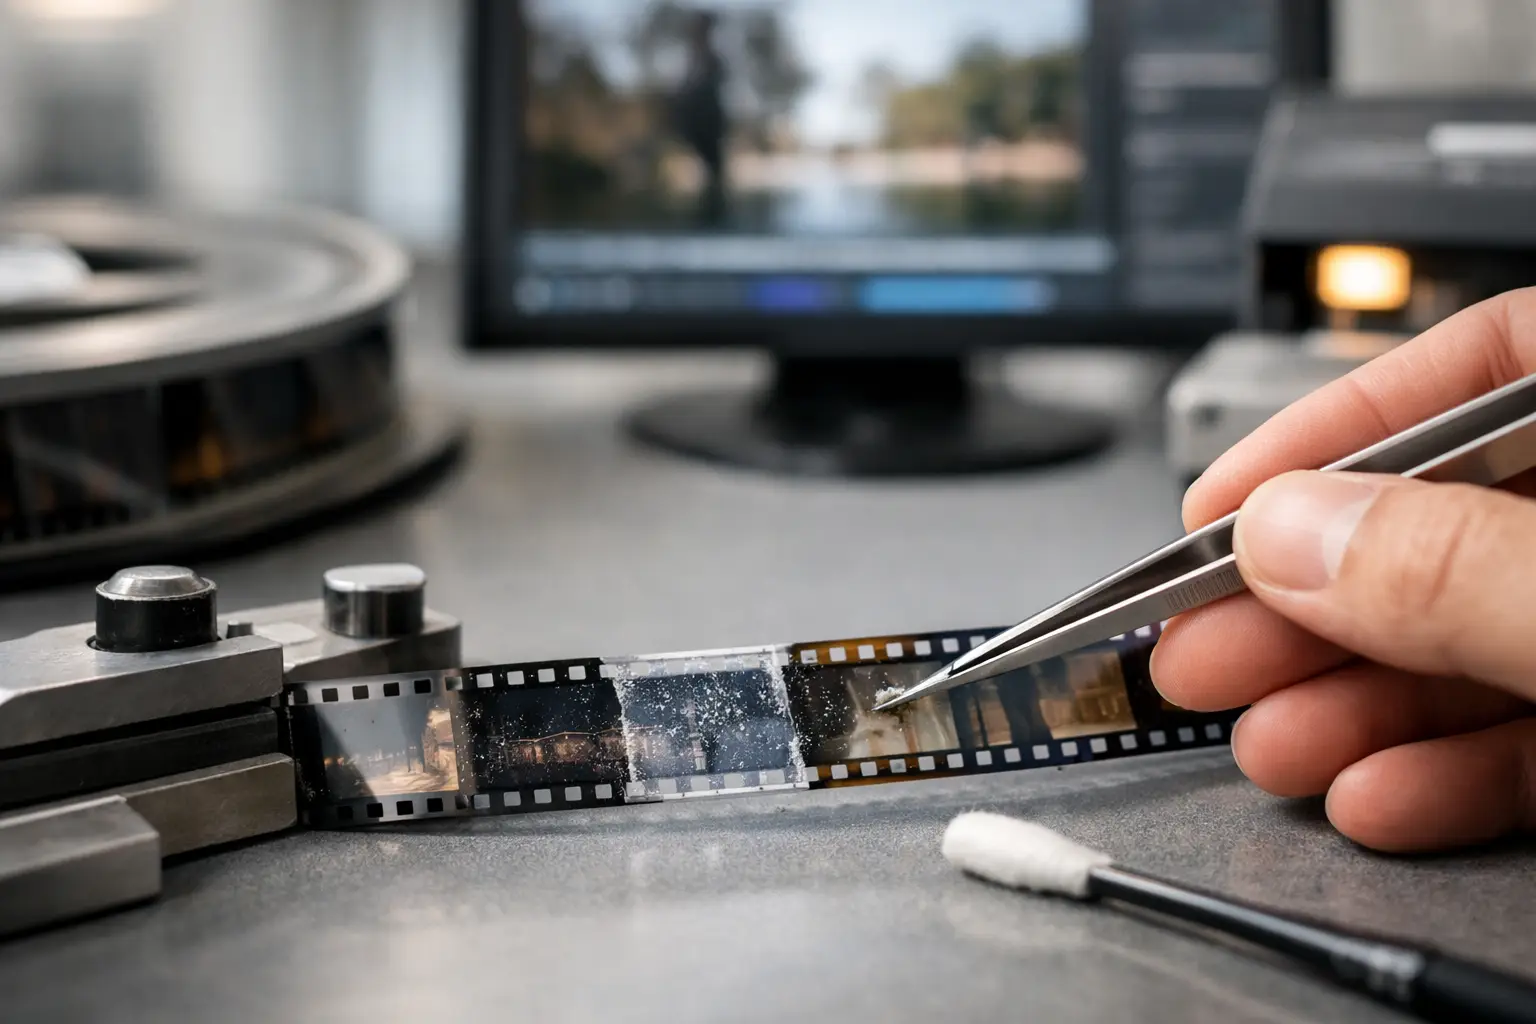
A clean reel transfer can still fall apart at every splice. One bad cement join or tape repair can create a bright flash, a warped frame, a sudden jump, or a short burst of instability that survives scanning and becomes painfully obvious in playback. That is why film splice cleanup software matters. It is not a cosmetic extra. On 8 mm, Super 8, 9.5 mm, and 16 mm material, splice defects are often among the most distracting artifacts in the entire restoration chain.
What film splice cleanup software is supposed to fix
A splice defect is rarely just one thing. In practice, it can combine density changes, missing image area, frame deformation, local misregistration, and abrupt cadence shifts over two to six frames. Generic video cleanup tools often treat this as ordinary flicker or as a simple damaged-frame problem. That approach can help a little, but it usually misses the mechanical nature of the defect.
Good film splice cleanup software starts from the reality of scanned film. A splice may create a flash because adhesive, tape, or overlap changes the way light passes through the frame. It may also produce a positional bump because the film did not sit perfectly flat during capture. On shrunken or heavily handled stock, the problem is worse. The image can jump while the perforation reference itself becomes less reliable near the join.
That is why splice correction needs to be evaluated as part of a wider restoration workflow, not as a standalone filter. If the software cannot work in coordination with stabilization, dust removal, grain management, and color correction, the result often looks patched rather than restored.
Why generic tools often struggle
Most NLEs and standard video repair tools were not designed around film-specific defects. They assume a continuous digital source with predictable frame geometry. Splice damage breaks that assumption.
If you try to hide a splice flash with a dissolve, you may suppress the bright frame but soften detail around the join. If you replace a damaged frame by interpolation alone, motion can smear, especially on handheld amateur footage or fast lateral movement. If you stabilize first without understanding the splice, the correction may lock onto a damaged frame and create a visible wobble.
This is where specialized film splice cleanup software has an edge. It can treat the splice as a short event with its own logic, then fit that correction into the rest of the pipeline. For archival work, that difference matters. You are not just making the defect less visible. You are preserving continuity while minimizing collateral damage to grain structure, edge detail, and natural motion.
What to look for in film splice cleanup software
The first requirement is frame-level control. Splice defects happen quickly, and broad timeline corrections are too blunt for precise work. You need a way to preview the damaged area frame by frame, identify the exact extent of the event, and apply a localized correction rather than a global compromise.
The second requirement is motion-aware reconstruction. A splice flash often sits between otherwise usable frames. The software should be able to rebuild continuity using temporal analysis, not just duplicate the previous frame. Technologies based on motion vectors can be very effective here, but only when they are implemented with care. Aggressive interpolation can introduce halos, motion tearing, or synthetic-looking movement.
The third requirement is compatibility with stabilization. On film scans, splice defects and registration problems often appear together. If the software can combine splice cleanup with perforation-based stabilization, the result is markedly stronger than trying to correct each issue in isolation.
The fourth requirement is predictable preview and export behavior. Restorers need to know that what they see in preview is representative of the final render. If the software hides the real processing cost or changes behavior at export, decision-making becomes slow and unreliable.
Film splice cleanup software in a real restoration pipeline
In a serious workflow, splice cleanup usually sits after initial assessment and before final encoding. You ingest the scan, inspect the reel for recurring defects, stabilize if the scan geometry requires it, correct splice events, then move into dust and dirt reduction, grain treatment, color balancing, and output encoding.
Order matters. If you remove dirt before dealing with a splice flash, some temporal filters may misread the defect and leave a pulsating artifact. If you apply heavy grain reduction too early, you can erase useful texture that helps the software reconstruct the damaged section more naturally. There is no single rule for every reel, but splice cleanup should be handled early enough that downstream tools see a more stable and coherent image sequence.
This is particularly true on reversal film from home movies, where exposure varies, edits were often made manually, and stock condition is inconsistent across the reel. A professional-looking result depends less on one magic filter than on a controlled sequence of corrections.
The practical difference between manual and integrated cleanup
Some operators still patch splices manually in an editor. For isolated defects, that can work. You trim a frame, blend another, hide a flash, and move on. But this approach becomes inefficient when you are processing multiple reels or archive collections with hundreds of joins.
Integrated film splice cleanup software changes the economics of the job. Instead of building one-off fixes in a timeline, you work inside a restoration environment designed for repeated film defects. You can preview quickly, tune the correction, compare before and after, and render within the same pipeline used for dust, stabilization, and encoding.
That is where a dedicated application built around AviSynth+ has a clear advantage over a generic editor. Advanced methods such as MVTools2-based temporal analysis or RemoveDirtMC-style cleanup are powerful, but many users do not want to script them manually for every damaged section. A visual interface makes those methods usable at production speed.
When cleanup helps, and when it can go too far
Not every splice should be treated aggressively. If the original edit includes a deliberate hard transition, overcorrection can flatten that cut and make the reel feel unnaturally processed. The goal is to remove the defect created by the physical splice, not to erase the editorial rhythm of the film.
There is also a trade-off between concealment and authenticity. Archives may prefer a light intervention that keeps the source honest, while commercial delivery often calls for a cleaner visual experience. The best film splice cleanup software gives you enough control to choose the right threshold for the project.
This is especially important with fine-grained 16 mm material or well-exposed Kodachrome, where image integrity is high and defects stand out sharply. A heavy-handed fix can be more objectionable than the original splice mark. By contrast, on damaged 8 mm family reels with unstable exposure and dense grain, a stronger correction may be justified because the defect is already competing with multiple sources of noise.
What efficient tools do for high-volume work
If you are running a digitization service or processing a large personal archive, speed is not just convenience. It determines whether restoration remains financially and operationally realistic.
Efficient film splice cleanup software should support repeatable presets, responsive preview, and reliable batch export. It should also fit naturally beside professional output options such as FFV1 for preservation masters or x264 and x265 for delivery files. If you are moving between mezzanine and access copies, consistency matters as much as raw correction quality.
This is one reason specialized film restoration platforms have become attractive to small labs and independent restorers. They narrow the gap between industrial systems and improvised consumer workflows. AvyScan Lab, for example, approaches splice cleanup as one component inside a broader film-focused chain that also covers perforation lock stabilization, dust and spot removal, color correction, sound synchronization, and final encoding. That integration saves time because the operator does not have to jump between unrelated tools or write custom scripts for every reel.
How to judge results before you commit
The most useful test is not a perfect reel. It is a difficult one. Take a scan with several visible joins, mixed exposure, and some gate instability. Preview the splice area at full size. Check whether the flash is reduced without introducing motion artifacts. Then inspect the surrounding grain. If the corrected frames look waxy, blurred, or temporally unstable, the method is too aggressive.
Also review exports frame by frame. Some splice fixes look acceptable in motion but break down on close inspection. Others survive inspection but still call attention to themselves during playback because they alter cadence. Strong software gets both right, or at least lets you balance the trade-off consciously.
For many users, that balance is the real buying criterion. They do not need an abstract list of filters. They need a controlled way to restore splice-damaged scans while keeping the original film character intact.
Film restoration gets easier when the software understands film as film, not just as damaged video. If your scans are being held back by splice flashes, frame bumps, and short bursts of instability, the right tool should let you correct those defects precisely, preview the effect immediately, and move on with the rest of the reel instead of fighting the workflow.