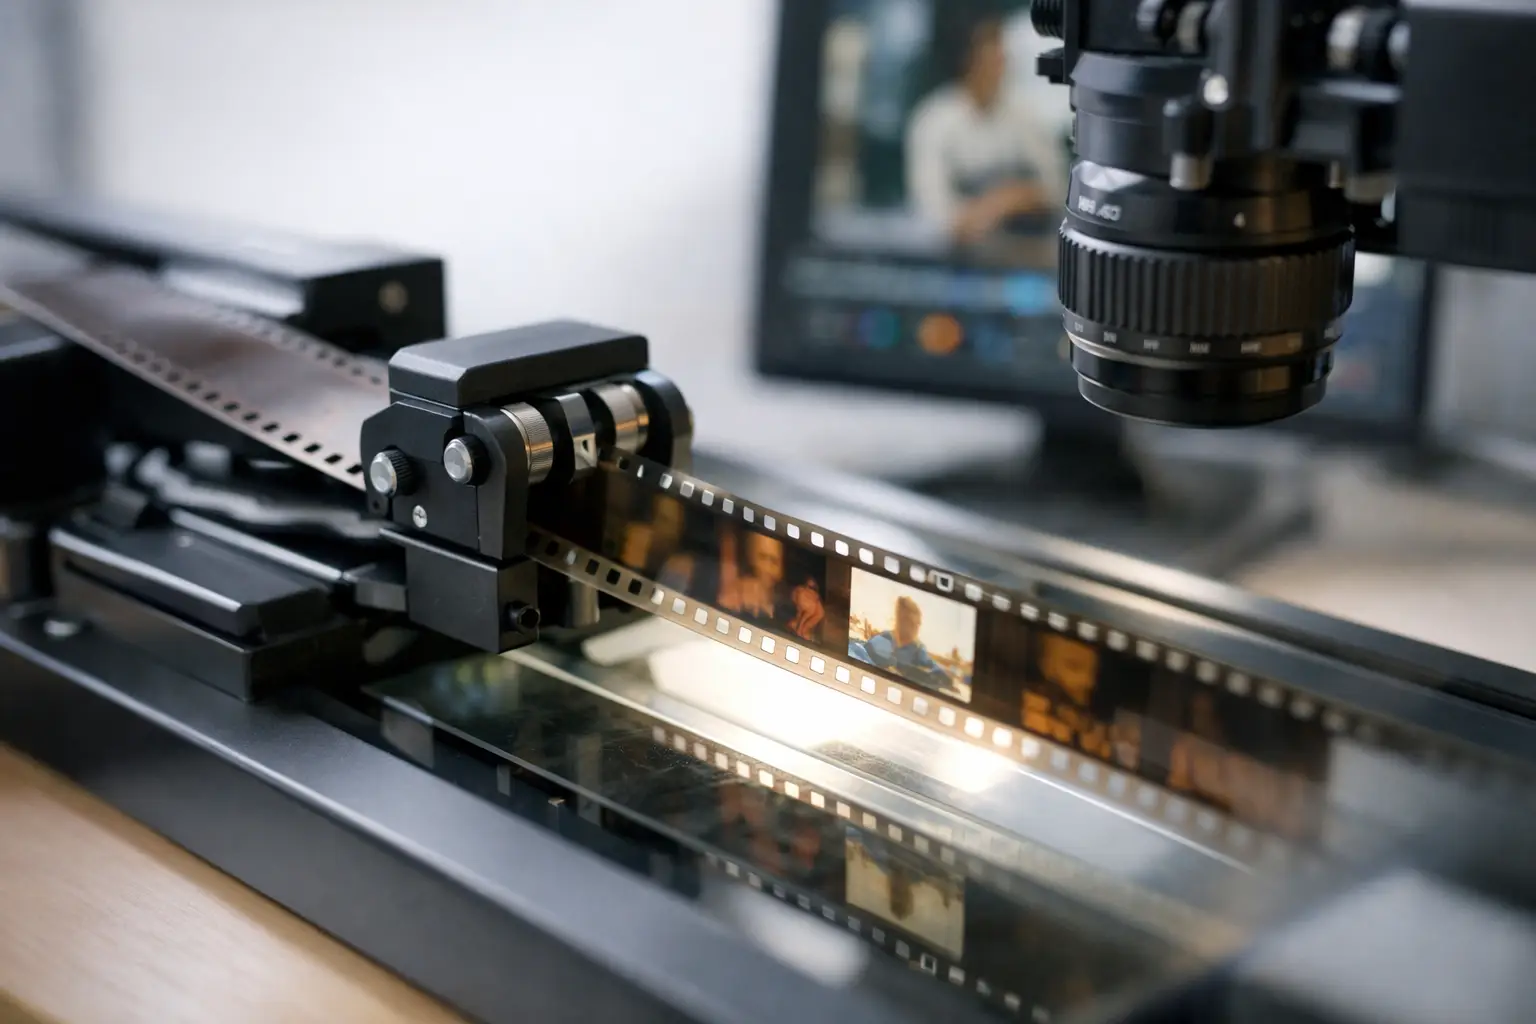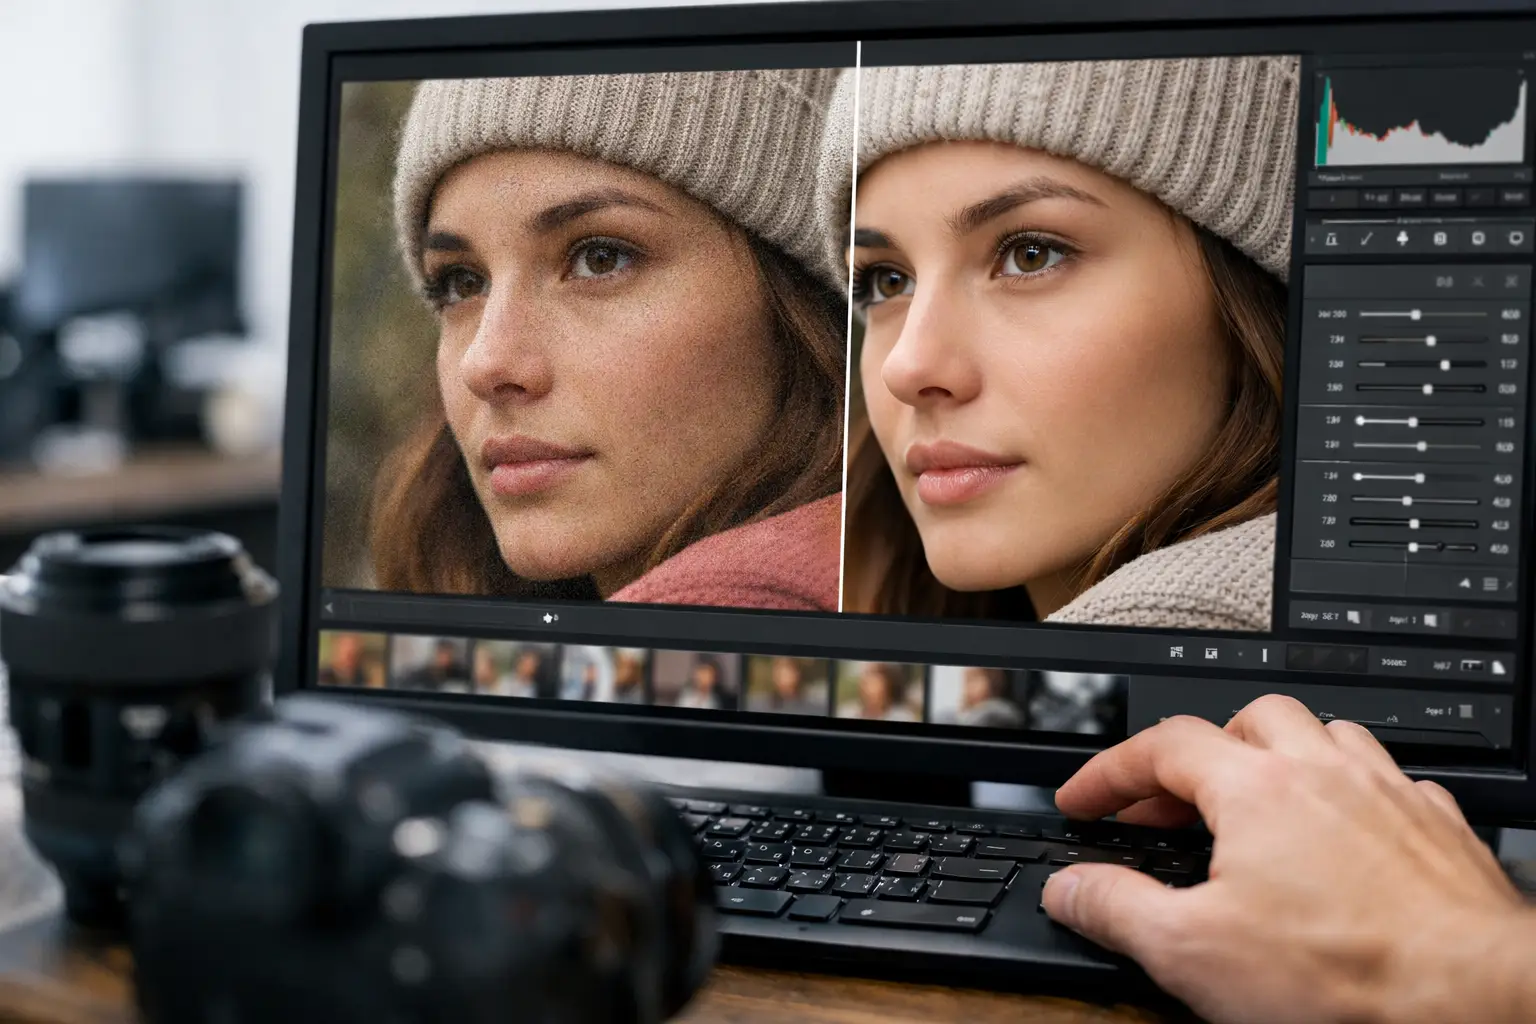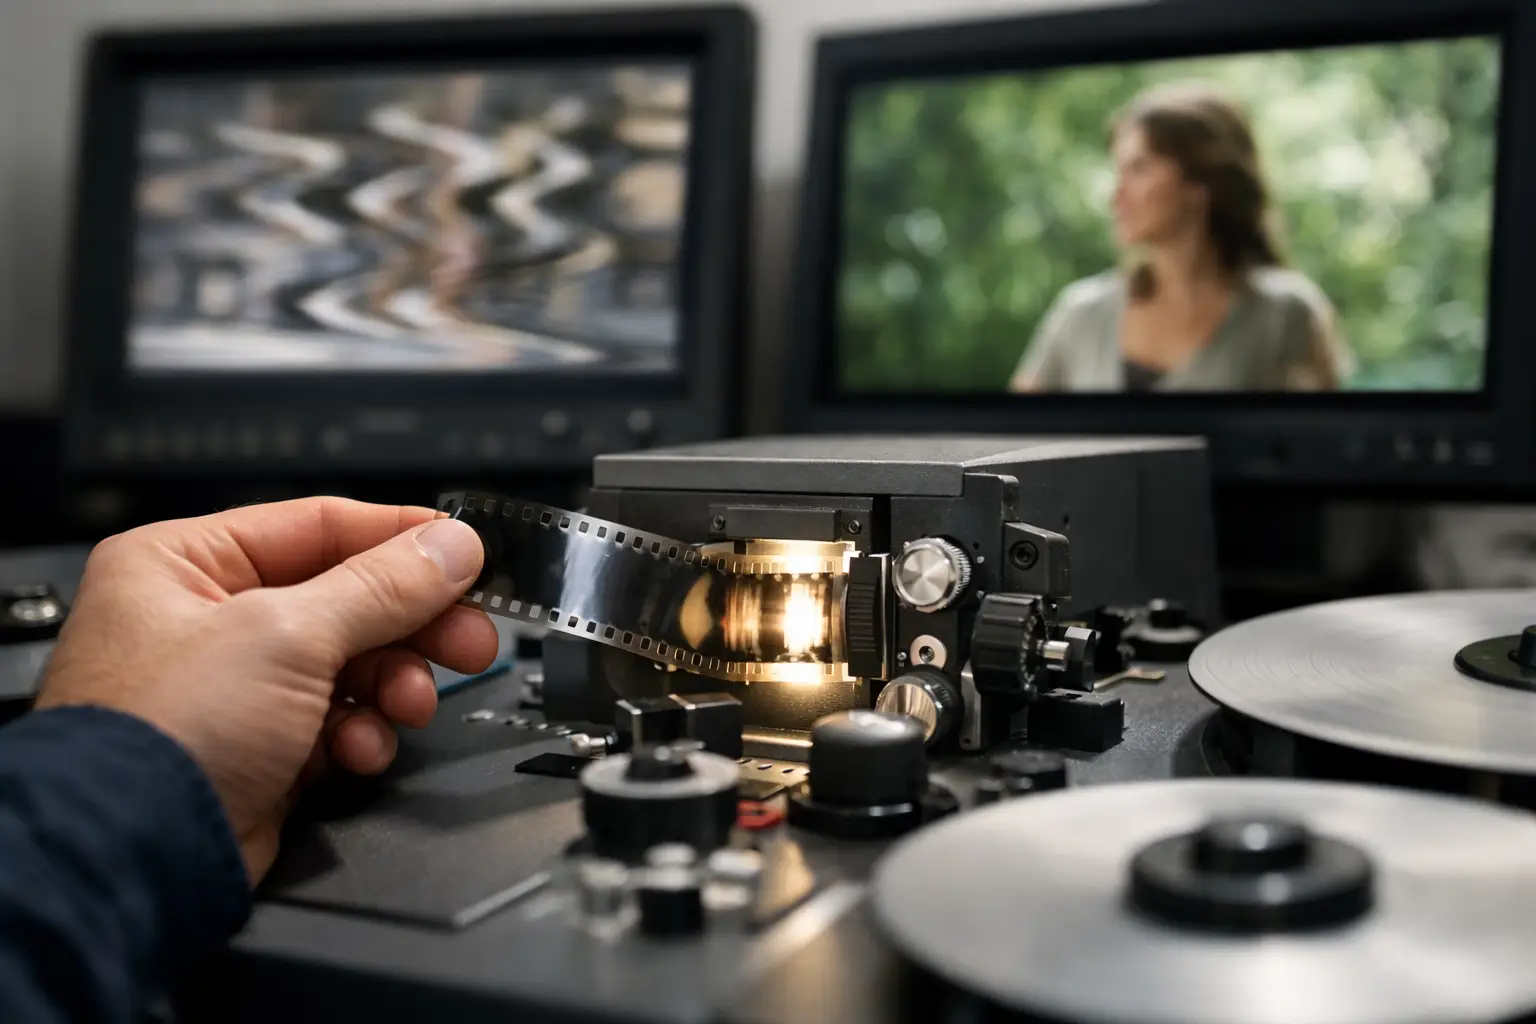
A telecine transfer can look sharp, properly exposed, and clean on first inspection, then fall apart as soon as straight edges start drifting left and right. That lateral instability is exactly why many restorers need to fix gate weave in telecine before they touch grain, dust, or color. If the image is not mechanically stable at the start of the pipeline, every later correction becomes less reliable.
Gate weave is often described too casually as “shakiness,” but that hides the real issue. In film scanning and telecine, weave is usually a frame-to-frame positional error caused by imperfect film transport, worn perforations, gate play, shrinkage, bad splices, or scanner registration that does not fully constrain the frame. On small-gauge material, especially 8mm and Super 8, even minor transport variation becomes visible because the picture area is small and perforation damage is common.
What gate weave really looks like in telecine
Not every unstable shot is gate weave. Handheld camera motion, projector jitter present in the original photography, warped film, and scanning bobble can look similar, but they do not behave the same way. True gate weave usually appears as a repeating side-to-side or slight vertical drift where the whole frame shifts relative to the scan window. Titles, door frames, and background architecture make it obvious.
A useful diagnostic is to step through a short section frame by frame and watch the frame line, sprocket relationship, or a fixed border if it is visible in overscan. If the content moves but the film boundary remains stable, that may be camera motion. If the entire image area shifts relative to the scan raster, you are dealing with transport instability and registration error.
This distinction matters because the correction method changes. Content stabilization tries to lock the visual scene. Perforation stabilization tries to lock the film itself. For archival film work, the second method is usually preferable when the scan includes enough information to track registration accurately.
Fix gate weave in telecine at the right stage
The most common workflow mistake is correcting weave too late. If you denoise, crop tightly, or run aggressive dirt removal first, you remove tracking detail and make motion estimation less trustworthy. Stabilization should happen very early, ideally immediately after ingest and before cosmetic restoration.
That does not mean it is always first with no exceptions. If your scan contains severe flicker, crushed blacks, or unstable borders that confuse the tracker, a light preconditioning pass can help. A modest levels adjustment or border mask may improve registration. But heavy temporal filtering before stabilization usually reduces precision.
A practical order for most telecine material is simple: ingest the scan, inspect cadence and frame integrity, stabilize weave, then address dust, scratches, grain, and color. Splice repair may need to happen just before or just after stabilization depending on how broken the frame path is. A bad cement splice can throw tracking off so hard that it needs its own local treatment.
Perforation tracking vs content tracking
If your scan includes sprocket or edge information, use it. Perforation-based stabilization is the most reliable way to correct gate weave without fighting intentional camera motion. You are not asking the software to guess what the scene should do. You are locking the image to a mechanical reference on the film strip.
This is especially valuable on 8mm, Super 8, 9.5mm, and 16mm transfers where camera moves, zooms, and handheld shots are common. A content tracker may wrongly suppress legitimate movement or create floating backgrounds. Perforation tracking avoids that because it follows the film transport geometry rather than the photographed action.
When edge or perfo data is unavailable because the telecine was tightly cropped, content stabilization is still workable, but it requires more caution. Choose stable, high-contrast areas that persist across frames. Avoid faces, moving foliage, water, smoke, and flashing exposure changes. If the shot contains pans or reframing, use settings that separate global drift from intentional motion. Too much correction can make the shot feel pinned unnaturally to the screen.
When content stabilization is the only option
A cropped legacy telecine often leaves no physical reference. In that case, the goal is not perfect registration at any cost. The goal is reducing mechanical weave while preserving the shot’s original movement. That usually means lower correction strength, larger analysis windows, and selective scene-by-scene tuning.
Motion-estimation tools can help, especially when they allow translation-only correction before you attempt rotation or scaling compensation. Gate weave is typically small positional displacement, not a full geometric distortion. If you enable every transform parameter by default, the software may start solving problems that are not there.
Settings that usually work - and settings that cause damage
Small-gauge film rewards restraint. Start with translation correction and only add rotation if inspection proves the frame is rocking rather than drifting. Scaling correction is rarely needed for basic gate weave and can introduce breathing if the tracker is uncertain.
Search radius should match the actual defect. If weave is within a few pixels, a very large search area often increases false matches. The same principle applies to smoothing. A little temporal smoothing reduces jitter; too much creates lag and can smear the transition around splices, flash frames, or abrupt edits.
Border handling also deserves attention. Every stabilization pass creates moving edges. If you crop too early, you throw away image area you may want later. If you leave the borders untreated, the repaired image can look worse than the original because the viewer notices black edge pulses. The better approach is to stabilize with a modest safety margin, then decide whether to crop, resize, or fill borders after the image is locked.
One more trap is stacking stabilizers. If the scanner already applied hidden electronic stabilization and you run a second strong pass, the result can oscillate or produce micro-corrections that look synthetic. Check whether the transfer was “helped” upstream before assuming all movement is raw film weave.
Why splices, shrinkage, and damaged perf matter
Film restoration is rarely uniform from first frame to last. A reel can be stable for 200 feet and then start wandering because a splice was rebuilt badly or a damaged perforation reaches the transport. If you apply one global stabilization recipe to the whole reel, those problem sections often fail.
This is where segment-based work pays off. Treat stable sections with standard settings, then isolate splice regions, torn perf sections, or shrinkage-heavy passages for custom correction. In some cases you may need to bypass a few frames, repair alignment manually, and continue with automatic tracking afterward.
Perforation damage creates a specific issue: the tracker may “lock” onto the wrong edge because the hole shape is broken. On 9.5mm and 16mm, where registration geometry differs from Super 8, the tracking region must match the film format precisely. Generic stabilization designed for video footage does not understand these physical constraints. Specialized film workflows do.
A practical restoration workflow for telecine weave
The fastest reliable workflow is not the one with the most filters. It is the one that keeps registration clean from the start. Begin with an overscan master if possible, preferably in a mezzanine or lossless format such as FFV1 or a high-quality 4:2:2 or 4:4:4 intermediate. Analyze a few representative sections rather than the easiest shot on the reel.
Stabilize next, using perforation lock when the scan includes usable edge detail. On cropped transfers, use content tracking conservatively and verify that pans still read naturally. After that, move into dirt and dust suppression, grain management, and color correction. Temporal tools such as MVTools2-based processes and dirt cleanup filters behave better once the frame no longer wanders.
If the material contains frequent bad joins, treat splice cleanup as part of stabilization, not as an afterthought. A splice bump can generate false motion vectors, bad dust matches, and unstable framing all at once. In a dedicated film workflow, this is where tools built around perforation behavior save time. AvyScan Lab, for example, approaches this with format-specific stabilization logic and splice-aware cleanup instead of treating film like ordinary shaky video.
What good correction looks like
When you successfully fix gate weave in telecine, the result should not call attention to itself. Titles stop crawling. Vertical architecture holds steady. Grain remains attached to the frame instead of seeming to swim independently. Most importantly, camera movement still looks like camera movement.
That last point is the quality check many operators skip. If a handheld shot suddenly feels tripod-mounted, or a slow pan develops tiny hesitations, the stabilization is too aggressive or tracking the wrong reference. Mechanical defects should disappear. Photographic intent should remain.
The right target is not mathematical stillness. It is stable registration that respects the film, the scan, and the shot. That is the standard worth aiming for every time you bring a telecine transfer back under control.