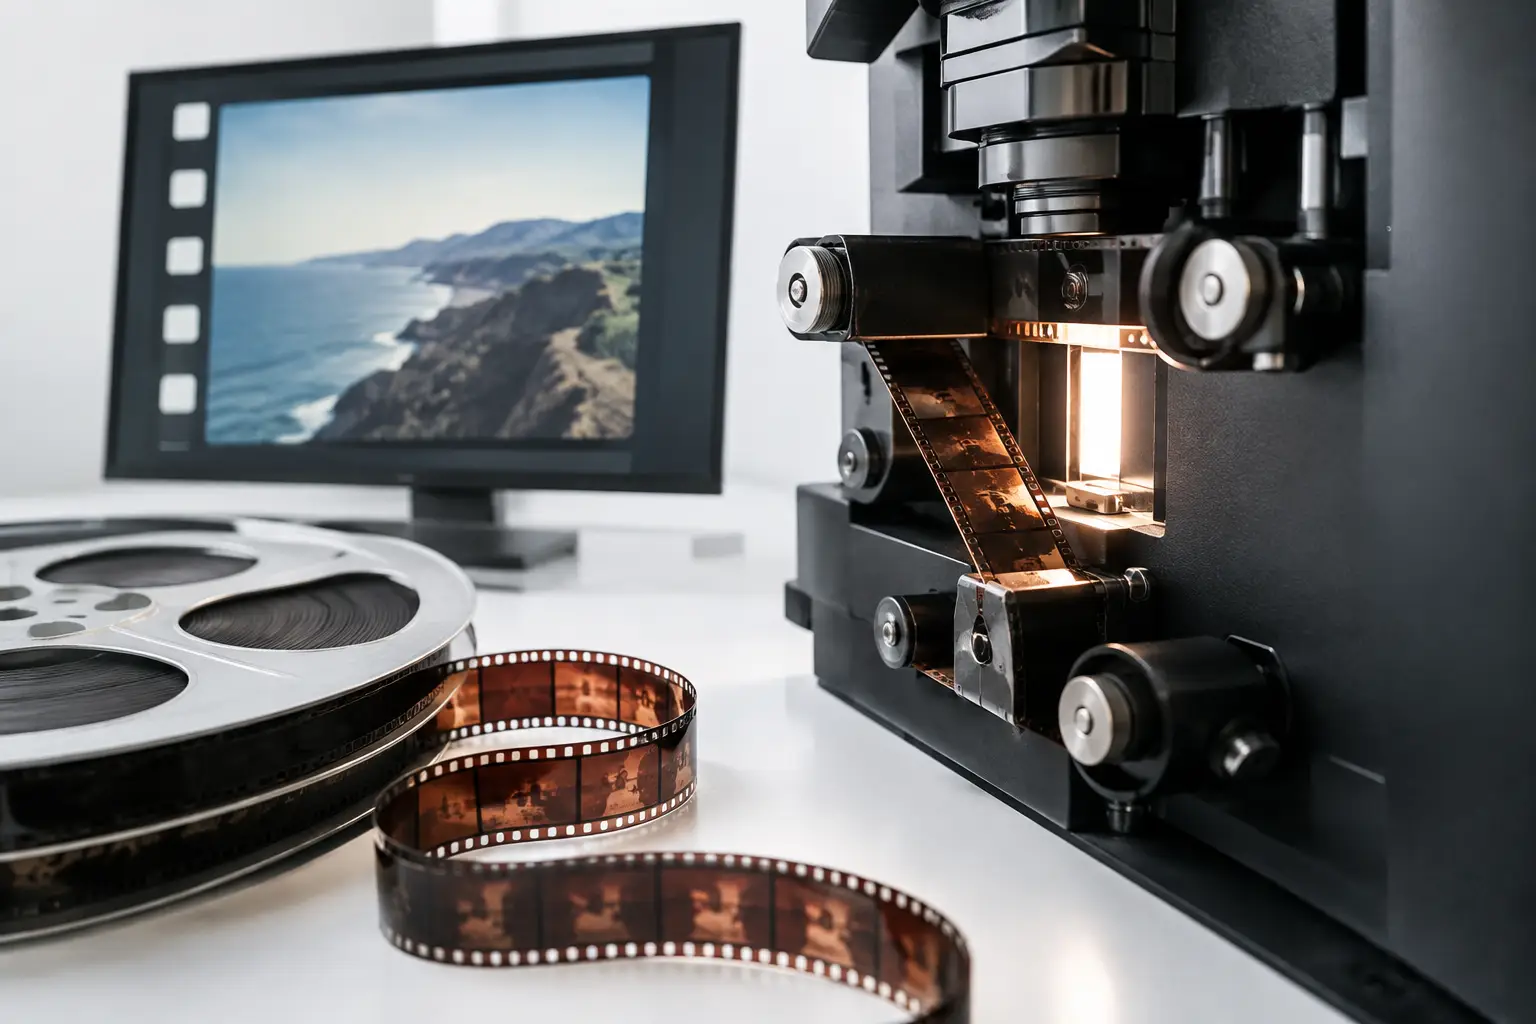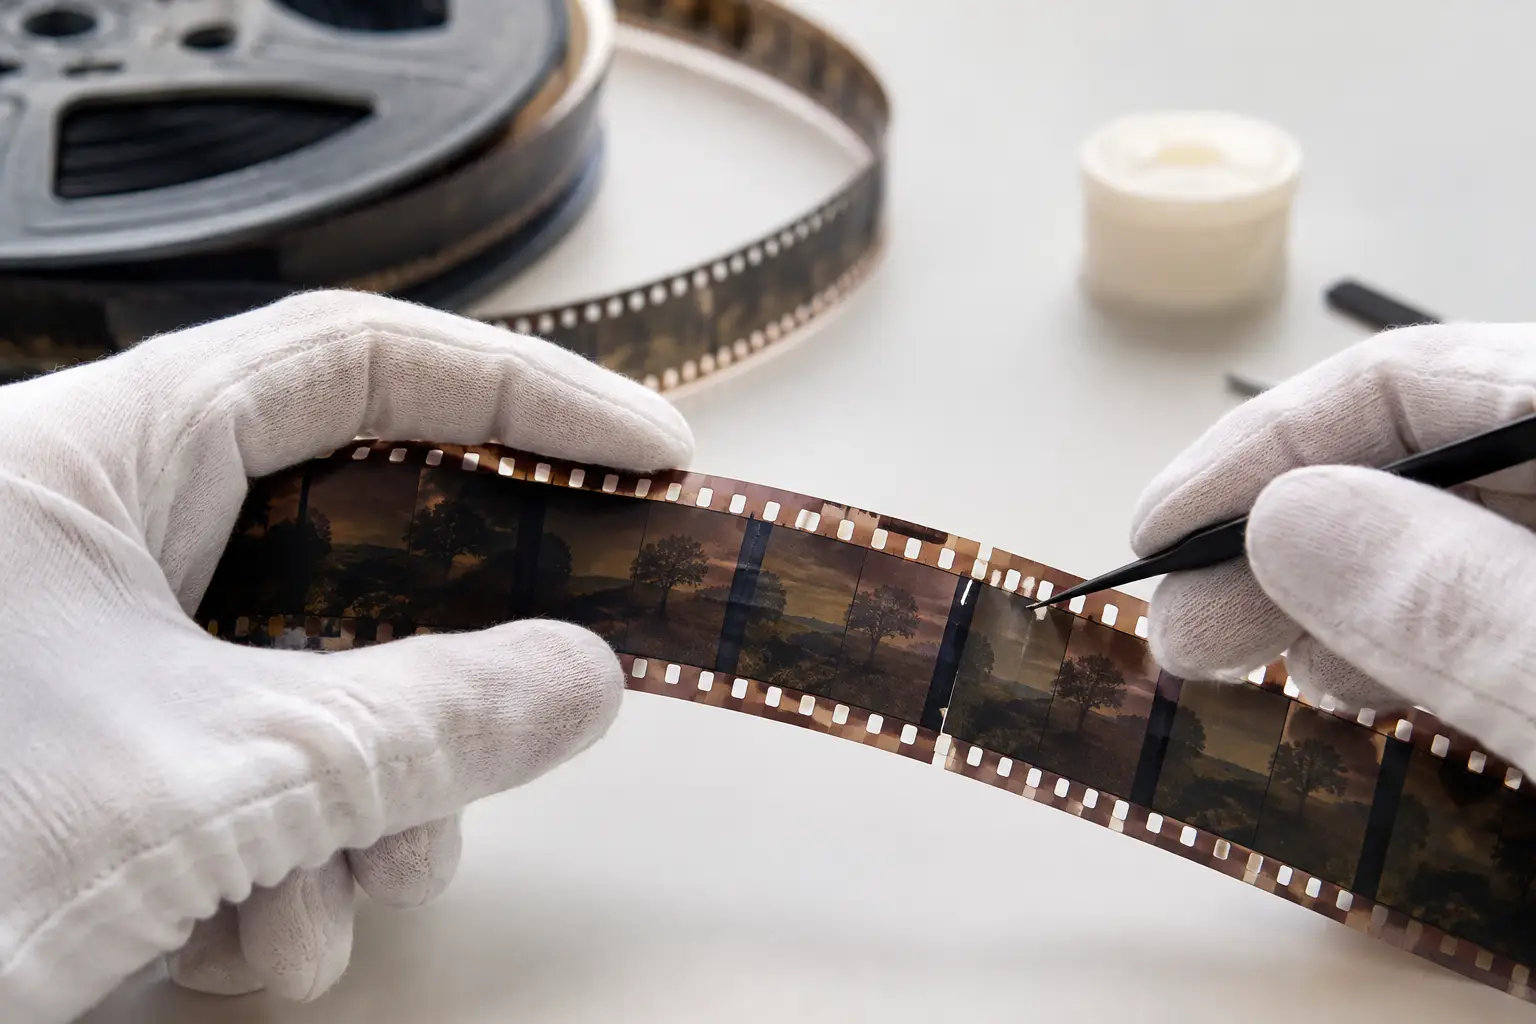
A torn sprocket hole can turn a clean scan into a sequence of jumps, weave, and transport stalls. Knowing how to repair film perforations starts with recognizing that the goal is not to make old film look new. It is to make the film safe enough to handle, scan, and preserve without sacrificing frames, enlarging tears, or creating a repair that fails in the next projector or scanner.
For 8 mm, Super 8, 9.5 mm, and 16 mm, perforation damage is both a mechanical and an image-quality problem. The perforation tells the transport where each frame belongs. When its edge is stretched, chipped, or missing, the film may slip against a sprocket, lose registration, or stop altogether. A physical repair can reduce further damage, but it cannot restore missing base material perfectly. The scan and restoration workflow must often finish the job.
How to Repair Film Perforations: Diagnose Before Touching
Place the film on a clean rewinder or inspection bench and examine the affected section under diffuse light. Do not pull the film through a projector to find the problem. If the perforation is already torn, a projector claw or sprocket can convert a small split into a lost frame or a full break.
Look for the pattern, not just the worst hole. A single nick beside a splice calls for a different approach than ten consecutive elongated perforations. Determine whether damage is limited to one edge, whether the film is curled or shrunken, and whether old tape, cement, or residue is present. On Super 8 and 16 mm, identify whether the damaged perforations are on the side used for transport in your scanner. On 9.5 mm, the center perforation demands extra caution because its position is close to the image area.
Film condition changes the decision. Flexible acetate film with a clean tear may tolerate localized reinforcement. Brittle, warped, heavily shrunken, or vinegar-affected film should not be forced through consumer repair tools. If the base cracks when gently flexed or gives off a sharp vinegar odor, isolate it from healthy reels and seek an archival film technician before attempting transport.
Match the Repair to the Damage
The safest repair is the smallest repair that lets the film pass through a scanner without further stress. A repair should never cover active picture area, obstruct the next perforation, or add a thick edge that catches in the film path.
Minor tears and stretched perforation edges
For a small tear that begins at a perforation but has not removed material, archival film repair tape can reinforce the area. Use a purpose-made, thin, stable tape intended for motion-picture film. Cut it precisely, apply it on the base side when possible, and burnish it gently with a clean, non-sharp tool.
Avoid household transparent tape, masking tape, duct tape, and pressure-sensitive office labels. Their adhesives can migrate, discolor, collect dust, and create a thick repair that causes more transport trouble than the original tear. They also complicate later conservation work.
After reinforcement, inspect both sides at magnification. The perforation must remain open and correctly shaped. If tape partly bridges the hole, do not punch through it freehand with a blade. Remove the tape and repeat the repair with a smaller, better-positioned piece, or use a dedicated film splicing and punching tool designed for the gauge.
Missing or severely torn perforations
When part of a perforation is gone, reinforcement alone may not reliably restore registration. The most dependable mechanical solution is often to remove the damaged frame area and create a new splice. This is a trade-off: you lose one or more frames, but you prevent a weak section from damaging adjacent film or jamming the scanner.
For valuable footage, first determine whether the damage lies between scenes, at a leader, or within irreplaceable action. If it is inside a critical shot, preserve the original section and use a scanner capable of gentle, capstan-driven transport or sprocketless handling. A skilled lab may scan the damaged material before any physical intervention, then stabilize the resulting digital sequence.
If removal is appropriate, make the cut in a frame line or at a natural scene transition. Use a gauge-specific splicer and a clean blade. Tape splices are generally more practical for home restoration and mixed film conditions; cement splices can be excellent on compatible acetate stocks but require correct preparation and are not suitable for every film base. Never cement polyester film.
Damage clustered around an old splice
Old splices are frequent perforation failure points. Tape may have dried out, adhesive may have shifted, or a prior cut may have been made too close to a sprocket hole. Remove failed splice material carefully rather than stacking a new patch over it. Residue adds thickness and can make the repaired section wander in the gate.
Rebuild the splice with correct frame alignment, then inspect the perforations immediately before and after it. A splice can look visually straight while still being offset by half a perforation. That small error is enough to create a rhythmic jump in a scan.
Prepare the Film Before Scanning
A repaired perforation is only one part of safe transport. Dust, loose adhesive, curled leader, and damaged wind can all pull on the same weakened section. Rewind the reel slowly and evenly, using minimal tension. Replace curled or torn leader, and make sure the reel is not packed too tightly.
Cleaning should be conservative. Use film-safe methods and materials appropriate to the stock and its condition. Do not soak a taped repair or flood it with solvent. Solvents can weaken adhesives, transfer residue, or damage inks and emulsion on vulnerable film. If the reel shows mold, heavy decomposition, or unknown chemical contamination, isolate it rather than cleaning it at a normal workbench.
Before committing to a full scan, run a short test that includes the repaired area. Watch the film path, not only the preview. Stop immediately if the repair lifts, clicks against a guide, or produces repeated hesitation. A scan completed at lower transport stress is preferable to a high-speed pass that enlarges the defect.
Restore the Scan Without Hiding the Evidence
Even a well-executed repair may leave residual frame movement because the original perforation geometry is no longer perfect. This is where digital stabilization becomes the appropriate second stage, rather than repeatedly manipulating the physical film.
Perforation-based stabilization analyzes the position of the film relative to its intended frame registration. It is especially useful when the image content itself is difficult to track, such as a blank wall, heavy grain, fast camera pans, or damaged scenes with flicker. In a restoration workflow, tools such as Perfo Lock can stabilize each frame from the perforation reference, preserving the character of handheld photography while removing mechanical jitter introduced by damaged transport.
Use stabilization selectively. Excessive correction can crop the frame, create edge motion, or make naturally moving shots appear unnaturally locked. Set the analysis region so that it follows reliable perforation information, then review the repair point frame by frame. If a single frame is severely displaced, it may be better to correct that frame locally than to apply aggressive settings to an entire reel.
Splice cleanup can also help where a physical repair creates a brief shift, exposure change, or vertical displacement. The aim is continuity, not invisibility at any cost. For archival work, retain an unprocessed preservation scan as well as the stabilized restoration export. A high-quality intermediate such as FFV1 or another lossless format gives you room for later color, grain, and dirt treatment without repeatedly handling the original film.
When Not to Repair It Yourself
Stop and escalate the work when the film has widespread perforation loss, severe shrinkage, active vinegar syndrome, brittle base, mold, or historical value that exceeds the cost of professional scanning. The same applies to sound film when damage approaches the soundtrack area. A repair that solves transport problems but compromises optical or magnetic sound is not a successful repair.
For small-gauge family films in otherwise stable condition, careful reinforcement and a low-stress scan are often enough. For unique archival material, the better decision may be to preserve the damaged original exactly as found, capture it with specialized equipment, and correct registration digitally afterward.
A perforation repair should leave the film safer than you found it, not merely more likely to pass through a machine. Work slowly, test the repaired section, and let physical conservation and digital stabilization handle the parts each does best.