A family reel can appear to be a simple transfer job until the first scan reveals gate weave, a faded magenta cast, splice flashes, embedded dust, and a soundtrack that slowly drifts out of sync. Film scanning is not merely the act of turning frames into a video file. It is the point where preservation decisions become permanent, or at least expensive to revisit.
For 8 mm, Super 8, 9.5 mm, and 16 mm collections, the strongest workflow separates capture from restoration. Capture as much of the original image as practical, preserve a clean master, then create viewing and delivery versions through a controlled restoration pipeline. That approach protects both the historical film record and your ability to improve results as tools evolve.
What Film Scanning Must Preserve
A scan should preserve more than recognizable pictures. It should retain frame geometry, usable highlight and shadow detail, color information, and enough spatial resolution for stabilization, dust repair, and reframing. If the capture is clipped, excessively compressed, sharpened beyond recovery, or reduced to a delivery resolution too early, restoration software has far less to work with.
The right target depends on the film stock, the scanner, and the intended use. A modestly exposed home movie does not always benefit from an enormous 4K file, while a well-shot 16 mm original may justify a high-resolution archival capture. Resolution alone is not the complete measure. Bit depth, compression, color sampling, and frame-by-frame consistency often have a larger effect on the final restoration.
For archival work, avoid treating a heavily compressed H.264 or H.265 file as the only master. Those codecs are excellent for distribution, but their interframe compression can complicate analysis of grain, dirt, and motion. A lossless or near-lossless intermediate, such as FFV1 or a carefully configured intraframe master, gives restoration tools a cleaner source and makes future work more predictable.
Choose the Capture Method Before You Choose the Codec
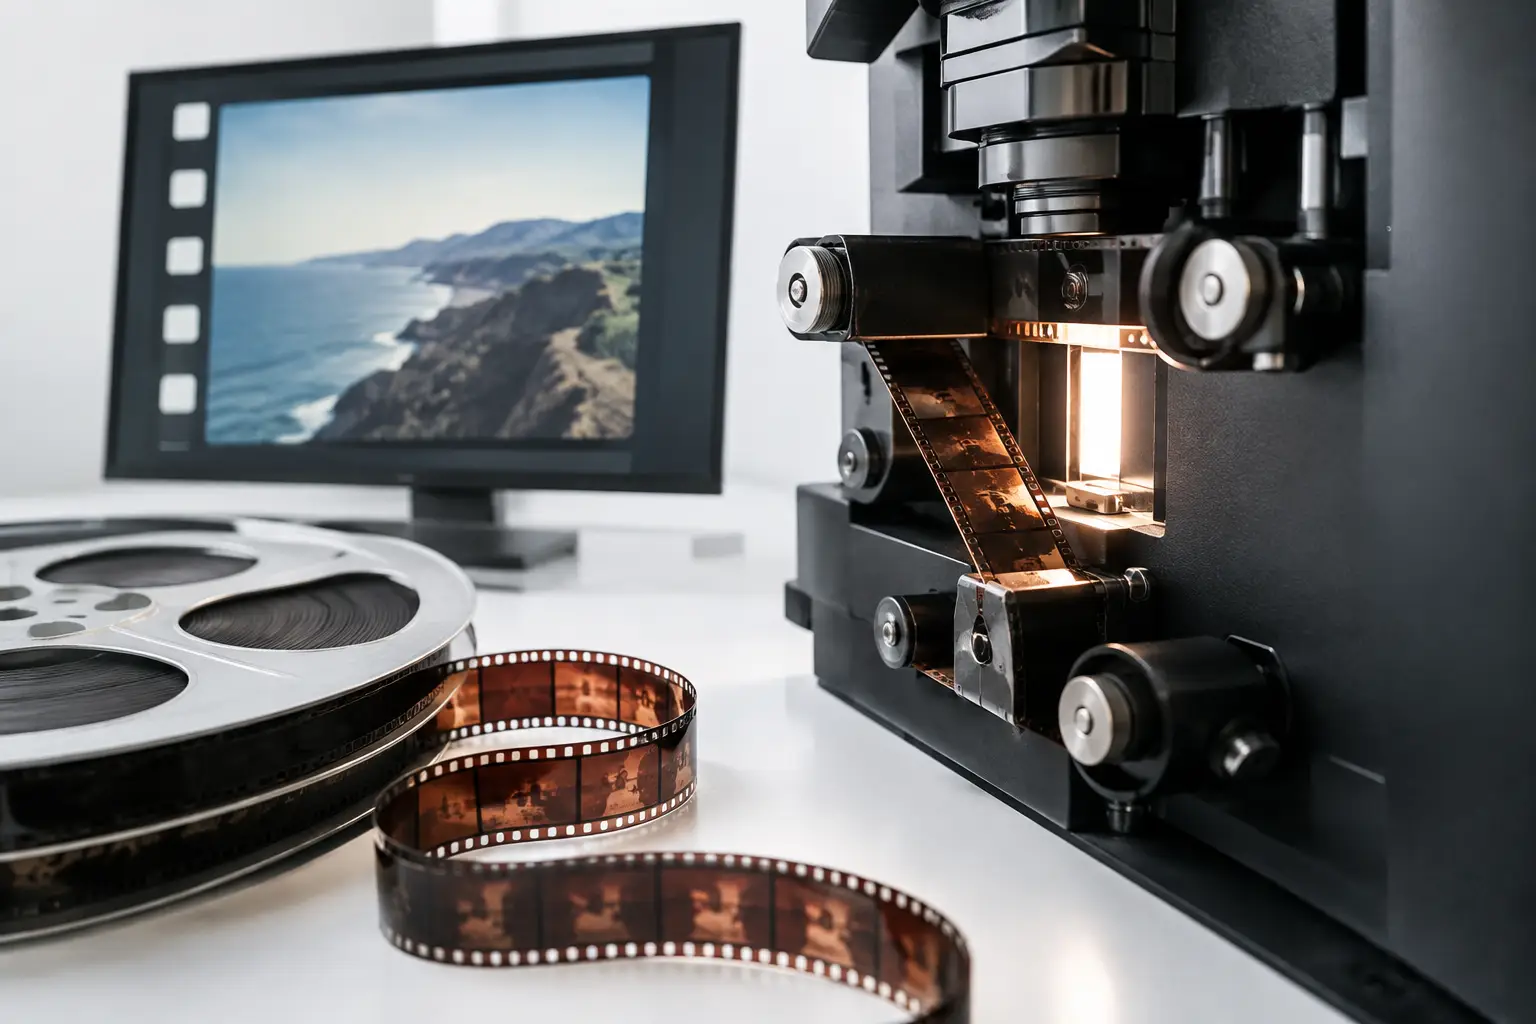
Film can be scanned frame by frame, transferred in real time, or digitized through a hybrid process. Frame-by-frame scanning generally delivers the best basis for restoration because each image is captured as a discrete frame. It also makes perforation-based stabilization, splice cleanup, and precise timing correction possible.
Real-time transfer can be appropriate for access copies, large low-priority collections, or projects where speed outweighs restoration latitude. The trade-off is that motion instability, exposure variation, and capture artifacts may be baked into the result. A transfer that looks acceptable on a television can become limiting when viewed frame by frame on a restoration timeline.
Ask the scanning provider, or verify on your own equipment, whether the image includes the film gate, whether overscan is available, and whether the scan is stabilized during capture. Overscan can be useful because it preserves edge information and exposes perforations or frame boundaries that later help with alignment. However, it also requires thoughtful cropping during finishing.
Resolution and overscan are working-room decisions
For many 8 mm and Super 8 films, a high-quality HD or 2K scan can provide excellent results. The usable image area of the original, lens quality, grain structure, and focus determine whether higher resolution contains meaningful picture detail. With 16 mm, 2K is often a sensible starting point, while 4K can be justified for valuable originals, fine-grain stocks, or material intended for substantial reframing.
Do not confuse an enlarged scan with recovered detail. A scanner may output 4K while the source resolves considerably less. Still, a larger capture can provide room for stabilization and crop adjustments without forcing an HD delivery to lose image area. The decision should be based on the footage, not a blanket specification.
Bit depth and color sampling affect correction latitude
Faded film frequently needs significant color balancing. A scan with greater bit depth gives grading tools more room to redistribute tonal values without visible banding. This matters especially when correcting color reversal stock, dense shadows, or skies with smooth tonal transitions.
Likewise, chroma 4:2:2 or 4:4:4 formats preserve more color information than 4:2:0 delivery files. Not every home-movie project requires 4:4:4, but if strong color correction is expected, starting with better chroma data is a practical safeguard. Keep the original scan untouched, then make restoration copies for processing.
Restore in an Order That Protects the Image
The order of operations is not cosmetic. Applying aggressive denoising before stabilization can make moving dirt behave unpredictably. Color correction before removing a bright splice flash may exaggerate the defect. Encoding too early can turn dust into compression noise and make automated cleanup less reliable.
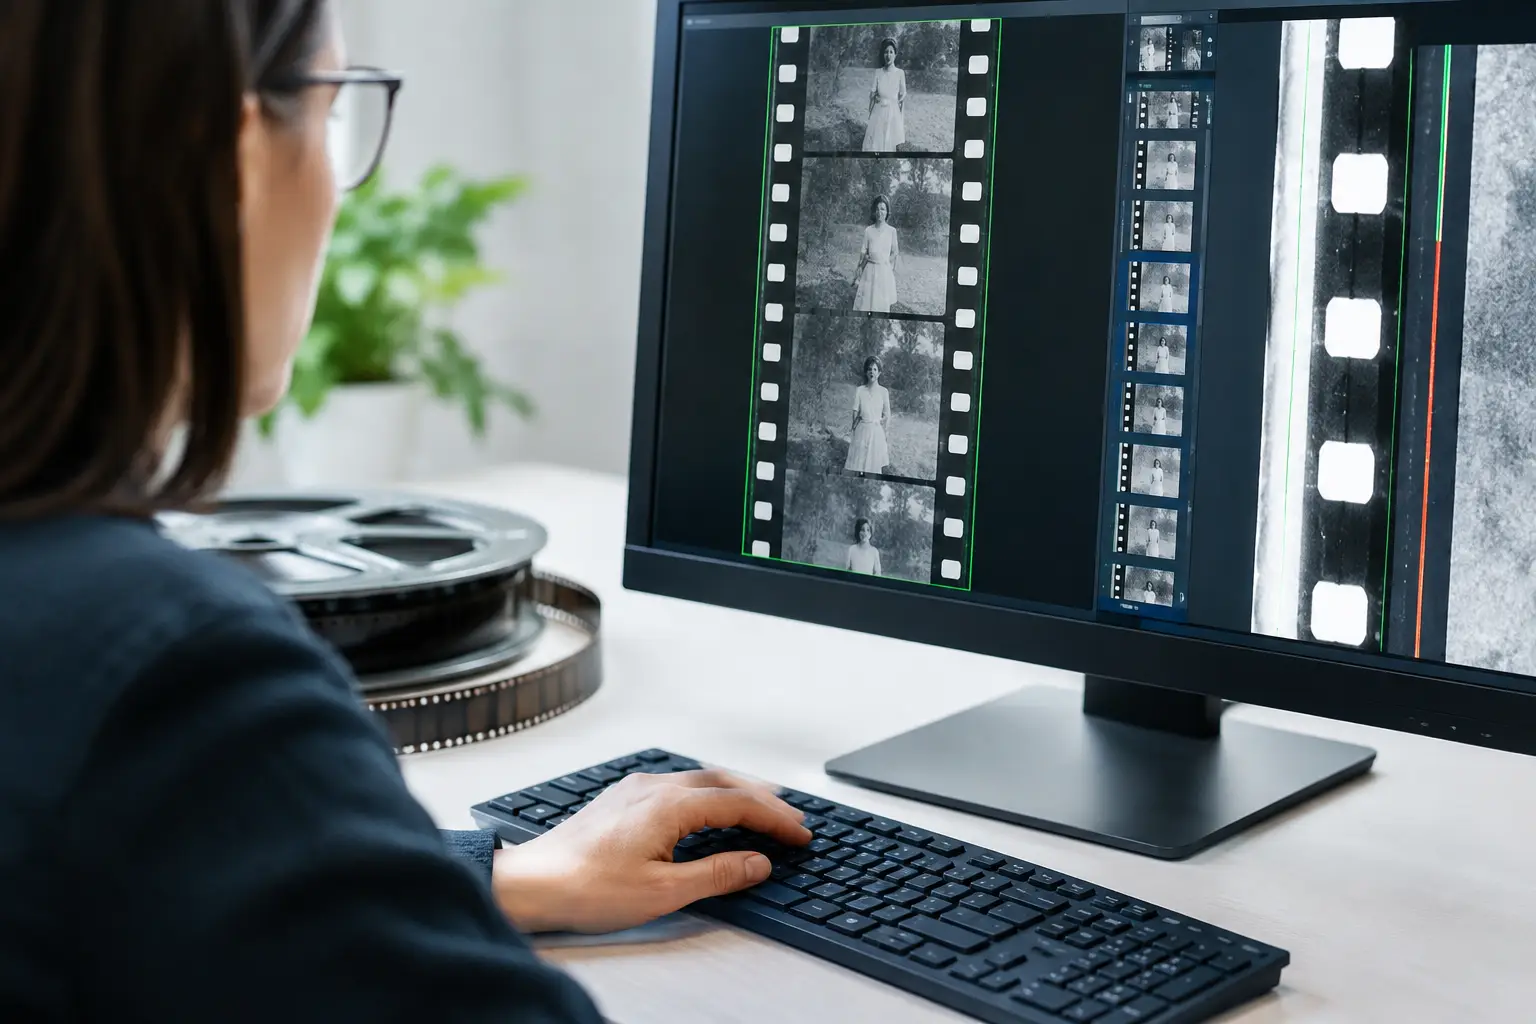
A dependable restoration sequence begins with inspection. Watch the scan at normal speed, then inspect difficult sections frame by frame. Identify repeated defects, including loose splices, missing frames, edge damage, warped film, density flicker, and soundtrack issues. This first pass prevents a global filter from being used where a local repair is safer.
Mechanical stability should usually come early. If the frame is moving because of shrinkage, uneven perforations, or scanner transport variation, correct that movement before evaluating dust removal and grain reduction. Perforation-aware tools such as Perfo Lock can stabilize the image based on the physical film reference rather than guessing from picture content. This is particularly valuable for shots with camera pans, zooms, or subjects moving across the frame, where generic stabilizers may mistake intentional movement for shake.
After stability is established, address splices and large transient defects. A splice may create a single bright or dark frame, a jump in registration, or a brief density change. Targeted splice cleanup is preferable to globally smoothing the entire reel. The goal is to repair interruption without flattening the natural character of the film.
Dust and scratch treatment comes next, with restraint. Temporal filters such as RemoveDirtMC can identify defects that appear for only one or a few frames, but they rely on neighboring frames to reconstruct detail. On fast motion, dissolves, camera flashes, or scenes with moving water, smoke, and foliage, settings that are too strong can smear or erase authentic detail. Preview difficult shots, not just a clean indoor scene.
Grain reduction should be the final corrective decision, not the default. Grain is part of the photographic record, especially on small-gauge film. Moderate filtering can make faded or underexposed footage more watchable, while excessive filtering produces waxy faces, unstable textures, and an image that no longer feels like film. A useful rule is simple: remove distracting defects first, then reduce grain only if it interferes with the intended viewing experience.
Build Separate Masters for Preservation and Viewing
One file rarely serves every purpose. The preservation master should prioritize fidelity and future usability. A restored master can include stabilization, dust removal, color correction, and carefully judged grain management. A delivery file should be encoded for the destination, whether that is a family archive drive, a client review copy, broadcast submission, or online playback.
For a restoration master, use a high-quality codec and retain the native frame rate unless a specific delivery requirement calls for conversion. Silent amateur film was often shot at variable camera speeds, so forcing every reel to a modern standard can make motion look unnatural. Playback speed may need adjustment shot by shot, particularly when the original camera was hand-cranked or inconsistently regulated.
For delivery, x264 and x265 can produce efficient H.264 and H.265 files when configured with an appropriate bitrate or quality setting. Encode after restoration, not before it. If the project requires editing elsewhere, a high-quality intermediate may be more practical than sending a heavily compressed file into another generation of processing.
Treat sound as a separate preservation problem
Sound film introduces another layer of timing control. Magnetic stripe and optical sound systems may have offset requirements, and old transfers can contain drift caused by inaccurate capture speed. Synchronization should be checked across the full reel, not only at the start. A soundtrack that is correct for the first minute but drifts by the final scene is not synchronized.
If the scan includes image and sound as separate elements, retain both source files. A restoration application such as AvyScan Lab can support image and sound synchronization within the same structured workflow, reducing the need to manage timing corrections through disconnected tools.
Use Previewing and Batch Processing Without Giving Up Control
Long collections make automation necessary, but automation should follow tested settings. Build a representative test set containing clean footage, faded scenes, heavy dirt, fast action, titles, and damaged splices. Tune your processing chain against that set before applying it to dozens of reels.
Real-time preview is where a visual restoration interface earns its place. Technologies such as AviSynth+, MVTools2, GamMac, and advanced dirt-removal filters are powerful, but their value depends on seeing the result before committing to a long render. A graphical pipeline makes it practical to compare settings, bypass individual stages, and isolate the filter responsible for an unwanted artifact.
Once the settings are validated, batch processing handles the repetitive work while preserving consistent output rules. Name files systematically, include reel identifiers and version labels, and keep a short record of settings used for each project. That record becomes essential when a client asks for a revised crop, a lighter grain treatment, or a new export format two years later.
The best result is not the most aggressively cleaned image. It is a stable, faithful, well-encoded record that still looks like the film it came from. Start with the strongest scan you can obtain, preserve that source carefully, and make every restoration decision reversible wherever possible.