A scan can be technically clean and still look wrong. The grain may crawl after compression, a splice can flash for one frame, perforation movement can make the image breathe, and an otherwise usable reel can carry a cyan cast from decades of fading. A custom AviSynth filter editor gives the film restorer a controlled way to solve those specific defects without treating every reel as generic video.
For 8 mm, Super 8, 9.5 mm, and 16 mm material, restoration is rarely a one-filter task. The right result comes from arranging corrections in the right order, previewing their interaction, and adjusting only as far as the source can support. AviSynth+ is exceptionally capable at this work. Its challenge is that a conventional script workflow assumes comfort with functions, parameters, plugins, frame servers, and syntax. A visual editor should preserve the power of that engine while making the restoration chain visible, repeatable, and practical.
What a custom AviSynth filter editor should control
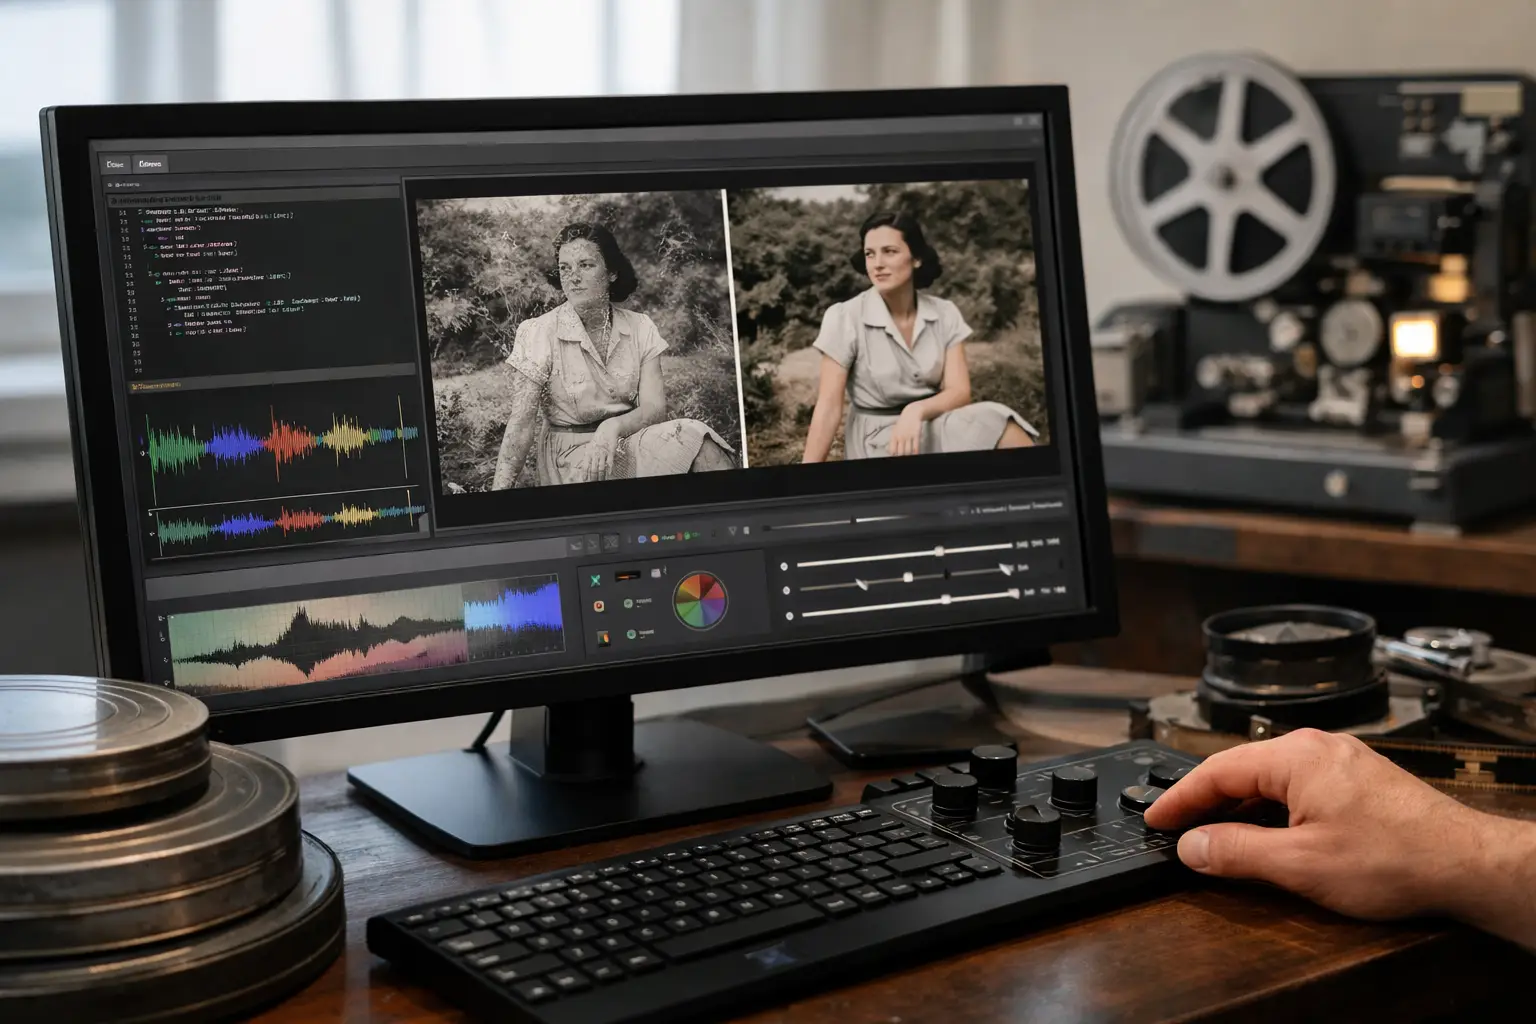
A useful editor is not simply a place to paste AviSynth commands. It is a restoration workspace that translates a scan into a deliberate processing pipeline. The operator should be able to import a high-bit-depth or standard video source, inspect frames at full resolution, place filters in sequence, adjust their parameters, and evaluate output before committing to a long encode.
That matters because filter order changes the image. Stabilizing before heavy temporal cleanup can provide more consistent motion analysis. Correcting an extreme color cast before judging dirt removal can make defects easier to see. Applying final resizing or sharpening too early can exaggerate grain and ringing. A visual pipeline makes these choices explicit instead of burying them in a script that is difficult to audit six months later.
For film work, the editor should make room for source-specific operations: dust and spot removal, grain management, flicker reduction, stabilization, splice cleanup, color correction, cropping, and export. It should also allow a restorer to bypass any stage instantly. The ability to compare the original scan against the processed frame is not cosmetic. It is how you avoid removing real texture from faces, fabric, titles, or fine detail in the emulsion.
Build the restoration chain around the defect
The best workflow starts with diagnosis, not with a preset. A home movie scanned from faded Super 8 reversal stock needs a different chain than a 16 mm print with gate weave and embedded dirt. A batch of reels from the same scanner may share geometry and exposure behavior, but each reel can still contain unique splices, underexposed scenes, or damaged sections.
Start with geometry and frame stability
First establish a stable image area. Crop scanner edges, exposed frame lines, or unwanted borders before final delivery. If the transfer includes a visible perforation reference, perforation-based stabilization can lock the frame to the physical film transport rather than estimating movement from picture content alone. This is especially valuable when the scene itself contains pans, handheld movement, or a moving subject that would confuse ordinary stabilization.
Stabilization has a trade-off. Excessive correction can create a rigid, artificial image or force unnecessary zooming at the edges. The goal is not to erase every trace of camera motion. It is to remove mechanical weave and jitter while preserving intentional movement recorded by the camera.
Remove dirt without erasing the film
Temporal dirt filters such as RemoveDirtMC can be highly effective when dirt appears briefly while surrounding frames retain valid image information. Motion-compensated tools, including workflows based on MVTools2, are useful because they analyze movement rather than blindly blending frames together. Done well, this removes isolated white or black defects while holding detail in moving areas.
But aggressive dirt removal is one of the easiest ways to damage archival footage. Fine rain, snow, film grain, fast action, title cards, and textured clothing can be misidentified as noise. Use short preview ranges that include motion, faces, and high-detail scenes. If a setting makes the image look smoother but less believable, reduce it. Restoration should make the source easier to watch, not make it look newly generated.
Splice cleanup deserves its own control rather than being hidden inside a global cleanup pass. A cement or tape splice may produce a brightness burst, a frame jump, an exposure change, or all three. Since these events are localized, correcting them locally protects the rest of the reel from unnecessary processing.
Correct color and exposure with reference points
Color correction is more reliable when it begins with known neutrals, skin tones, scene continuity, and the visual character of the film stock. A custom editor should let the operator adjust lift, gamma, gain, saturation, and channel balance while viewing the result immediately. Tools such as GamMac are useful when tonal response needs controlled adjustment rather than a simple global brightness change.
Do not force every old reel into contemporary contrast. Faded film often benefits from black-point and channel correction, but crushed shadows can erase meaningful detail in dark interiors. Likewise, overcorrecting a warm family scene can make it sterile. The most accurate target is often a stable, readable image that remains faithful to the original scene and stock.
Why visual previews matter more than a long script
AviSynth scripts are precise, but precision alone does not make a workflow efficient. A restorer working through dozens of family reels or a client archive needs to see what each adjustment does at the frame level and in motion. A custom AviSynth filter editor should provide real-time or near-real-time preview, parameter controls with intelligible labels, and a clear representation of the active filter chain.
This reduces two common failures. The first is processing by habit: applying denoise, sharpen, and saturation to every reel because those controls exist. The second is discovering a problem only after a multi-hour export. Previewing a difficult segment first reveals whether a temporal filter leaves trails, whether stabilization crops too much, or whether color changes introduce clipping.
The editor also makes experimentation safer. A restorer can duplicate a branch of the chain, compare a light grain reduction with a stronger one, and retain the preferred result without rewriting syntax. For non-developers, this is the difference between having access to AviSynth+ and being able to use it confidently.
Preserve quality through export
The restoration pipeline does not end at preview. Export choices determine whether the cleaned image survives delivery. An intermediate archival file may call for FFV1 when lossless preservation and long-term accessibility are the priority. A production master may benefit from a high-quality intraframe format appropriate to the downstream system. Delivery files for viewing or streaming often use x264 or x265, with settings matched to the resolution, frame rate, and required playback environment.
Chroma handling deserves the same attention. A scan or capture delivered in 4:2:2 or 4:4:4 should not be reduced casually if color information matters for grading, keying, or future preservation. Conversely, a simple viewing copy may not need the storage cost of a high-chroma master. Keep the preservation master and the access copy as separate outputs with separate purposes.
For sound film, image and audio synchronization must remain intact through trimming, frame-rate handling, and encoding. A restoration interface that treats sound as an afterthought can turn an otherwise successful transfer into a difficult delivery problem.
Make repeatable work faster, not less careful
Batch processing is where a well-designed editor earns its place. Reels scanned under the same conditions can share an initial template for crop, stabilization, color baseline, and export settings. That saves time without forcing identical treatment. The operator should still inspect representative passages from every reel, especially splice-heavy sections, titles, low-light scenes, and reels from mixed film stocks.
This balance is central to a professional workflow: automate the predictable work, reserve judgment for the exceptions. AvyScan Lab applies that principle by putting specialized film-restoration operations and AviSynth+ processing into a structured Windows workflow instead of requiring manual scripting for every job.
A capable editor should also preserve the recipe. When a client asks how a reel was treated, or when an archive needs a revised delivery later, the filter sequence and settings should be recoverable. Reproducibility is not bureaucracy. It is part of responsible restoration.
Choose control that serves the source
The value of a custom filter editor is not that it exposes more controls. Its value is that it makes advanced controls usable in the right context: film grain is not always noise, camera motion is not always instability, and age is not always a defect to remove. Build each chain around what the reel needs, preview the difficult frames, and export a master that keeps future options open. That is how technical control becomes a better record of the film itself.