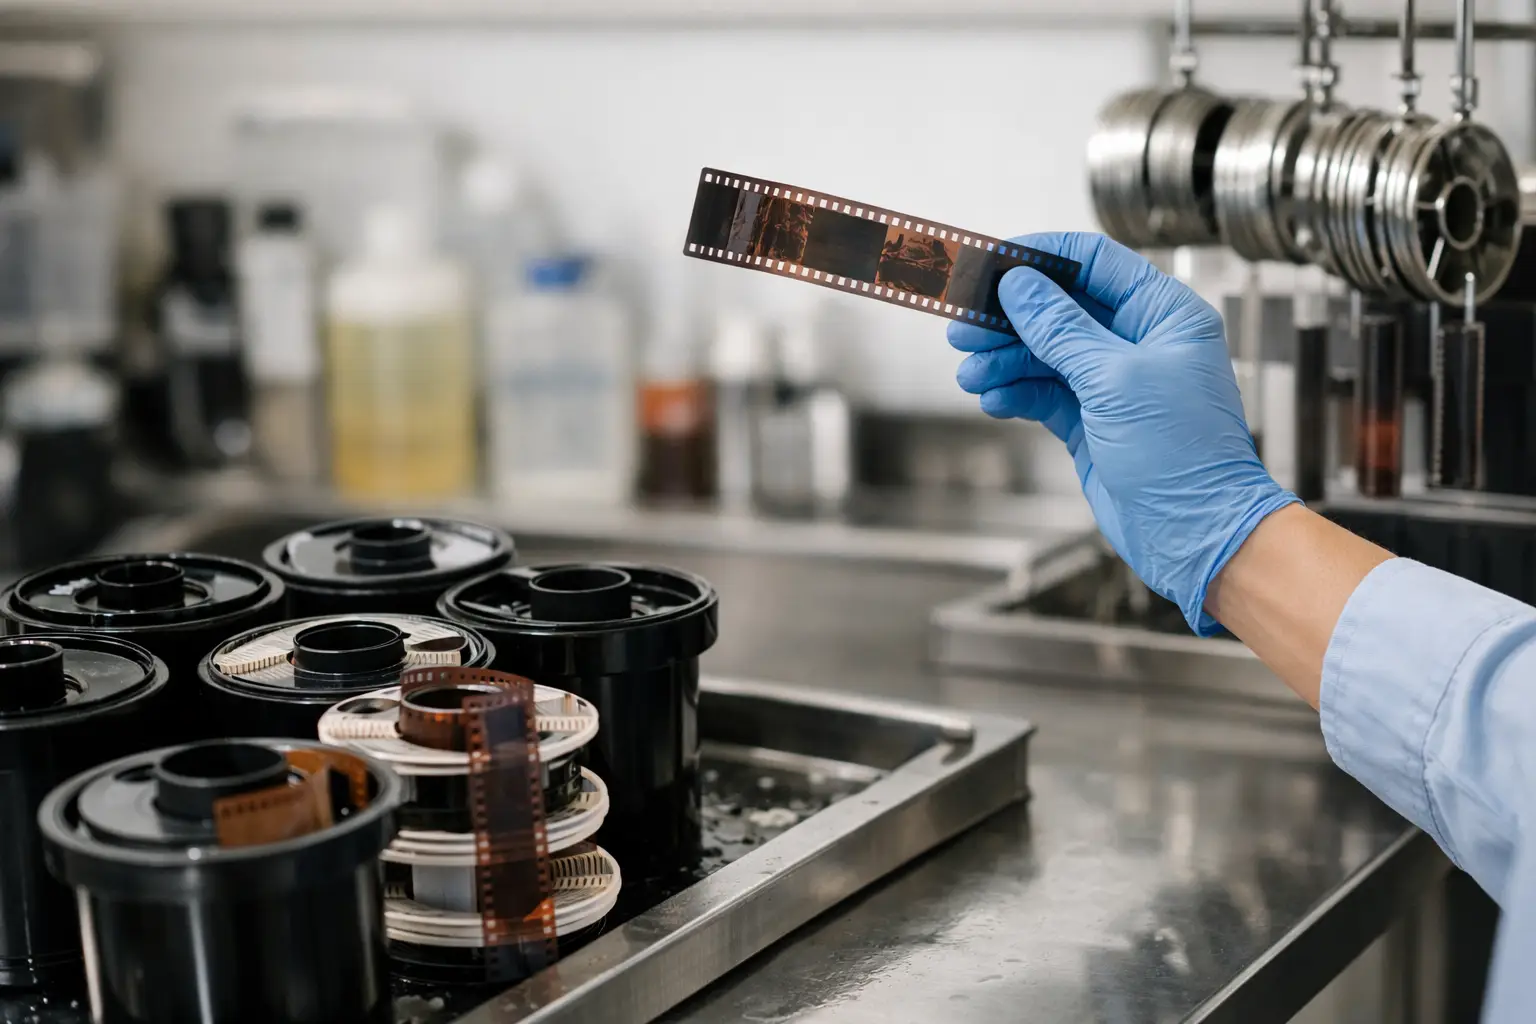
A film archive rarely arrives as a clean set of identical scans. One batch may contain faded Super 8 family reels, unstable Regular 8 footage, 16 mm camera originals with visible splices, and transfers made years apart on different scanners. Learning how to process film batches is therefore less about applying one filter to hundreds of files than building a controlled restoration workflow that preserves consistency without flattening the character of each reel.
The objective is repeatability. You want every file to move through the same technical stages, while retaining enough control to adapt settings for damaged stock, difficult exposure, color shifts, and mechanical instability. A good batch workflow reduces repetitive work, but it should never turn restoration into blind automation.
Start by Defining What Belongs in One Batch
A batch should be a group of scans that can reasonably receive the same processing logic. That does not always mean files from the same project folder. Format, scan characteristics, film condition, frame rate, and intended deliverable matter more than file names alone.
For example, a group of Super 8 reels scanned at 18 fps with similar color fading may be an ideal batch. A 16 mm reel with optical sound, a heavily scratched 9.5 mm print, and a clean Super 8 daylight reel should not share the same restoration preset merely because they belong to the same client.
Before processing, inspect a short section of every reel and record the conditions that affect treatment. Look for grain level, dust density, vertical or horizontal instability, splice flashes, exposure pumping, color casts, and whether the scan includes sprocket holes or overscan. Also verify resolution, pixel aspect ratio, scan frame rate, bit depth, and chroma sampling. These technical properties determine what can safely be automated.
A practical batch name should describe its actual processing needs, such as “Super8_18fps_Faded_Stable” or “16mm_24fps_Dusty_PerfoLock.” This makes presets easier to select later and prevents a common error: applying a strong dirt-removal pass to footage that only needs color correction.
Build a Repeatable Restoration Order
Batch processing works best when every scan follows a consistent order of operations. The exact sequence depends on the material, but the logic is stable: correct physical image movement before judging detail, remove transient defects before final sharpening, and establish tonal balance before encoding.
For most film scans, start with framing and geometry. Confirm that the image is correctly oriented, cropped only where necessary, and free of unwanted scanner borders. If the transfer contains perforations or sufficient edge detail, stabilization based on the film’s mechanical reference can provide a more reliable result than generic motion stabilization. Perforation-based stabilization is especially useful when frame jitter comes from transport variation rather than camera movement.
Next, address splice artifacts and image instability. Bright splice flashes, abrupt frame jumps, and short bursts of dirt can disrupt temporal filters if they are left untreated. A dedicated splice cleanup stage can isolate these events before motion-compensated processing begins. This is one reason film restoration pipelines differ from standard video enhancement workflows: the defects are often tied to the physical structure of the film strip.
Dust and dirt removal usually follows stabilization. Temporal tools such as RemoveDirtMC can suppress small moving defects while preserving image structure, but settings must be chosen conservatively. Heavy filtering may remove dust, yet it can also soften facial detail, fine fabric textures, grass, or film grain that contributes to the original image’s texture.
Grain reduction should be treated with similar restraint. Grain is not automatically damage. In a clean, properly exposed 16 mm scan, moderate grain may be preferable to a waxy image with erased detail. For severely underexposed Super 8 footage, a controlled reduction can make the subject more readable, but previewing motion is essential. A setting that looks excellent on a still frame can produce smearing or ghosting across movement.
Color correction comes after the image has been stabilized and cleaned enough to evaluate it accurately. Correct major casts first, then adjust black point, highlights, saturation, and gamma. Tools based on controlled gamma adjustment, including GamMac-style processing, can be useful for recovering perceived contrast without crushing shadow information. Avoid forcing every reel into the same neutral palette. A warm indoor tungsten reel and a faded 1970s daylight reversal film may require different targets.
Create Presets, Then Test Them Against Real Footage
A preset is not a permanent answer. It is a documented starting point that saves setup time and makes decisions repeatable. The strongest batch presets are built from tested combinations of filters, not from aggressive settings intended to solve every possible defect.
Create separate presets for the recurring conditions in your archive: clean scans with mild grain, dusty home movies, unstable perforated scans, faded reversal stock, and heavily damaged material requiring manual review. Each preset should include the full processing chain, not only a single filter. That means stabilization behavior, cleanup settings, grain control, color correction, resize rules, and output codec choices.
Before submitting an entire batch, render representative test clips. Choose at least three sections from each film type: a static shot, a shot with subject movement, and a difficult scene such as a pan, dark interior, bright sky, or splice. These clips reveal issues that a single preview cannot. Motion-compensated dirt removal may behave differently on a slow pan than on a locked-off family portrait. Stabilization may look perfect in one scene but crop too aggressively when a frame shifts near the edge.
Use side-by-side previews to judge whether a change is truly an improvement. Ask specific questions: Is dust less distracting? Is skin texture still intact? Are perforation movements gone without introducing image wobble? Has shadow detail survived the color correction? Technical controls become more reliable when evaluated against visible evidence rather than a general impression that the image looks “cleaner.”
AvyScan Lab is designed around this principle: AviSynth+ processing remains available for demanding restoration work, while a visual workflow makes it practical to preview, tune, and apply settings across many files without maintaining manual scripts.
How to Process Film Batches Without Overprocessing
The central trade-off in batch restoration is speed versus individual judgment. Automation saves time only when the same settings remain appropriate across the group. When physical condition changes substantially from reel to reel, splitting the batch is faster than repairing bad output later.
Do not use a single maximum-strength dust, grain, and sharpening profile for all material. Strong defect removal can turn film grain into motion artifacts. Strong sharpening can emphasize scanner noise, scratches, and edge halos. Strong color correction can remove the visual character of a period film stock. The best batch result is usually controlled and believable, not cosmetically perfect.
Set review thresholds before processing. For example, automatically batch-process reels that match a known scan profile, but flag reels with severe warping, missing frames, pronounced mold damage, unstable exposure, or sound synchronization concerns. These exceptions deserve an individual pass because their defects can confuse otherwise reliable automated filters.
It also helps to preserve an untouched source copy and a lossless or near-lossless restored master. If storage permits, use a preservation-oriented format such as FFV1 for the master, then create delivery files separately. H.264 through x264 and H.265 through x265 are efficient options for viewing, client delivery, or online access, but they should not be the only version retained when the scan is part of a long-term archive.
For high-quality masters, consider whether the source supports 4:2:2 or 4:4:4 chroma. Do not invent color information that the scan does not contain, but avoid unnecessary chroma reduction when the scanner output and preservation goal justify retaining it. The correct export is determined by the source, the archive policy, and how the footage will be used later.
Monitor the Batch as It Runs
Batch processing does not mean walking away indefinitely. Review early outputs before committing to a large queue, especially when processing hundreds of reels or long scans. A mistaken crop, incorrect frame rate, or overly strong filter becomes expensive when repeated across an entire collection.
Check output duration, frame count, codec, audio sync, and file size. If the films carry magnetic or optical sound, verify synchronization after stabilization and any frame-rate conversion. A visually successful restoration is incomplete if the soundtrack drifts by the end of a reel.
Keep a simple processing log with the source name, preset version, output format, exceptions, and notes for manual correction. This record is valuable when a client asks how a reel was treated, when you need to recreate an export, or when improved restoration settings become available later.
A disciplined batch workflow gives you more than faster renders. It gives each reel a traceable treatment path, preserves the ability to revise decisions, and lets a growing film archive remain manageable without treating irreplaceable images as generic video files.