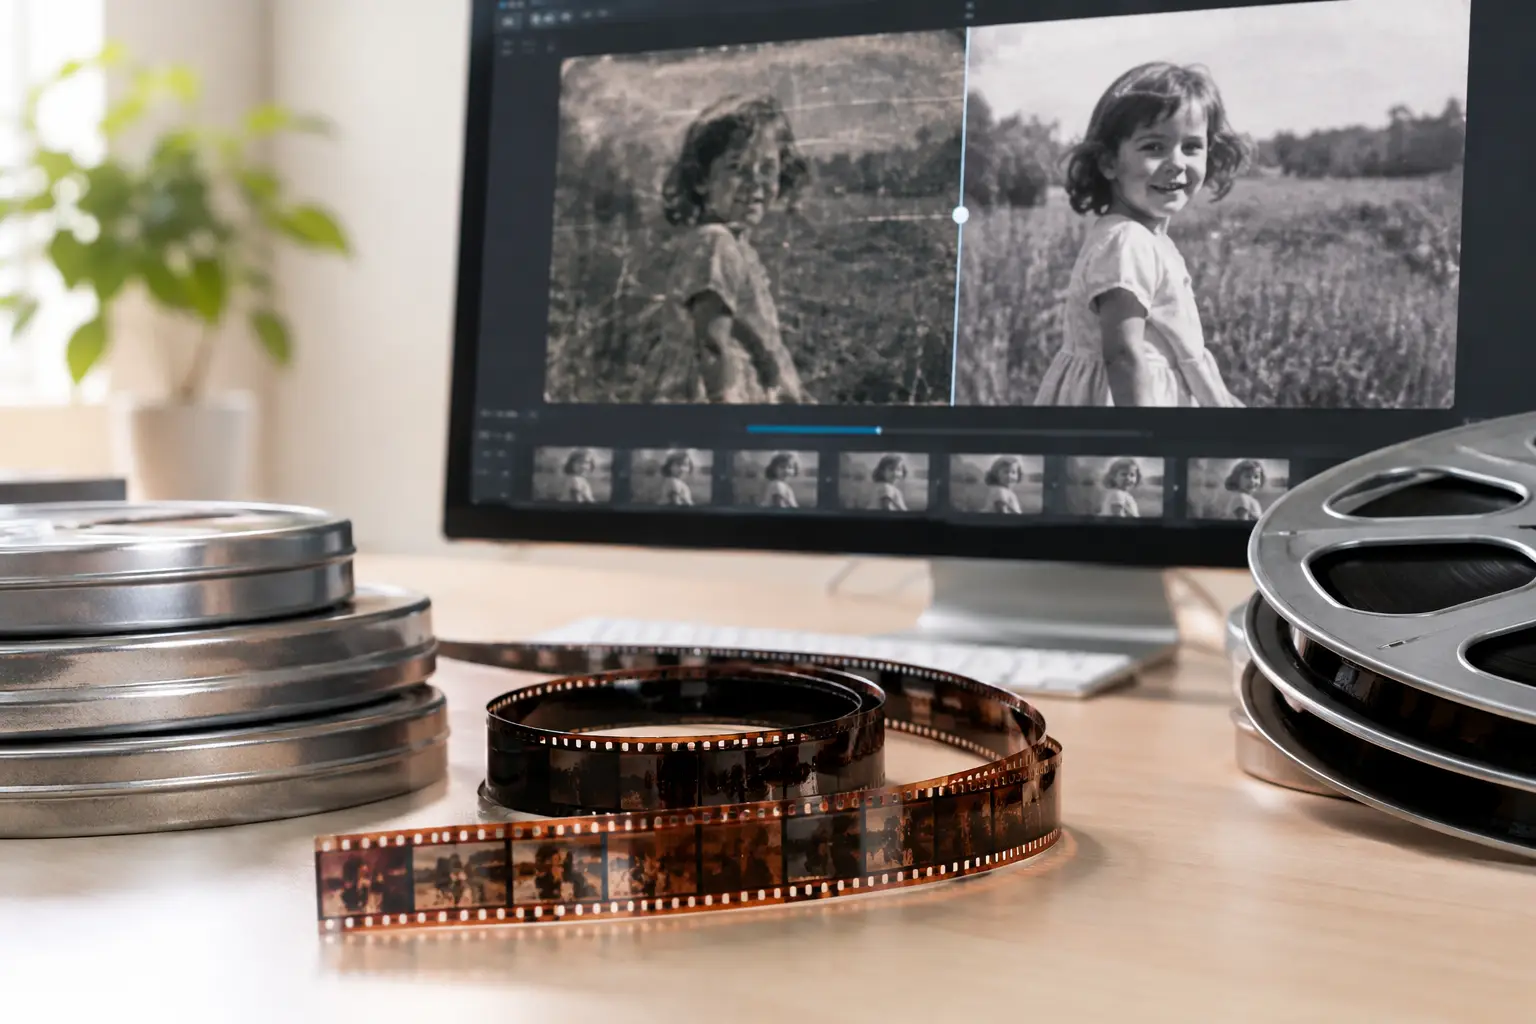

A scan can be sharp, clean, and correctly exposed yet still feel difficult to watch because the image never settles. A slight horizontal drift, a vertical bounce at every splice, or an intermittent rotation can turn valuable footage into a distracting viewing experience. Film stabilization addresses that mechanical movement after digitization, restoring a steadier frame without erasing the character of the original reel.
For 8 mm, Super 8, 9.5 mm, and 16 mm collections, stabilization is not a cosmetic afterthought. It is a correction stage that can determine whether a scan feels like a coherent moving image or a record of every imperfection in the transport path.
What Film Stabilization Actually Corrects
Film movement is often described as camera shake, but scanned film has a different set of causes. In many cases, the camera was stable when the footage was shot. The instability entered later through shrinkage, warped film, damaged perforations, inconsistent scan registration, or the physical behavior of old splices passing through a scanner.
The most common artifact is gate weave: a frame-to-frame shift in horizontal or vertical position caused by imperfect registration. On a projection or scan system, the film does not return to precisely the same position for every frame. The result is a subtle but constant wandering of the image.
A second issue is rotation. If the frame shifts differently at the top and bottom, the picture may appear to tilt slightly from one frame to the next. This is especially visible on architecture, title cards, horizons, and any shot containing straight vertical lines.
There is also local instability around physical repairs. Cement or tape splices can produce abrupt jumps, exposure changes, and brief geometry changes. A stabilization pass that treats these frames as normal motion can pull surrounding images in the wrong direction. The result may be steadier footage overall but a visibly unnatural snap at each splice.
The practical goal is not to make every reel look digitally locked to a tripod. It is to remove distracting mechanical movement while retaining intentional camera pans, handheld motion, and the framing decisions present in the original image.
Stabilization Starts With the Scan
Software can correct a great deal, but it cannot create image area that was never captured. A scan with generous overscan gives the stabilization process room to reposition each frame without immediately cropping into the photographed picture.
This matters because every positional correction has a consequence. If one frame must move six pixels left and another four pixels right, the output needs either a slightly enlarged image area, a controlled crop, or border filling. When the scan is too tight, aggressive correction can cut into titles, faces near the edge, or valuable edge detail.
For archival work, scan geometry should be assessed before any restoration filter is applied. Confirm the aspect ratio, frame orientation, and whether sprocket holes or a stable frame boundary are visible. If perforations are available in the scan, they can provide a stronger registration reference than the image content itself.
A clean scan also improves analysis. Dense dust, scratches, flicker, and heavy grain can confuse motion estimation because the software may interpret defects as moving picture detail. This does not mean every defect must be removed first. It means the restoration pipeline should be organized so stabilization receives the most reliable frame information possible.
Image-Based Tracking vs. Perforation-Based Registration
There are two broad ways to stabilize scanned film: tracking the picture itself or tracking a physical reference on the film.
Image-based stabilization compares image features across adjacent frames. It can be highly effective when the shot contains stable details such as buildings, faces, or landscape features. It is also useful when scans do not include the film edge or perforations.
Its limitation is that it must distinguish unwanted frame movement from real subject or camera movement. A fast pan, a moving train, a whip movement, or a close-up with little background detail can mislead the tracker. The software may attempt to cancel motion that belongs to the shot, producing a floating or rubbery result.
Perforation-based stabilization uses the regular geometry of the film stock instead. For small-gauge material, this approach is often more dependable when the perforation area is visible and sufficiently intact. Rather than deciding whether a tree or a person moved, the process aligns the image according to the physical position of the film.
This is particularly relevant for aging home-movie footage. The picture may contain motion everywhere, while the perforation provides a consistent mechanical reference. A Perfo Lock workflow can use that reference to correct gate weave with less risk of altering intentional camera movement.
Neither method is universally superior. Image-based tracking may be the only option for tightly cropped scans. Perforation-based registration is usually the more controlled choice when the scan includes a usable perforation track. The right decision depends on the scan, the condition of the stock, and the shot content.
A Controlled Workflow for Stabilizing Reels
The most reliable approach is to treat stabilization as a measured correction, not a one-click effect. Start by examining several representative sections of the reel: a static shot, a pan, a splice, a high-motion scene, and a title or architectural shot. A setting that works on one sequence may be too strong for another.
First, establish the source geometry. Make sure the clip has the correct orientation and pixel aspect handling before evaluating motion. A rotated or stretched source can make otherwise valid tracking data look wrong.
Next, select the tracking reference. If the scan includes perforations, inspect whether they remain visible across the reel and whether tears, shrinkage, or edge damage interrupt their shape. If the edge is unreliable, use image-based analysis and choose settings conservatively.
Then set the correction strength. Small motion corrections often produce the most credible result. The temptation is to eliminate every trace of movement, but overcorrection can make organic camera motion look disconnected from the scene. It can also magnify border issues and force unnecessary cropping.
Preview at full playback speed as well as frame by frame. Frame-by-frame inspection reveals sudden shifts, while normal playback exposes the visual rhythm of the footage. A clip can look mathematically aligned in individual frames but still appear to pulse or drift when played continuously.
Finally, inspect the output edges. Stabilization commonly exposes blank borders because repositioned frames no longer fully overlap. Cropping is often the cleanest answer, but it should be deliberate. When image preservation is the priority, modest border management may be preferable to losing meaningful frame area.
Handling Splices Without Creating New Artifacts
Splices need their own logic. At a splice, the film can jump because the two joined sections have different alignment, shrinkage, or exposure. A global tracking pass may attempt to smooth over that discontinuity, causing the image to slide before or after the edit.
The best treatment depends on the intended result. For a continuous family reel, reducing the jump may improve watchability. For preservation work, a visible splice can be meaningful evidence of the original object and may be better left partly intact. The objective is not to hide every repair. It is to avoid distracting movement introduced by the processing itself.
Specialized splice cleanup can isolate abrupt splice behavior from normal motion analysis. This lets the stabilization stage maintain consistent registration through the reel without forcing the surrounding frames to compensate for a single damaged or misaligned join.
Why Stabilization Should Be Evaluated With the Full Restoration Pipeline
Stabilization interacts with nearly every other restoration decision. Grain reduction can improve motion analysis but may also soften small details used for tracking. Dust removal can eliminate false moving points, yet temporal filters must be checked carefully around fast motion. Color correction makes gate weave more noticeable in some scenes because stable tonal areas reveal frame movement more clearly.
For that reason, evaluate the actual processing order rather than judging each filter in isolation. In an AviSynth+ workflow, the sequence of analysis and correction can materially affect the output. Motion-aware tools such as MVTools2 can support image-based analysis, while temporal cleanup methods such as RemoveDirtMC may need settings that respect real movement rather than treating it as noise.
AvyScan Lab makes this workflow accessible through a visual restoration pipeline: import the scan, choose the correction approach, preview the result, and encode without building scripts manually. The technical advantage is not simply automation. It is the ability to test stabilization alongside grain reduction, dust cleanup, color work, and professional delivery formats such as FFV1, ProRes, x264, or x265.
Preserve the Shot, Not Just the Frame
A stable image is valuable because it lets the viewer focus on the people, places, and events held on the reel. But stability is only one part of fidelity. A slow handheld drift from a 1960s vacation scene is not a defect to erase. A deliberate pan across a graduation crowd should not be locked as if the camera never moved.
The strongest film stabilization is usually the least noticeable. It removes mechanical distraction, protects the photographed frame as much as possible, and leaves the motion that belongs to the original filmmaker. When the correction is well judged, viewers stop seeing the scanner, the damaged perforation, and the wandering gate. They simply see the film.