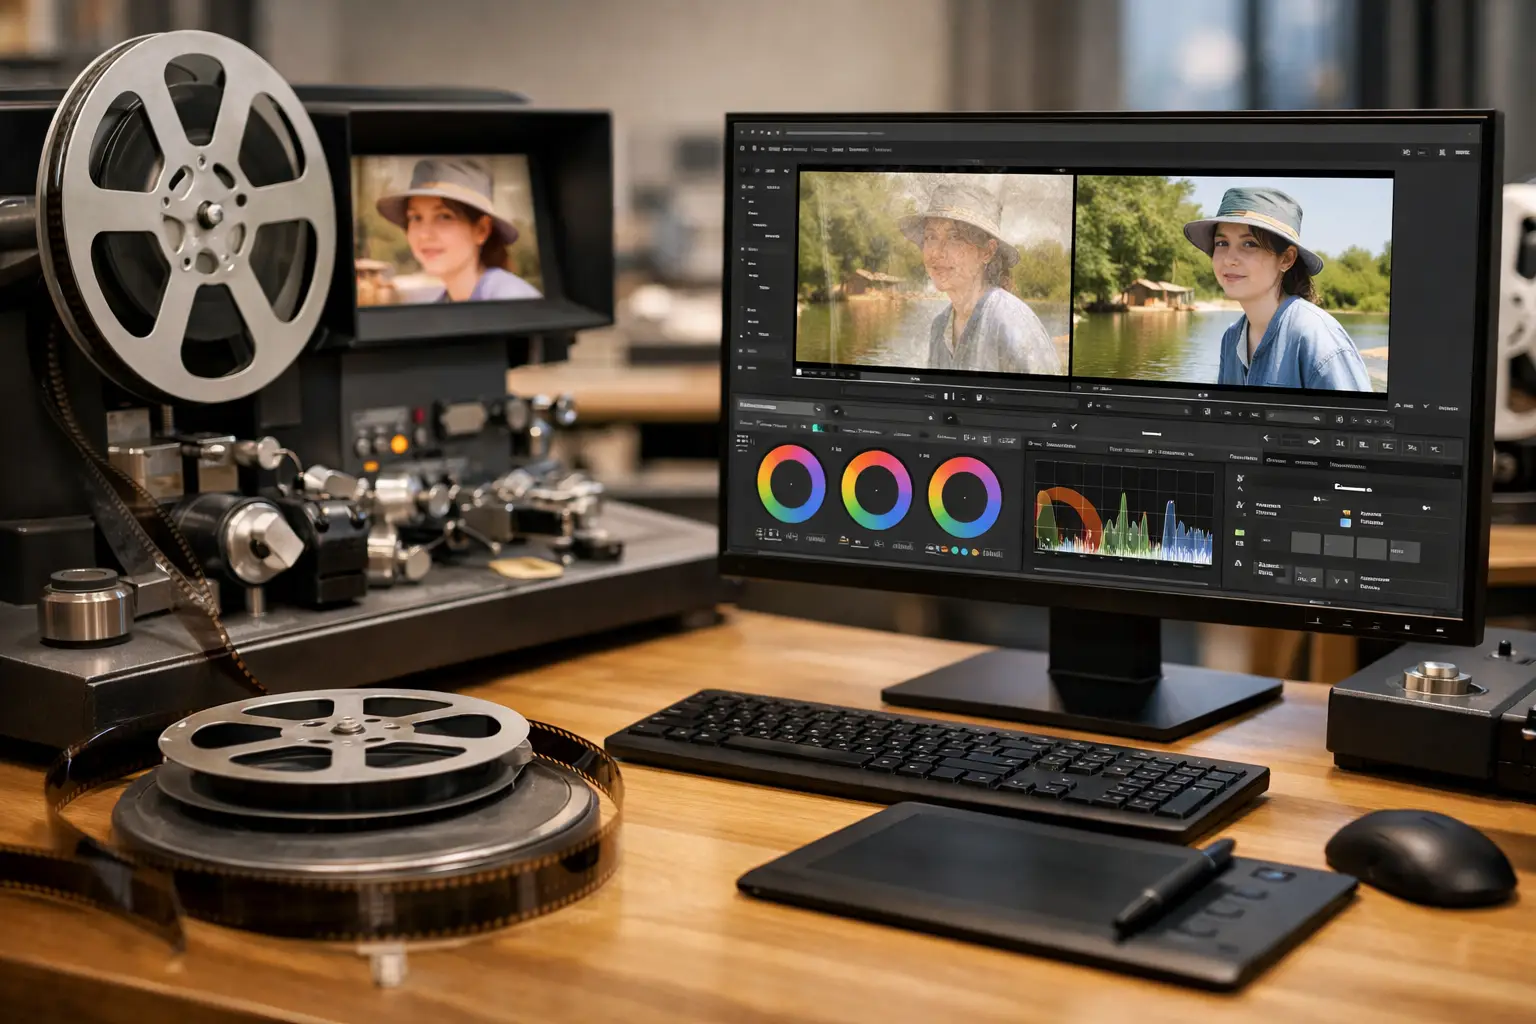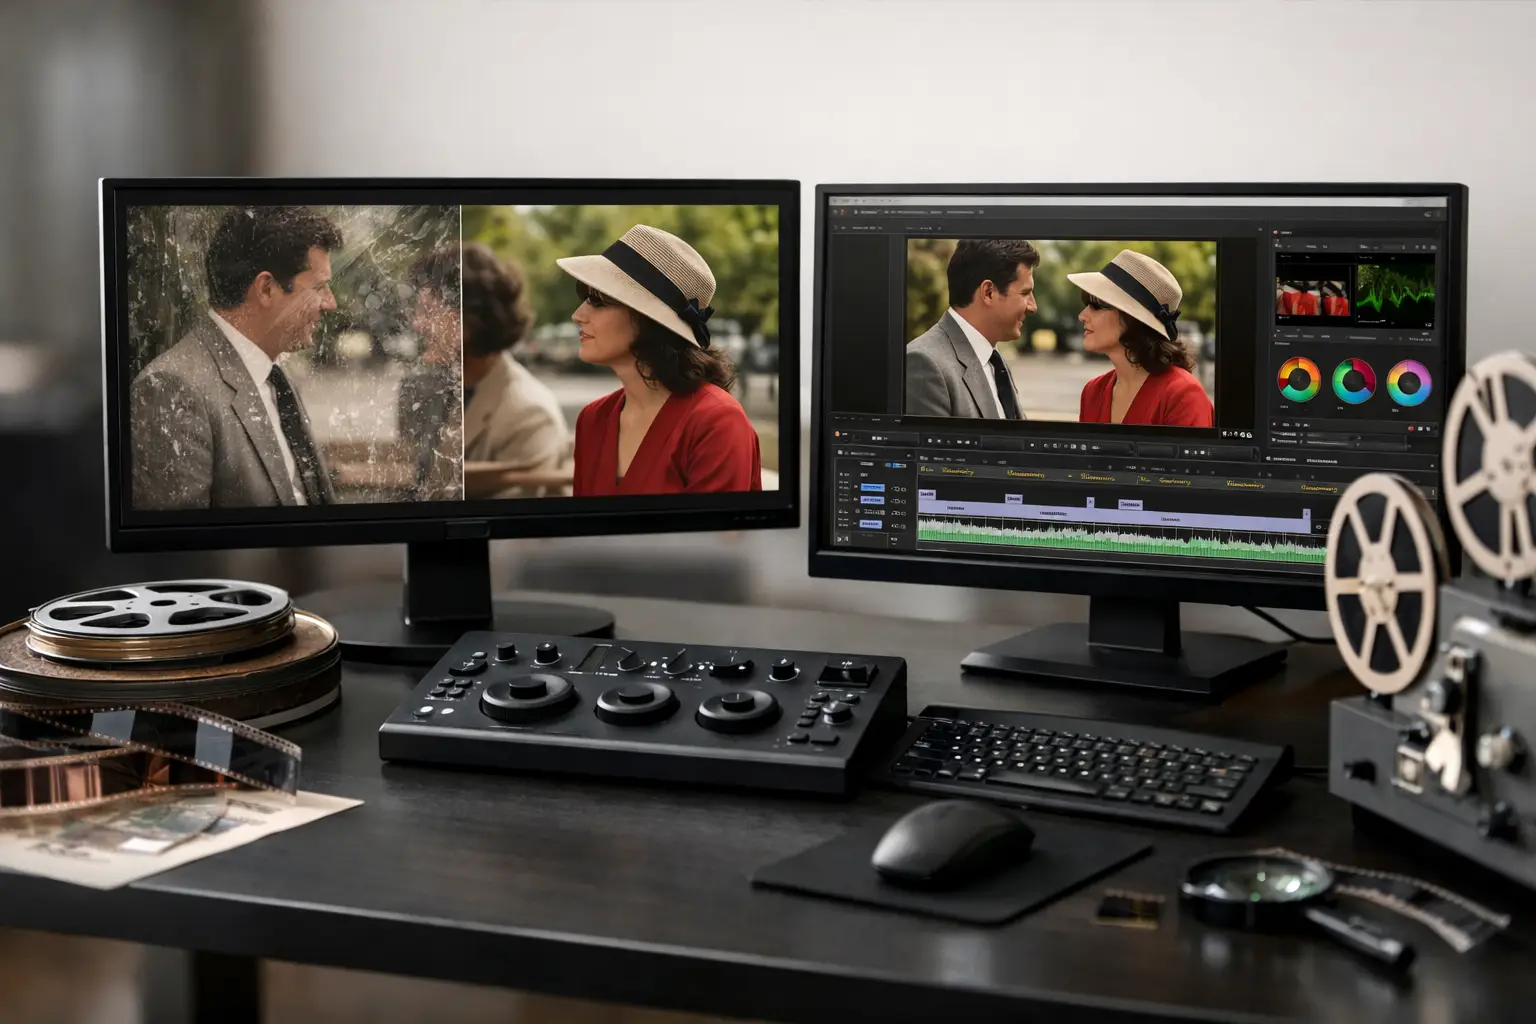
A shaky Super 8 scan with drifting color, dust bursts at every splice, and heavy grain can look beyond repair until the processing order is right. That is why an avisynth film restoration workflow matters so much: the same tools can produce either a clean, film-faithful result or a waxy, unstable image depending on how each stage is sequenced.
For small-gauge film, workflow is not a convenience issue. It is the difference between preserving texture and erasing it, between stabilizing motion and locking onto damage, between a clean export and a file that falls apart during grading or delivery. AviSynth+ remains one of the most capable restoration engines for scanned film because it lets you build a precise processing chain, but raw scripting can slow down real work when you need to evaluate dozens of reels, compare settings, and batch exports reliably.
What an AviSynth film restoration workflow needs to solve
Film scans have defects that generic video pipelines rarely handle well. On 8 mm, Super 8, 9.5 mm, and 16 mm, you are often dealing with frame jitter from capture transport, splice bumps, gate weave, dust, embedded dirt, density fluctuation, color bias, and grain that changes shot by shot. Audio, when present, may also need to stay synchronized after image correction and trimming.
A practical workflow has to respect those realities. It should let you inspect the scan first, stabilize before motion-based cleanup gets confused, remove transient defects without smearing detail, and postpone irreversible sharpening or delivery compression until the end. That sounds obvious, but many failed restorations come from doing the right operation at the wrong moment.
The other requirement is repeatability. If you restore film for clients, archives, or a family collection with hundreds of reels, a good result on one clip is not enough. You need previews that reflect the final pipeline, parameter control that is fine enough to adapt to different emulsions and scanners, and export options that preserve latitude for future work.
A practical avisynth film restoration workflow
The most reliable starting point is always a high-quality source. If your scanner can provide a lightly processed sequence or mezzanine file, keep that as the restoration master. Avoid baking in aggressive denoise, sharpening, or contrast expansion during capture. Film restoration works best when the source still contains the original texture and tonal information, even if it looks rough at first glance.
1. Ingest and inspect before correcting anything
Start by checking cadence, framing, bit depth, and color sampling. Confirm whether the scan is progressive, whether there are duplicated frames, and whether exposure varies from shot to shot or frame to frame. This first pass is where you identify splice jumps, damaged sections, warped perforation behavior, and scenes that may need different treatment.
This is also the stage to decide whether one global pipeline is realistic. Often it is not. A daylight exterior with stable exposure can tolerate stronger grain management than an underexposed interior. A good restoration workflow accepts segmentation when the source demands it.
2. Stabilize geometry before dirt and grain work
Mechanical instability should usually be addressed early. If the frame drifts vertically or laterally, motion-compensated filters such as MVTools2-based cleanup can interpret that movement as content motion and make poor decisions. Perforation-based stabilization is especially valuable on small-gauge film because it references the transport structure rather than just image content.
There is a trade-off here. Strong stabilization can reveal missing edges or require cropping, and content-based stabilizers may struggle on damaged or low-contrast shots. For archive work, the goal is not to create artificial stillness. It is to reduce distracting weave while preserving the natural motion signature of the original camera and projector path.
3. Treat splice defects and transient damage next
Splices create short bursts of visual disruption that can contaminate adjacent restoration stages. If you leave them in place, dirt removal and temporal filters may propagate the defect across multiple frames. Dedicated splice cleanup is therefore best handled early, after basic stabilization but before broader temporal processing.
The same logic applies to obvious dust hits, white specks, black specks, and short-lived blotches. RemoveDirtMC and similar approaches can be extremely effective, but settings must match the source. Push too hard and you flatten fine texture, damage title cards, or create halos around moving objects. Film grain is not dirt, and a good operator keeps that distinction clear.
4. Reduce grain without erasing the emulsion character
Grain reduction is where many restorations lose credibility. Small-gauge film often carries dense, lively grain, especially on reversal stocks and underexposed home movies. The right question is not how to eliminate it, but how to reduce the part that interferes with compression, color correction, or viewing comfort while preserving edge integrity and organic motion.
AviSynth+ gives you several ways to approach this, from temporal smoothing to motion-compensated denoise. MVTools2-driven methods are powerful because they can separate motion from noise more intelligently than simple frame averaging. Still, they are not magic. Fast handheld scenes, water, smoke, and heavy gate damage can break motion estimation. In those cases, lighter settings or scene-specific exceptions usually produce a better result than forcing one preset across the entire reel.
5. Correct color and density after structural cleanup
Color correction becomes more reliable once instability and major dirt events are under control. At this stage you can address overall casts, faded dyes, weak blacks, clipped highlights, and shot-to-shot inconsistencies. Tools such as GamMac are useful when you need fine tonal shaping without making the image look electronically stretched.
Film-origin material benefits from restraint here. A neutral white point is not always historically accurate, and pushing saturation to compensate for fade can exaggerate surviving dye noise or scanner artifacts. The best color pass restores coherence and readability while staying faithful to the stock, exposure, and age of the reel.
6. Handle sharpness carefully, and only if the scan supports it
Sharpening should be conservative and late in the chain. If added too early, it makes dust, scratches, and grain harder to remove cleanly. If added too strongly at the end, it creates harsh edges and turns natural grain into crawling noise. Many film scans need no sharpening at all once stability, dirt, and color are corrected properly.
When extra definition is justified, local contrast and edge-aware enhancement usually age better than aggressive global sharpening. The aim is to recover perceived clarity, not to force a modern digital look onto analog material.
Why interface design changes the workflow in practice
A scripted pipeline is powerful, but production work is rarely blocked by filter capability alone. The real bottleneck is iteration. You need to compare before and after quickly, test parameters on difficult passages, queue multiple exports, and avoid syntax errors that waste hours. That is where a visual front end built around AviSynth+ becomes a practical advantage rather than a convenience feature.
For film specialists, this matters even more because the restoration chain includes operations generic editors do not prioritize: perforation lock, splice cleanup, dust and scratch treatment tailored to scanned film, sound sync management, and professional export choices like FFV1 for preservation masters or x264 and x265 for delivery files. AvyScan Lab is designed around exactly that production reality, giving users access to an AviSynth-driven pipeline without requiring manual script writing for every reel.
Export choices that protect your work
The end of the workflow is not just about making an MP4. If the project has archival value, export a high-quality master first. FFV1 is a strong option when you need mathematically lossless preservation with long-term decoding confidence. For production and distribution, x264 or x265 may be more practical, with chroma and bitrate choices matched to the final use case.
This is another place where it depends. A family access copy can be lighter and more compressed. A restoration master for future grading or institutional storage should retain far more information, often in 4:2:2 or 4:4:4 workflows when the scan and processing chain justify it. Compress only after you know which file is the master and which file is the convenience copy.
Common mistakes in an AviSynth film restoration workflow
Most problems come from overprocessing. Too much temporal denoise creates ghosting. Too much dust removal wipes thin detail. Too much stabilization makes the frame feel pinned and artificial. Too much color correction forces old stocks into a palette they never had.
The other common error is treating all reels the same. Different scanners, stocks, exposures, and physical conditions need different thresholds. A workflow should be structured and repeatable, but not rigid. The strongest restorations come from a controlled pipeline with room for reel-level and scene-level decisions.
A good restoration chain does not try to prove how many filters it can stack. It proves that each stage solves a specific film problem, in the right order, with enough control to stop before the image loses its original character. If your workflow gives you that balance, the software is doing its job and the film gets to keep its own voice.