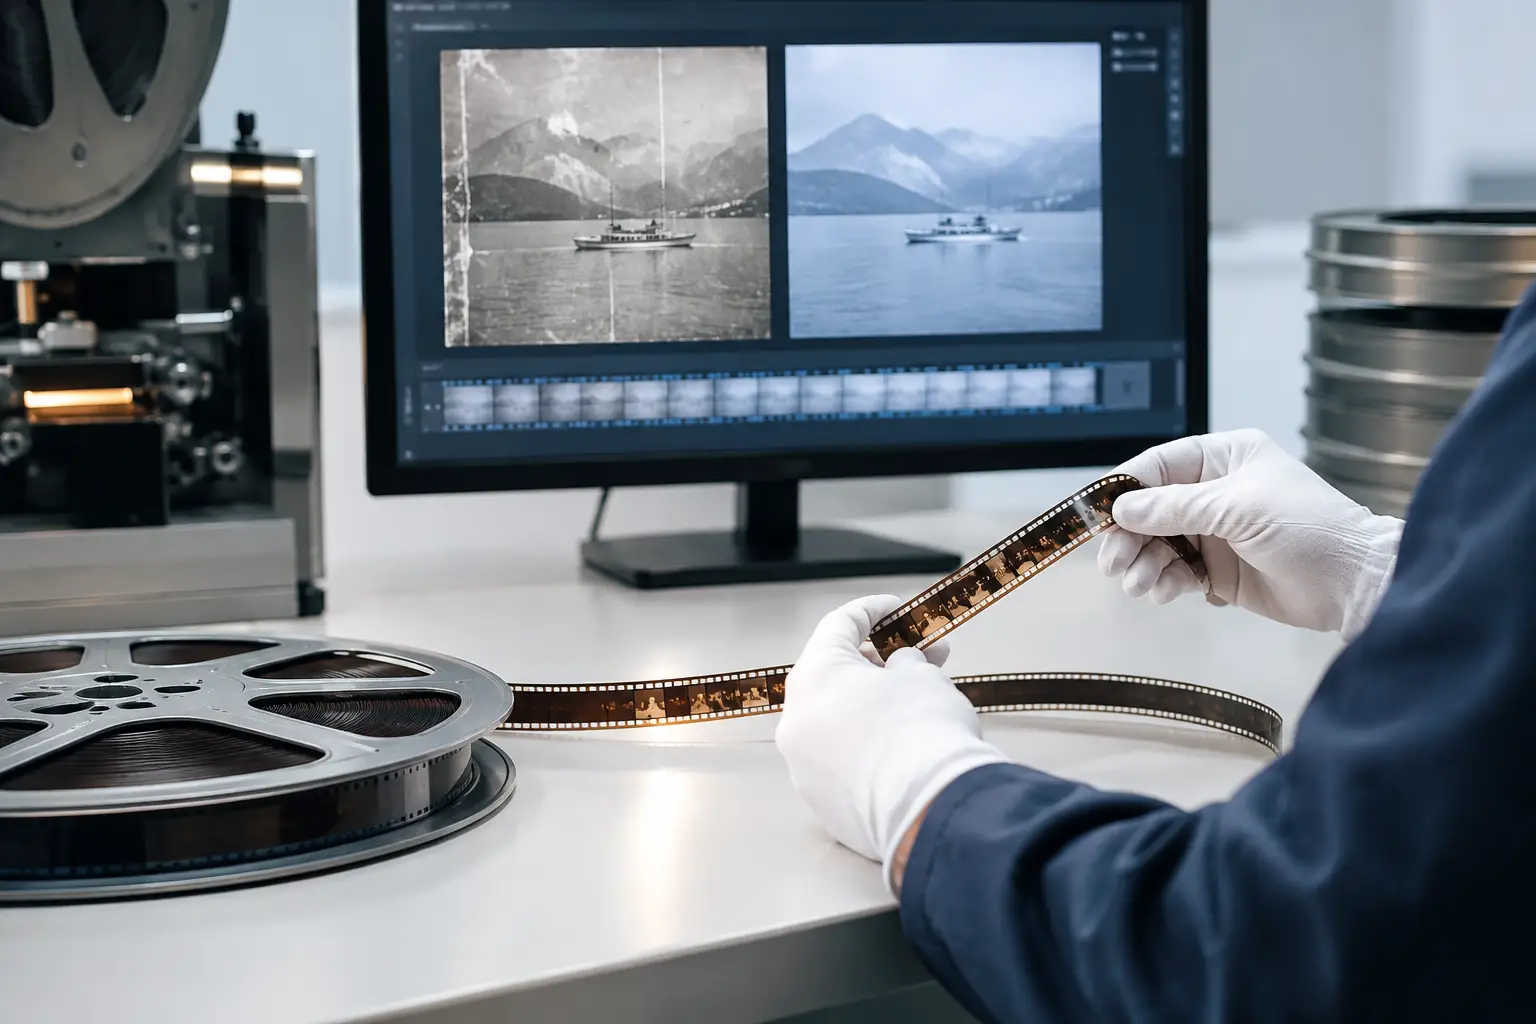
A clean scan is not automatically a faithful restoration. When you remove film scanner noise, the goal is not to make 8mm, Super 8, 9.5mm, or 16mm footage look digitally perfect. It is to separate unwanted electronic noise and scanning artifacts from the grain, texture, edge detail, and motion character that belong to the original film.
That distinction determines whether a restoration feels credible or overprocessed. Push temporal denoising too far and faces become waxy, foliage turns into watercolor, and fine weave in clothing disappears. Use too little treatment and compression can exaggerate crawling chroma noise, flicker in dark areas, and unstable detail that was never present on the film.
Identify the Noise Before You Remove It
Film grain and scanner noise can appear similar in a paused frame, but they behave differently over time. Grain is an inherent, random pattern created by the emulsion. Its size and visibility depend on film stock, exposure, format, and the condition of the original. A well-exposed 16mm negative may show fine, stable grain; an underexposed Super 8 reversal film may show larger, more active grain in shadows.
Scanner noise is generated during capture or processing. It often has a more electronic signature: fixed-pattern noise, colored speckles in dark areas, horizontal or vertical banding, chroma crawl, isolated hot pixels, or a repeating structure that remains fixed relative to the scanner rather than the image. Compression artifacts can create a third problem, especially if the scan was delivered as a heavily compressed H.264 file instead of a high-bitrate intermediate or lossless master.
Review at 100% magnification and play a short section frame by frame. Ask one practical question: does the pattern move naturally with the image, or does it remain fixed, pulse, or form colored blocks? This prevents the common mistake of applying aggressive grain reduction to a defect that actually requires chroma filtering, dust removal, or a better source file.
Treat the Source, Not the Symptom
If the original scan is available, start there. A 10-bit or 12-bit capture preserves more tonal information in shadows and provides safer room for correction than an 8-bit encoded delivery. For archival work, a high-quality intermediate such as FFV1 or a lightly compressed production codec protects the restored result while you evaluate the treatment.
Noise reduction cannot recreate clipped highlights, crushed blacks, or detail lost to aggressive compression. It can make those faults less distracting, but it cannot recover image information that was never captured. When the source is limited, a restrained treatment usually produces the most convincing result.
A Controlled Workflow to Remove Film Scanner Noise
The order of operations matters. Noise reduction should not be an isolated button pressed at the end of a project. It belongs in a restoration pipeline where each stage prepares the image for the next.
First, correct major mechanical instability. If the scan has frame jitter, unstable registration, or a wandering image, stabilize it before judging temporal noise reduction. A filter that compares adjacent frames will work more reliably when the same image area remains aligned from frame to frame. Perforation-based stabilization is particularly valuable for small-gauge film because it preserves the intended frame position rather than estimating motion from picture content.
Next, address defects that do not behave like noise. Dust, dirt, scratches, splice flashes, and isolated white or black spots should be handled with dedicated cleanup tools. Temporal dirt removal methods, including approaches based on RemoveDirtMC, can identify transient defects without forcing a broad denoiser to blur the entire frame. Splice cleanup should also occur before final denoising, since an abrupt exposure or alignment change can confuse motion analysis.
Then make primary color and exposure corrections. Correcting a severe color cast after denoising can reveal chroma defects that were hidden in the untreated image. Tools based on precise gamma and color adjustment, such as GamMac-style controls, are useful here because they let you balance shadows, midtones, and highlights without turning the image into a flat digital grade.
Only after those corrections should you apply noise reduction. Start with a short representative test clip. Include a face, a detailed background, a dark scene, and any fast motion. A setting that looks excellent on a bright outdoor scene may erase shadow detail in an interior sequence.
Use Temporal Filtering Carefully
Temporal denoising compares neighboring frames to distinguish random noise from persistent picture detail. It is usually more effective than heavy spatial blur because it can reduce noise while retaining sharper edges within an individual frame. But its quality depends on motion estimation.
For moving footage, motion-compensated processing using MVTools2-type analysis can produce cleaner results than simple frame averaging. It tracks image movement before comparing frames, reducing the chance that a moving hand, face, or camera pan will leave trails. The trade-off is processing time and the need to inspect for artifacts around fast movement, cuts, flash frames, and damaged sections.
Use conservative strength first. Increase the temporal threshold only until electronic noise is less distracting at normal viewing size. If grain begins to disappear in flat areas while edges look artificially clean, step back. The best setting is often lower than expected, particularly for Super 8, where visible grain is part of the format's visual identity.
Spatial filtering can complement temporal cleanup, but it should be selective. A mild chroma treatment may reduce colored noise in shadows without softening luminance detail. This is useful for older telecine transfers or scans with noisy color channels. Avoid broad luma smoothing unless the source contains obvious scanner noise that remains after temporal treatment.
Protect Detail, Grain, and Film Character
A restoration should be evaluated in motion and at intended delivery size, not only on a paused, zoomed-in frame. At 200% magnification, residual grain can look excessive. At normal playback, that same grain may provide the texture that prevents the image from looking synthetic.
Compare the treated clip against the original with matched brightness and contrast. Denoising often makes an image appear softer and therefore darker or less vivid. An unfair comparison can lead to excessive filtering simply because the cleaner image looks calmer. Check fine indicators: eyelashes, hair, text, foliage, fabric, and the edge of a moving object against a background.
Watch for these warning signs during preview:
- smearing or ghost trails behind motion
- faces with plastic-looking skin texture
- flickering detail in grass, leaves, or patterned clothing
- color bleeding at high-contrast edges
- grain that freezes, pulses, or disappears between shots
If these artifacts appear, reduce the denoiser strength, shorten the temporal radius, or exclude difficult shots from a global preset. A batch workflow is efficient, but it should not force identical settings onto a clean daylight reel and a heavily underexposed indoor reel.
Build Presets Around Film Conditions
The useful unit of restoration is rarely the entire archive. It is the group of shots with similar characteristics. Organize presets by gauge, source condition, exposure, and scan quality. A clean 16mm daylight reel might need only mild chroma cleanup. A faded Super 8 family film with dense shadow noise may need stabilization, dust removal, color correction, and restrained motion-compensated denoising.
This approach also makes batch processing safer. Apply a baseline preset, render a review segment, and make shot-level adjustments only where the footage demands them. The time saved comes from repeatable processing, not from assuming every reel has the same defects.
AvyScan Lab is designed around this kind of controlled workflow: specialized film cleanup, stabilization, color correction, preview, and professional encoding are organized in one visual environment rather than requiring manual AviSynth+ scripting. The practical advantage is not merely convenience. It is being able to test, compare, and revise a restoration decision before committing an entire reel to export.
Export Without Reintroducing Noise
A clean restoration can be damaged by a poor export choice. If the project will be graded, edited, or archived further, preserve the restored master in a high-quality format and appropriate bit depth. FFV1 is a strong archival option when lossless preservation and manageable storage are priorities. For production workflows, select an intermediate that retains the needed chroma information, especially if further color work is planned.
For delivery, x264 or x265 can produce efficient files, but bitrate and encoding settings must match the footage. Over-compressing grainy film creates mosquito noise, block artifacts, and temporal pumping that may be mistaken for scanner noise. Sometimes a slightly larger file is the more faithful final delivery.
The most successful noise reduction is often the one viewers do not notice. The image should still look like film, just cleaner, steadier, and easier to watch - with its original detail and history still intact.