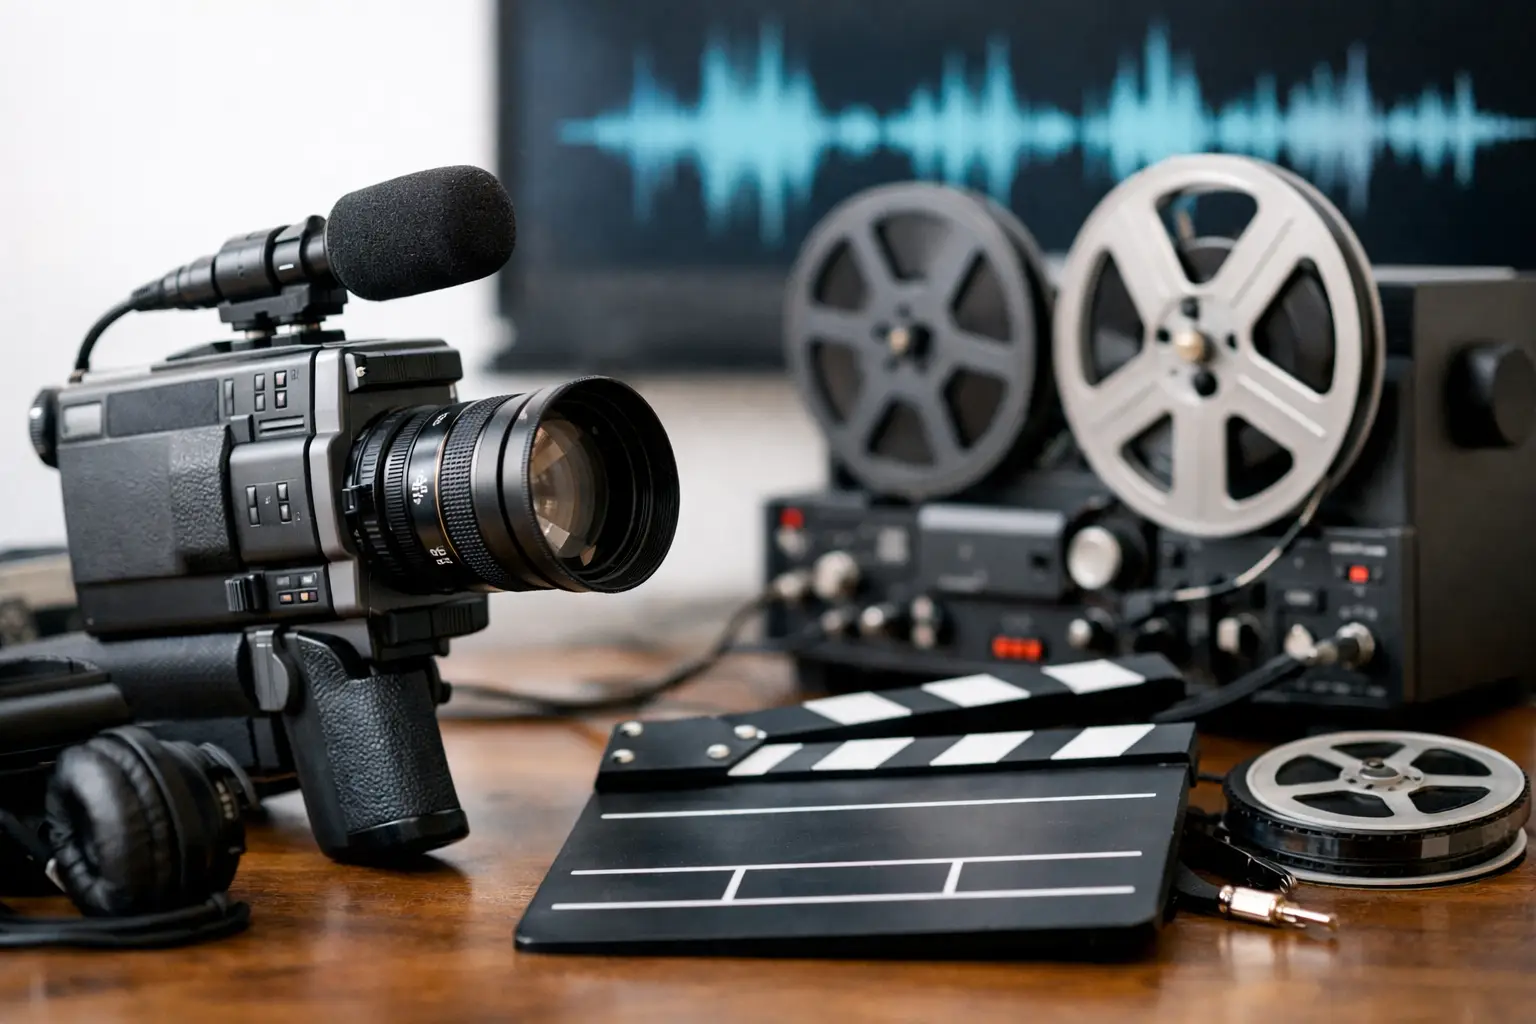
A Super 8 film can look beautifully restored and still feel wrong within seconds if the dialogue lands late, music pulses ahead of the picture, or the soundtrack slowly drifts through a reel. Super 8 sound synchronization is not a cosmetic finishing step. It is a timing problem that begins with the original film format, the transfer method, and the way image and sound are captured.
The good news is that most sync failures are diagnosable. They usually come from a small set of causes: an incorrect frame rate, a fixed offset between image and magnetic sound, unstable transport, an edited reel with missing frames, or audio that was recorded separately. Treating each problem correctly matters more than applying a universal delay.
Why Super 8 Sound Falls Out of Sync
Sound Super 8 cartridges used a magnetic stripe running along the film edge. The sound head in a projector sits physically after the film gate, so the soundtrack is recorded and reproduced a number of frames later than the associated image. This is called the sound offset. It is a built-in characteristic of the format, not an error in the film.
During a proper transfer, the scanner or telecine system must account for that offset. If it does not, the resulting audio can be consistently early or late from the first frame to the last. A constant error is the simplest case: move the audio track by the required amount, verify against a clear visual cue, and retain that relationship throughout the export.
Drift is different. If sync is correct near the start but wrong several minutes later, the audio and picture are running at slightly different effective speeds. A project transferred at 18 frames per second while interpreted as 18.5 fps will not stay aligned. The same is true when audio is captured in real time from one transport while the image is scanned frame by frame or processed at another rate.
Mechanical instability adds another layer. Warped film, damaged perforations, weak splices, and projector speed variation can produce timing changes that are not uniform across the reel. Restoration should improve the image without accidentally changing its duration or dropping frames needed to maintain the soundtrack relationship.
Start With the Original Playback Speed
Before shifting any audio, establish the intended projection speed. Silent Super 8 was commonly shot at 18 fps, while sound film was generally intended for 24 fps. That distinction is fundamental. A sound reel played, scanned, or conformed at 18 fps will run 33 percent too slowly, causing obvious timing and pitch problems.
Do not rely only on the cartridge label or a family recollection. Check the content. Speech is a useful indicator, but music and repeated actions are often better references. A person closing a car door, a cymbal strike, a hand clap, or a flash photograph gives you a visible event with a sharp audio transient. Compare several events across the reel, not just one near the opening.
A 24 fps sound film may have been transferred to 23.976 fps, 24 fps, 25 fps, 29.97 fps, or another delivery frame rate. These choices are not interchangeable. Conforming 24 fps footage to 23.976 fps changes program duration unless the audio is conformed by the same ratio. Converting to 25 fps for a PAL-oriented workflow also requires a deliberate speed decision. Preserve a reference master at the native scanning rate whenever possible, then create delivery versions from that master.
Constant Offset or Progressive Drift?
Use this quick diagnostic before editing:
- If every cue is early or late by roughly the same amount, correct a constant offset.
- If the error grows gradually from beginning to end, correct the duration or playback speed of one stream.
- If sync changes abruptly after a splice, repair or compensate for the local edit point.
- If it wobbles unpredictably, inspect the transfer and film transport before stretching audio.
These distinctions prevent a common mistake: using audio time-stretching to solve a fixed offset, or sliding the full soundtrack to solve a speed mismatch. Both may make one moment look correct while making the rest of the reel worse.
A Controlled Super 8 Sound Synchronization Workflow
Work from the highest-quality available source files. For the picture, that usually means the original scan rather than a compressed delivery file. For sound, retain an uncompressed capture when possible, such as WAV at 48 kHz or higher. Lossy audio is usable for reference, but it is a poor archival source for repeated processing.
First, place image and audio on a timeline at their true source rates. Avoid frame blending, automatic speed correction, or variable frame rate interpretation during this stage. Mark three to five clear sync points: near the beginning, around the middle, near the end, and immediately before and after any suspicious splice.
If all markers show the same displacement, apply a single shift. Depending on the software, this may be measured in frames, milliseconds, or samples. Frames are easier to reason about for film work, but samples allow precise final adjustment. At 24 fps, one frame is approximately 41.67 milliseconds. A correction of two frames is therefore not a trivial adjustment for dialogue.
If the markers progressively separate, calculate the ratio between the audio duration and picture duration. The objective is not to force the soundtrack to an arbitrary runtime. It is to make both streams represent the same original event duration. Apply a high-quality time adjustment to the audio, preferably one that preserves pitch when the correction is small. If the speed difference came from a known frame-rate conversion, conforming both picture and audio together is often cleaner than stretching audio alone.
Then inspect edit points individually. Home movies were frequently cut, repaired, or reassembled over decades. A lost frame at a splice creates a visible jump and a small sync discontinuity. Several lost frames across a reel can become noticeable. In these cases, local audio edits, short fades, or carefully placed silence may be more faithful than globally retiming the track.
Preserve Sync While Restoring the Image
Image restoration can affect synchronization when processing changes frame count, frame order, or clip duration. Dust removal, grain reduction, color correction, and stabilization should be temporally conservative. They may alter pixels from frame to frame, but they should not silently duplicate, delete, or interpolate frames unless that is an explicit creative or repair decision.
Perforation-based stabilization is especially valuable for Super 8 because it steadies the image around the film's physical registration. But stabilization must be applied without changing the cadence. A stable picture can make slight sync errors easier to notice, which is useful during quality control, but the process itself should remain frame-accurate.
Splice cleanup also requires care. Removing a bright splice flash or damaged frames can improve viewing quality, yet every removed frame changes timing. If frames must be excluded, document the change and adjust the soundtrack at the same location. For archival work, keep the untouched scan as a preservation element and generate a restored access version separately.
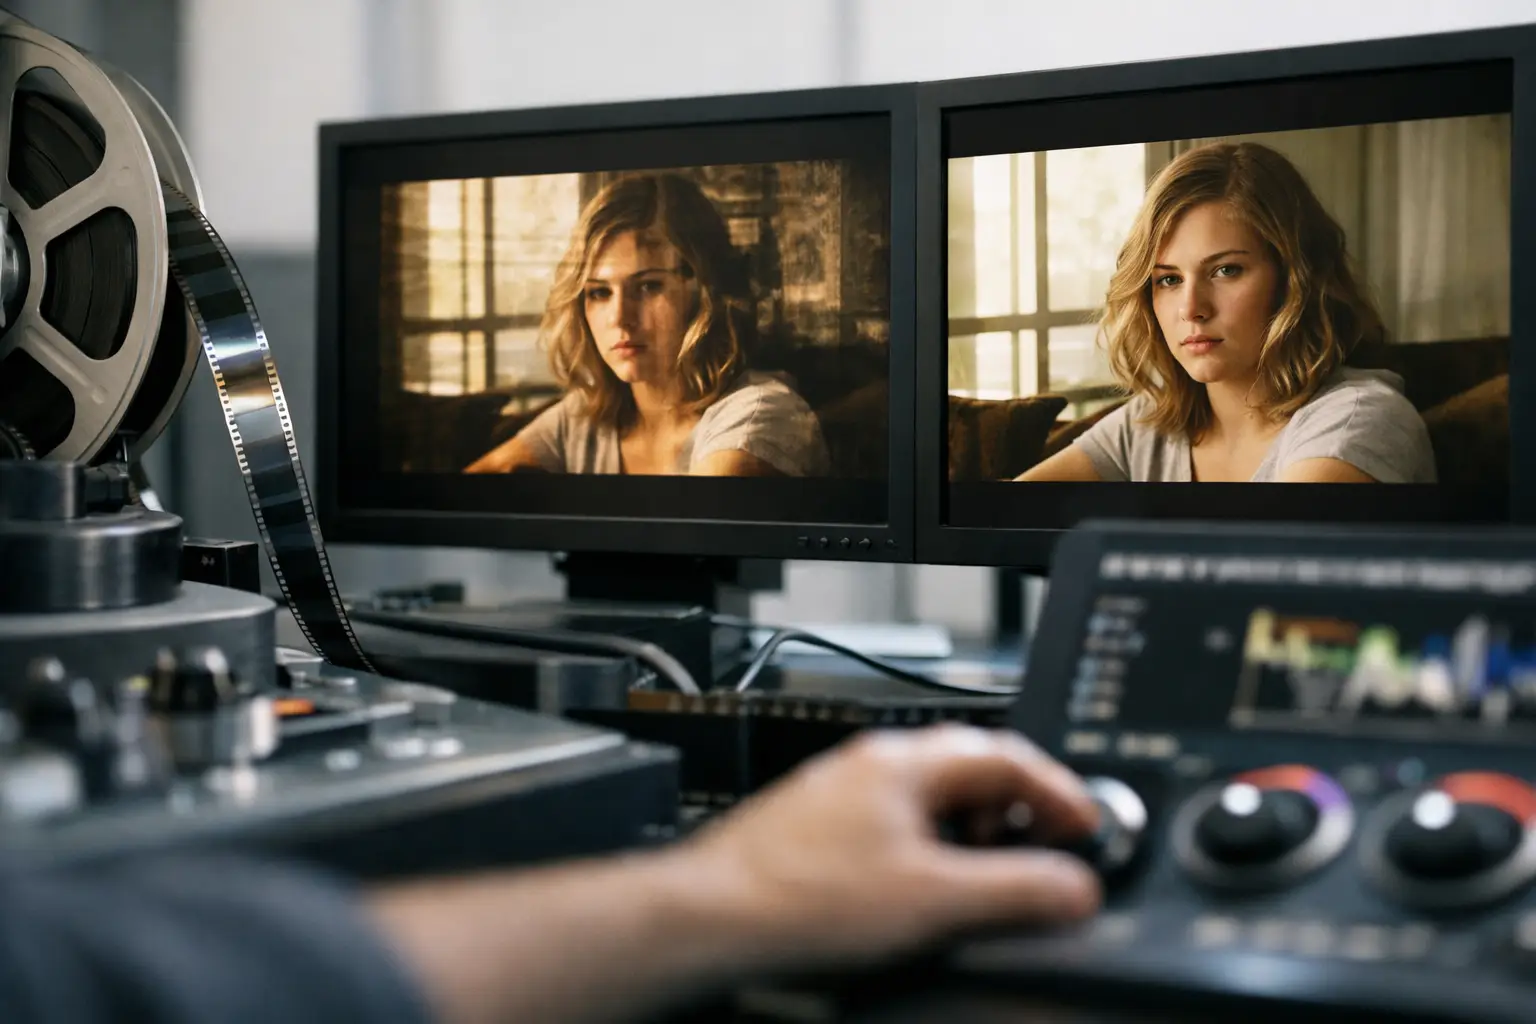
AvyScan Lab is built around this kind of controlled workflow: image correction, Perfo Lock stabilization, splice-oriented treatment, and image/sound alignment can be reviewed within a film-restoration pipeline rather than treated as unrelated video edits.
Preview at Full Duration, Not Just at the Start
A short preview can confirm a constant offset, but it cannot prove that a reel remains synchronized. After correction, review the first minute, a section around the midpoint, and the final minute. Watch for spoken consonants, impacts, music changes, and narration that refers to visible actions.
Also listen with headphones. Room speakers can hide small dialogue errors, especially in old magnetic tracks that already carry hiss, dropouts, or limited high-frequency detail. Noise reduction should be applied carefully after timing is correct. Aggressive processing can soften transients that make sync judgment easier.
Export Settings That Protect the Result
For a preservation or intermediate file, use a codec and container suited to editing and archival retention. FFV1 or a high-quality lossless intermediate can preserve the restored image without adding generational compression. Keep audio as uncompressed PCM where the chosen container supports it.
For viewing copies, H.264 or H.265 may be appropriate, provided the export preserves a constant frame rate and does not introduce automatic audio resampling or frame-rate conversion. Verify the final file after encoding. An editor timeline can be perfectly aligned while an incorrect export preset introduces a new duration mismatch.
Store the scan, the original audio capture, the restoration project or processing notes, and the final master together. Future tools may improve scratch removal or color recovery, but they cannot recover the original timing decisions if the source relationship and correction method are lost.
The most reliable result is not the soundtrack that looks aligned at one memorable moment. It is the reel that holds its timing from the first frame to the last, while preserving the pace, voices, and small mechanical character that make Super 8 worth saving.