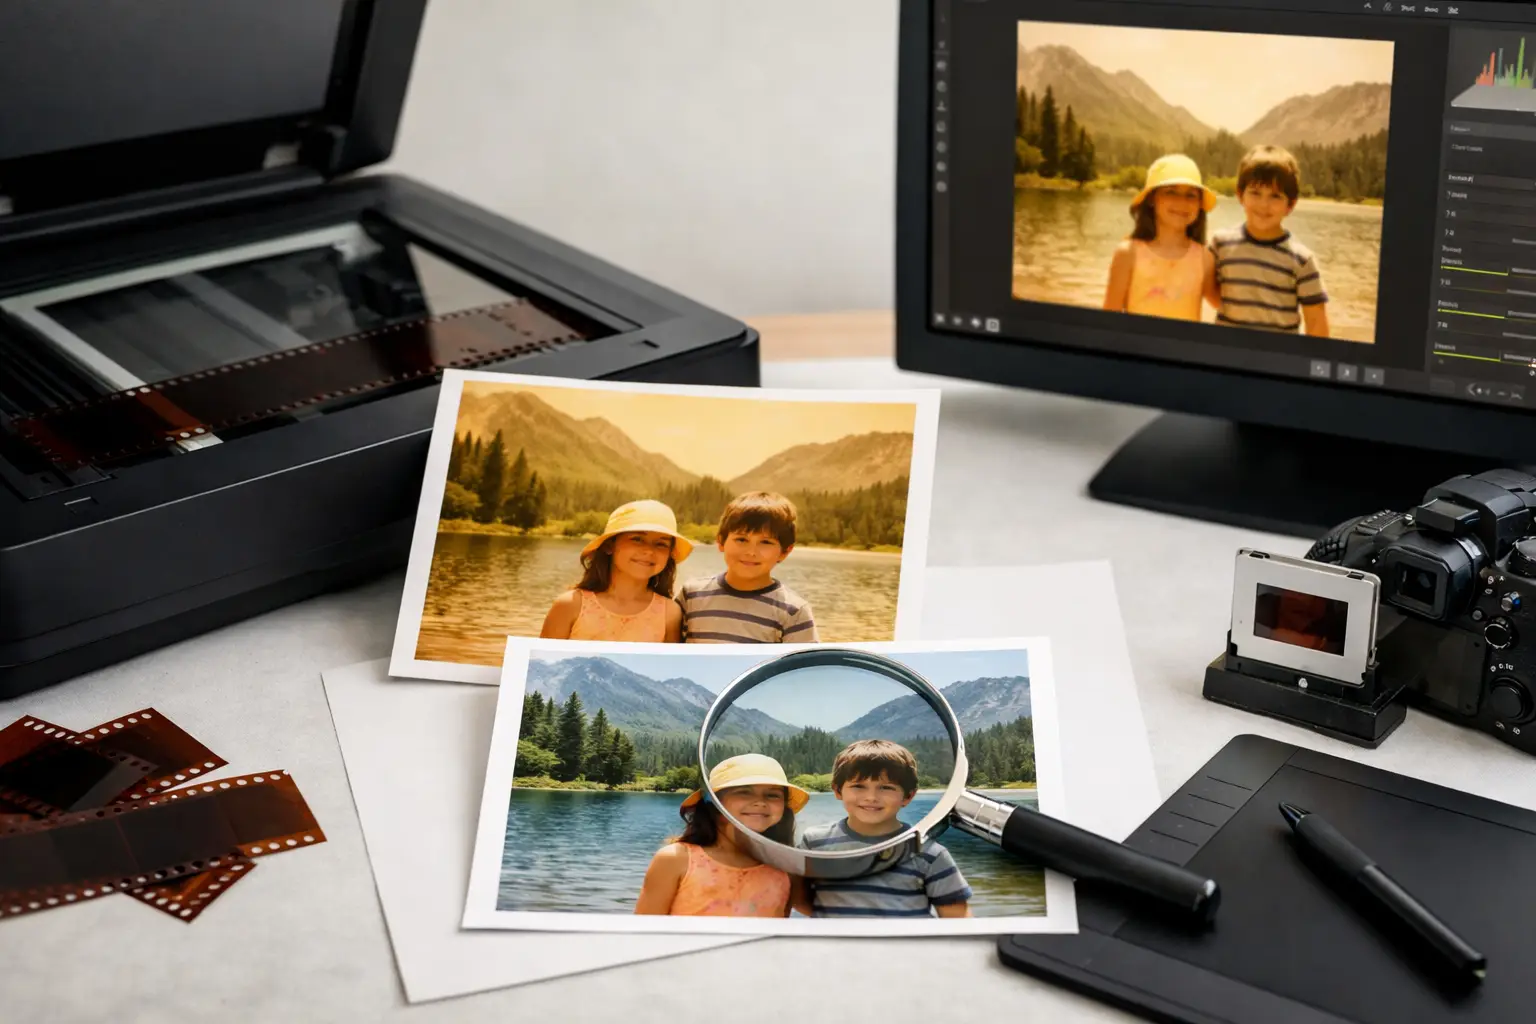
A scan can be sharp, stable, and free of dust, yet still feel wrong the moment a face appears. Yellowed whites, cyan shadows, magenta skin, or a blanket orange wash can make a family scene look less like memory and more like a laboratory accident. To fix color cast in scans properly, treat the problem as a restoration decision, not a one-click color effect.
Color correction for scanned film is about rebuilding believable relationships between neutral areas, skin tones, sky, foliage, and shadow detail. It is not always about making every frame look modern, saturated, or perfectly neutral. A faded 1970s Super 8 roll may have a warm character that belongs to the original stock. The goal is to remove unintended imbalance while retaining the photographic identity of the film.
Why Film Scans Develop a Color Cast
A color cast can enter the image long before the film reaches your restoration workstation. Film dyes age at different rates. In many consumer color stocks, cyan, magenta, and yellow layers do not fade evenly, which shifts the entire image toward red, blue, green, or yellow. Storage conditions accelerate the effect. Heat, humidity, and airborne contaminants can change dye stability dramatically, even within the same reel.
The scan itself can add another layer of imbalance. A scanner light source may be calibrated for a different stock, auto-exposure can react poorly to a bright shirt or a dark scene, and a transfer made in video levels may clip useful highlight or shadow information. If the source was previously transferred to tape or compressed before restoration, chroma subsampling and codec artifacts can further complicate correction.
Not every shot on a reel will have the same problem. Indoor tungsten scenes, daylight footage, flash-lit frames, and spliced sections from different film batches may all require separate treatment. This is why applying one global correction to an entire 400-foot reel often produces an inconsistent result.
Fix Color Cast in Scans Before Other Cosmetic Work
The order of operations matters. Correct broad color and density issues early, before aggressive grain reduction, dirt removal, or final sharpening. A severe cast can hide dust in one channel, exaggerate grain in another, and mislead your judgment of contrast. Once the image is balanced, you can evaluate cleanup filters on a more reliable picture.
There is one practical exception: stabilize first when frame movement makes it difficult to judge a neutral object or a face. Perforation-based stabilization gives you a fixed reference, especially on shrunken 8mm or Super 8 film where the image may wander from frame to frame. Then work on color with a stable preview.
Keep the correction non-destructive whenever possible. Preserve the original scan, export test clips, and compare before and after at full resolution. A convincing preview at a reduced display size can still conceal clipped highlights, crushed blacks, or chroma noise that will become obvious in a final 4:2:2 or 4:4:4 master.
Start With Density, Not Saturation
Many color problems are really exposure problems. If the scan is too dark, the shadows may look excessively blue, green, or red simply because one color channel has retained more detail than the others. If highlights are clipped, a pale wall or white dress may take on a cast that cannot be fully corrected later.
Set black and white points with restraint. Look for meaningful reference areas: a shirt that should be near white, a gray sidewalk, a cloud, a painted wall, or the silver trim of a car. Avoid assuming that every bright object should be pure white. A warm incandescent lamp, a sunset scene, and aged beige paper should retain their natural bias.
Gamma is often more useful than a large contrast increase. It lets you open or close the midtones without destroying the endpoints. In scanned reversal film, where highlights can be dense and shadows may already be thin, a modest gamma adjustment can recover apparent balance while keeping the image’s original contrast structure intact.
Use Neutral References, but Do Not Trust Them Blindly
The fastest route to a balanced image is to find an object that should be neutral and use it as a reference. The principle is simple: neutral gray, white, and black areas should contain roughly balanced red, green, and blue values. In practice, archival footage is rarely that simple.
A gray car may reflect green trees. A white shirt may sit under warm household lighting. Snow can be blue in shade, and a concrete wall can be naturally yellowed. Use several references across the frame and consider the scene’s lighting before changing channel balance.
Faces are often the strongest visual check. Human skin has a wide range of valid tones, but it rarely looks convincing when one channel dominates the midtones. After balancing a neutral reference, inspect faces in both light and shadow. If skin becomes gray, pink, violet, or sunburned while the background looks technically neutral, reduce the correction and favor the face.
This is particularly important with home movies. Viewers will forgive a slightly warm room. They will immediately notice when a grandparent’s face looks green.
Correct Globally, Then Isolate Problem Scenes
Begin with a global correction that solves the dominant issue across the reel. For example, if the complete scan is yellow-red from cyan dye loss, use channel-aware color balance to restore blue and cyan presence while preserving luminance. Work in small increments. Large channel changes can amplify chroma noise, reveal scanner artifacts, and create unnatural edges around high-contrast details.
Then divide the footage by scene or shot group. A daylight picnic may need one setting, while an indoor birthday sequence needs another. If a film was edited with cement splices or tape splices, each joined section may originate from a different exposure date, camera, or stock. Treat those changes as editorial boundaries, not as errors to be forced into a single grade.
Keyframed corrections are useful when a cast shifts gradually within a shot. This can happen when a camera pans from a window toward an interior wall, or when automatic scan exposure changes during a fade. For abrupt changes, separate filters or scene-based processing is cleaner than trying to animate a large correction across a splice.
Watch the RGB Channels and the Histogram
Your eye is essential, but scopes provide evidence when the image is deceptive. Examine RGB channel behavior alongside the picture. If the blue channel clips first in highlights, pushing more blue into the image may neutralize a wall while destroying texture in clouds or clothing. If red is buried in shadows, a broad red lift can make dark areas noisy and unstable.
Histograms are useful for identifying clipped data, not for forcing every image into an identical distribution. A night scene should not have a bright, full-range histogram merely because a daylight scene does. The objective is to preserve usable image information and natural scene contrast.
When working from a high-bit-depth scan, keep the pipeline at high precision as long as possible. Early conversion to 8-bit video can cause banding in skies and walls after gamma or channel adjustments. A restoration workflow that supports high-quality intermediates such as FFV1 gives you room to refine color before delivery encoding with x264 or x265.
Avoid the Most Common Overcorrections
The most frequent error is neutralizing every warm or cool tone until the footage becomes sterile. Film stocks, lenses, and historical lighting all have character. An archive does not need to resemble current digital camera footage to look correct.
Another error is using saturation as the primary fix. Saturation cannot repair a channel imbalance. It often makes red fading more obvious, turns skin unnatural, and emphasizes chroma noise in shadows. Balance channels and density first. Add saturation only when the film has genuinely lost chroma and only after checking faces, reds, and blue skies.
Be careful with automated white balance as well. It can be useful for an initial estimate, but it does not understand whether a frame is lit by tungsten, dominated by grass, or intentionally shot at sunset. Use automation to save time, then verify the result manually.
Finally, do not judge correction on a single frame. Play several seconds at normal speed. A grade that looks acceptable on one still can flicker between shots, breathe in a fade, or reveal different color noise patterns as the image moves.
Build a Repeatable Restoration Workflow
For regular film work, save correction presets by film stock, scan source, and common defect pattern. A preset for faded 1980s consumer negative will not necessarily suit 1960s Kodachrome or a modern archival scan, but it can provide a controlled starting point. Label versions clearly and retain a neutral baseline preset for comparison.
A specialized application such as AvyScan can make this process more repeatable by placing color correction, cleanup, stabilization, preview, and export controls in one AviSynth+-based workflow. The useful advantage is not automation for its own sake. It is the ability to test a correction against the actual restored image, then apply consistent settings in batch processing where the source material truly matches.
Export a short approval clip before committing to a full reel. Include a face, a neutral object, a saturated object, and a difficult shadow area if possible. Review it on a calibrated display, but also check a normal consumer screen. Archive masters should preserve the best available information; viewing copies should still look credible where the film will actually be watched.
The strongest color correction is often the one nobody notices. When the cast is gone, skin feels alive, whites stop distracting the eye, and the film still looks like it came from its original camera, you have preserved more than color. You have preserved the conditions in which the image was made.