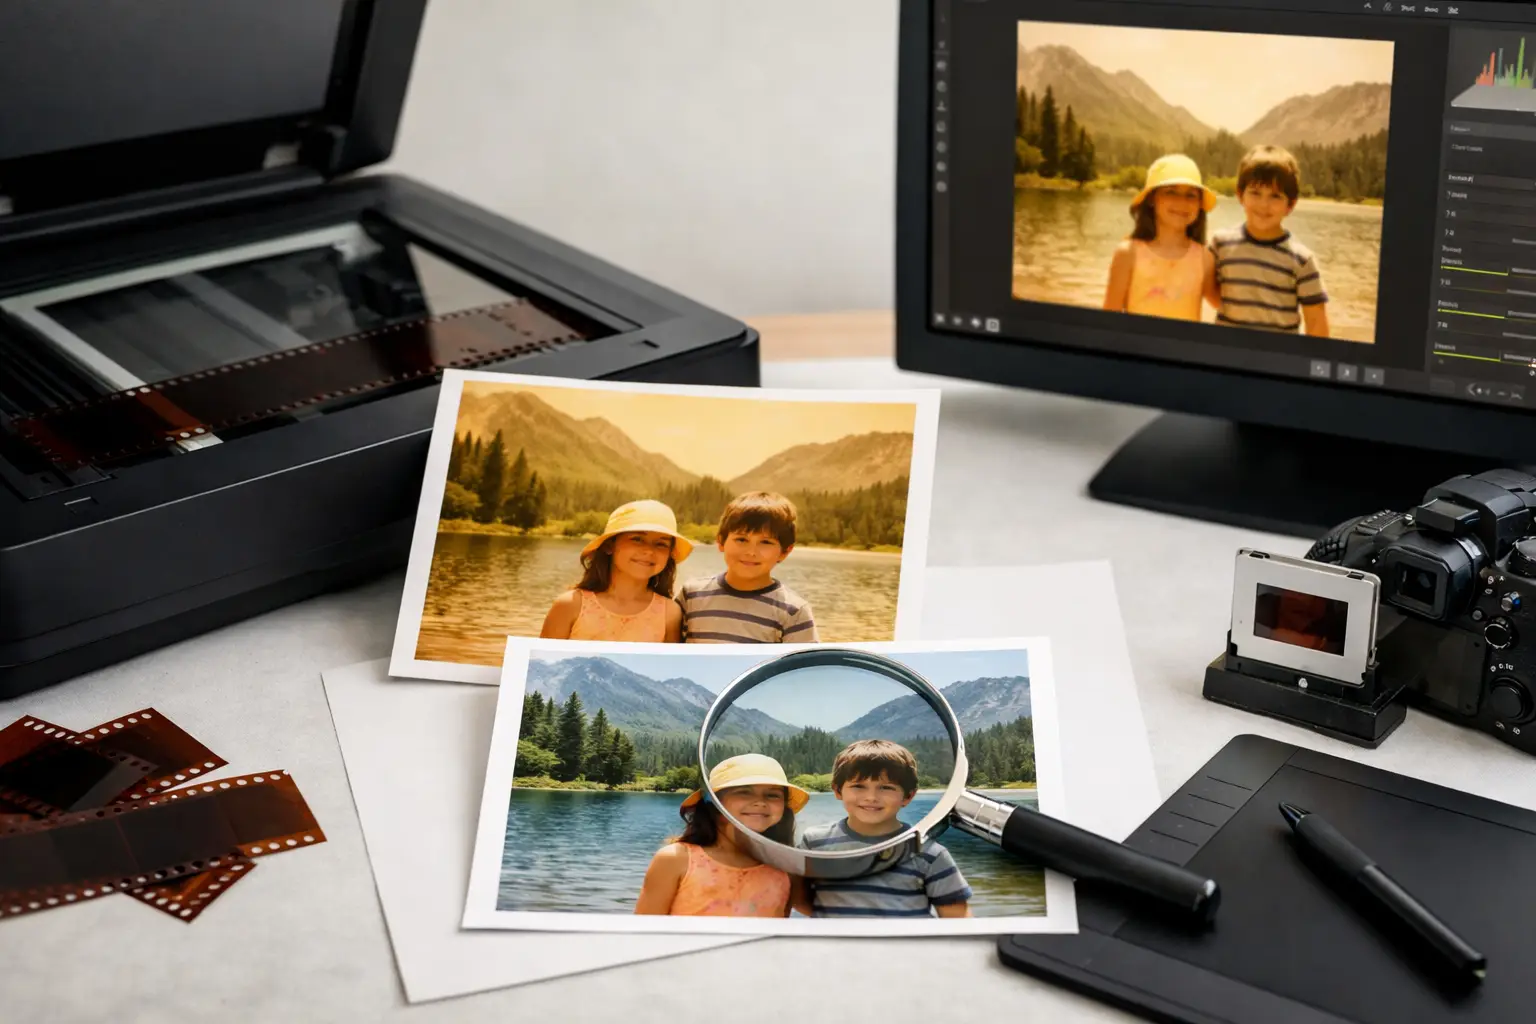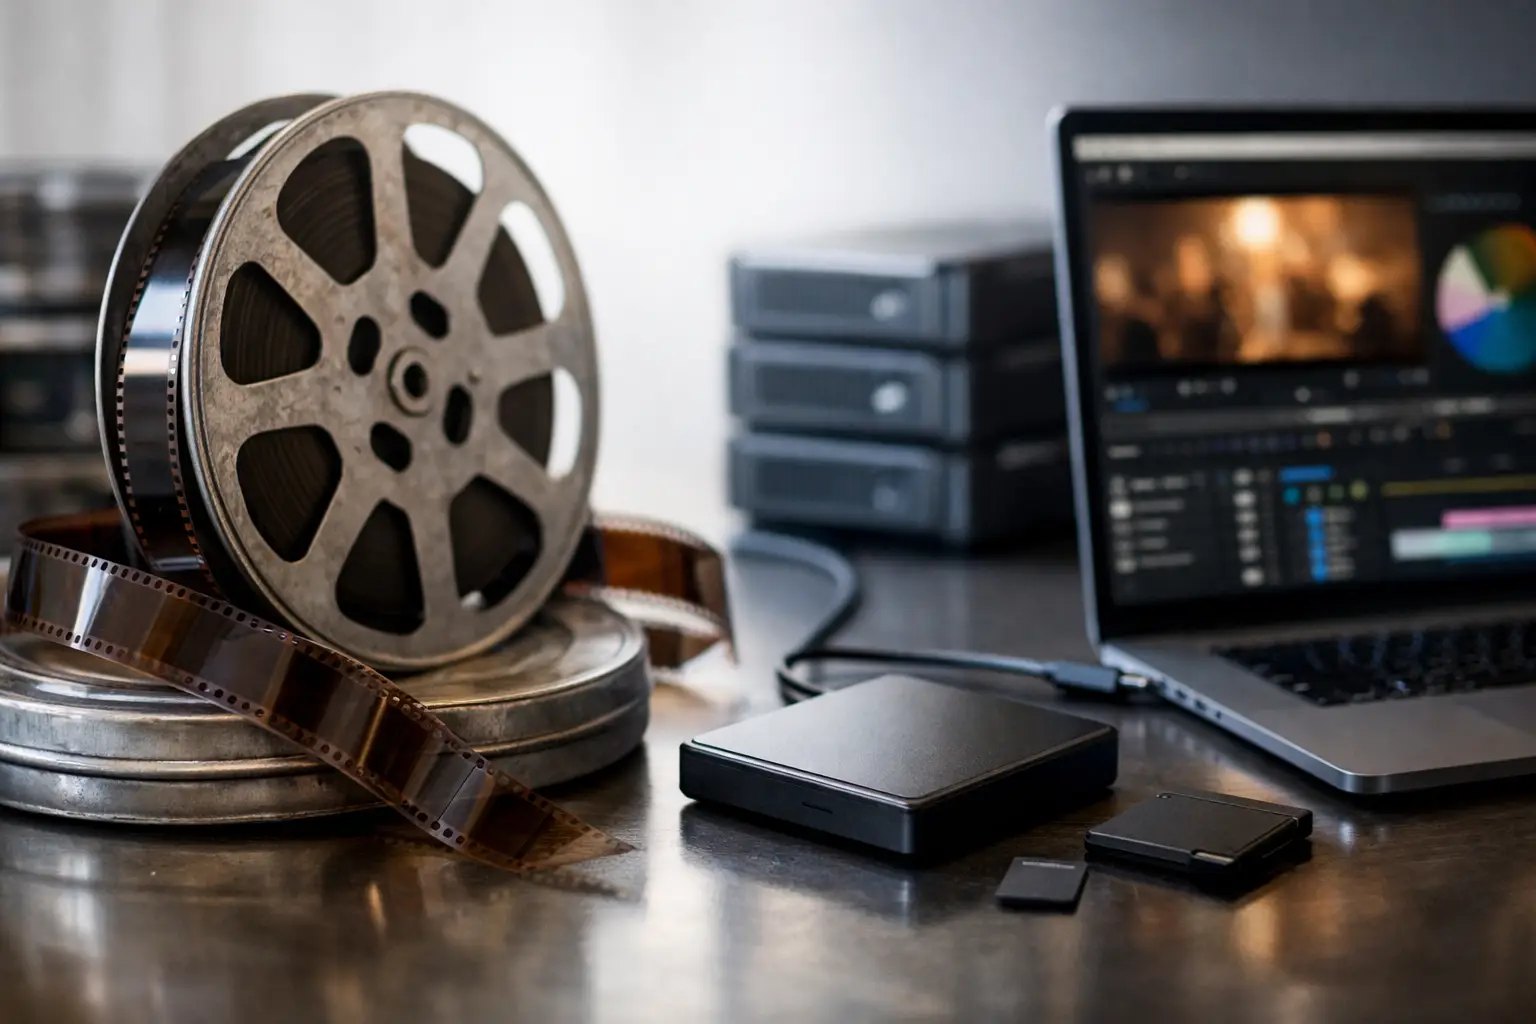
A telecine transfer can look stable at first glance, then reveal a distracting pulse when projected, viewed full screen, or encoded for delivery. Brightness rises and falls between frames, blacks breathe, and a scene shot under steady daylight suddenly appears to change exposure. To repair flicker in telecine material properly, the first task is not applying a filter. It is identifying whether the variation belongs to the original film, the scanner, or the processing chain.
That distinction matters because flicker correction is an exposure-normalization operation. Applied too aggressively, it can erase intentional changes in lighting, flatten flashes and fades, or cause colors to shift from frame to frame. A good restoration reduces mechanical or transfer-induced instability while preserving the photographic character of the reel.
What Telecine Flicker Actually Looks Like
Not every unstable image is flicker. In film restoration, several defects are often confused because they all create motion or variation over time.
Classic luminance flicker is a global change in image brightness. It may occur every frame, every few frames, or in irregular bursts. This is common with aging telecine equipment, variable lamp output, exposure variation during filming, and uneven density in the original stock. It is especially visible in skies, walls, title cards, and other broad areas of even tone.
Color flicker is related but more difficult. Instead of the entire image becoming brighter or darker, one color channel may fluctuate. A blue sky can alternate between cyan and violet, skin tones can become warmer and cooler, or faded reversal film can show intermittent magenta and green shifts. Correcting luminance alone will not solve this problem.
Then there is image weave. If the frame moves vertically or horizontally because the film was not registered consistently during scanning, a stationary bright area can appear to pulse at the edge of the frame. That is a stabilization problem, not necessarily an exposure problem. Perforation-based registration should generally happen before evaluating residual flicker.
Finally, distinguish flicker from scene content. Camera flashes, lightning, projector light changes inside a filmed scene, rapid editing, dissolves, and deliberate fades are meant to vary. A correction tool cannot know the historical intent of every shot unless its temporal settings are chosen carefully.
Diagnose Before You Repair Flicker in Telecine
Begin with an untouched section of the scan and inspect it at normal playback speed and frame by frame. Use a shot with no edits, no large moving objects, and no intentional lighting effects. A 10- to 30-second test section is usually enough to establish the pattern.
If the entire frame brightens and darkens together, the correction can be based on global luminance. If only parts of the image fluctuate, the cause may be uneven illumination, flare, shutter artifacts, or a local defect in the film. Global deflickering may reduce the symptom while introducing an unnatural result.
The frequency of the fluctuation also provides useful evidence. Alternating bright and dark frames often point to capture timing, shutter interaction, or a transfer issue. Slow waves across several seconds can be associated with lamp drift, automatic exposure behavior, or density changes along the reel. Random single-frame jumps may come from splices, damaged frames, or source inconsistencies.
It is worth checking whether the artifact begins at a reel change, after a splice, or only in a particular scene. Splices can alter density abruptly and confuse temporal filters. A splice cleanup pass or a protected edit boundary can prevent a deflicker process from averaging two unrelated shots together.
Build the Correction in the Right Order
Deflickering should not be treated as a one-click finishing effect. Its position in the restoration pipeline affects both accuracy and artifact control.
First, retain a high-quality working source. Avoid beginning with a heavily compressed H.264 or H.265 derivative if a lossless or near-lossless scan is available. Compression noise and banding can mislead analysis, particularly in flat areas where flicker is easiest to measure. For preservation work, a high-bit-depth intermediate or FFV1 master gives correction tools more tonal information to work with.
Next, correct geometric instability where necessary. When the film frame is wandering, use perforation registration or a stable motion-analysis approach before judging exposure. In a film-specific workflow, Perfo Lock can establish a consistent frame position from the sprocket area, rather than relying solely on the image content. This is useful for 8 mm, Super 8, 9.5 mm, and 16 mm scans with shrunken, warped, or poorly transported film.
After stabilization, address major dirt, frame damage, and splice disruptions with restraint. Large white dirt bursts can be interpreted as brightness events by temporal processing. Tools such as RemoveDirtMC can help prepare the sequence, but settings should preserve fine grain and edge detail. A temporal filter that removes every small variation may produce a polished but lifeless image.
Only then should global flicker correction be evaluated. The goal is to create a stable exposure baseline, not to force every frame toward identical brightness. Film has natural grain, scene-level density variation, and real changes in illumination. Those belong in the result.
Choose a Temporal Window That Matches the Defect
Most deflicker methods compare a frame with neighboring frames, calculate a brightness reference, and compensate deviations from that reference. The number of frames included in the comparison is the temporal window. It is one of the most consequential settings in the entire process.
A short window responds quickly to rapid alternating flicker. It can work well for one-frame exposure oscillation, but it is more likely to react to movement, cuts, and deliberate lighting events. A longer window smooths slow drift more naturally, yet it can average across scene transitions or fail to correct a fast pulse.
Start conservatively. Preview a stable interior shot, a daylight exterior, and a scene with people moving through the frame. If the correction improves static scenes but causes faces, clothing, or backgrounds to breathe during motion, reduce the strength, shorten the window, or use motion-compensated processing.
MVTools2-based workflows are valuable when movement is substantial. Motion vectors allow temporal analysis to follow image content rather than comparing fixed pixel locations from frame to frame. This can reduce false corrections in handheld footage, pans, and scenes with foreground action. It is not magic, however. Heavy blur, frame damage, severe weave, and dense grain can produce unreliable vectors. Always inspect the result at 100% scale.
For irregular flicker, process by shot rather than applying a single correction to an entire reel. One daylight sequence may need mild luminance normalization, while a later indoor scene may need none at all. Shot-level control takes longer than batch processing, but it avoids a familiar restoration failure: footage that is technically even and visually wrong.
Protect Color, Grain, and Highlights
A luminance-only correction is often the safest first pass, particularly on home movies where faded dyes already make chroma unstable. If color is visibly pulsing, inspect the RGB channels or work in a color space that allows luma and chroma to be treated independently. Correcting all channels by the same amount can preserve a color cast. Correcting each channel too aggressively can create new chromatic noise.
Color correction should generally follow primary flicker stabilization. Once exposure is no longer moving, black-point adjustment, white balance, and gamma work become more predictable. A controlled gamma adjustment with tools such as GamMac can recover perceived consistency without crushing shadow detail or clipping the highlights that remain in reversal stock.
Grain requires equal care. Film grain changes from frame to frame by nature. A deflicker process should not interpret grain as exposure variation, and a denoiser should not be used to conceal a poor deflicker setting. If the result looks waxy, if fine texture disappears, or if grain seems to freeze in place, back off the temporal strength. The correct result still looks like film.
Pay particular attention to highlights. Windows, polished cars, white shirts, and blown-out skies can skew exposure analysis. If a bright object enters the frame and the entire shot darkens in response, the filter is overreacting to content. Masking, shot segmentation, or a weaker correction can be more effective than increasing filter complexity.
A Practical Preview and Export Workflow
An efficient workflow relies on short, representative previews before committing to a full reel. In AvyScan Lab, the visual AviSynth+ pipeline makes this approach practical: build the order of operations, preview the result, then adjust the filter chain without writing and debugging a script manually.
Use three checkpoints. First, compare the untreated scan with the corrected preview at real-time playback speed. Second, pause on difficult frames to check whether blacks, skin tones, and highlight detail remain credible. Third, inspect a difference in behavior at edits, fades, and splices. A correction that is excellent in the middle of a shot but flashes at every transition needs shot boundaries or a different temporal range.
When the correction is approved, preserve a high-quality restoration master before generating delivery files. For archival or further postproduction, lossless FFV1 is a sensible option. For editing workflows, choose an intermediate codec and chroma format appropriate to the source and destination, such as 4:2:2 or 4:4:4 when the scan and grading requirements justify it. Use x264 or x265 delivery encodes only after the restoration decisions are locked.
Batch processing is appropriate when multiple reels share the same transfer characteristics. Even then, validate each reel with a short preview. A lamp issue or scanner adjustment can change between sessions, and 50-year-old film rarely behaves as consistently as a modern video source.
The best flicker correction is easy to miss: the image stops pulsing, but its original exposure choices, grain structure, and lived-in film character remain intact. That is the standard worth holding before you send the reel to its final master.