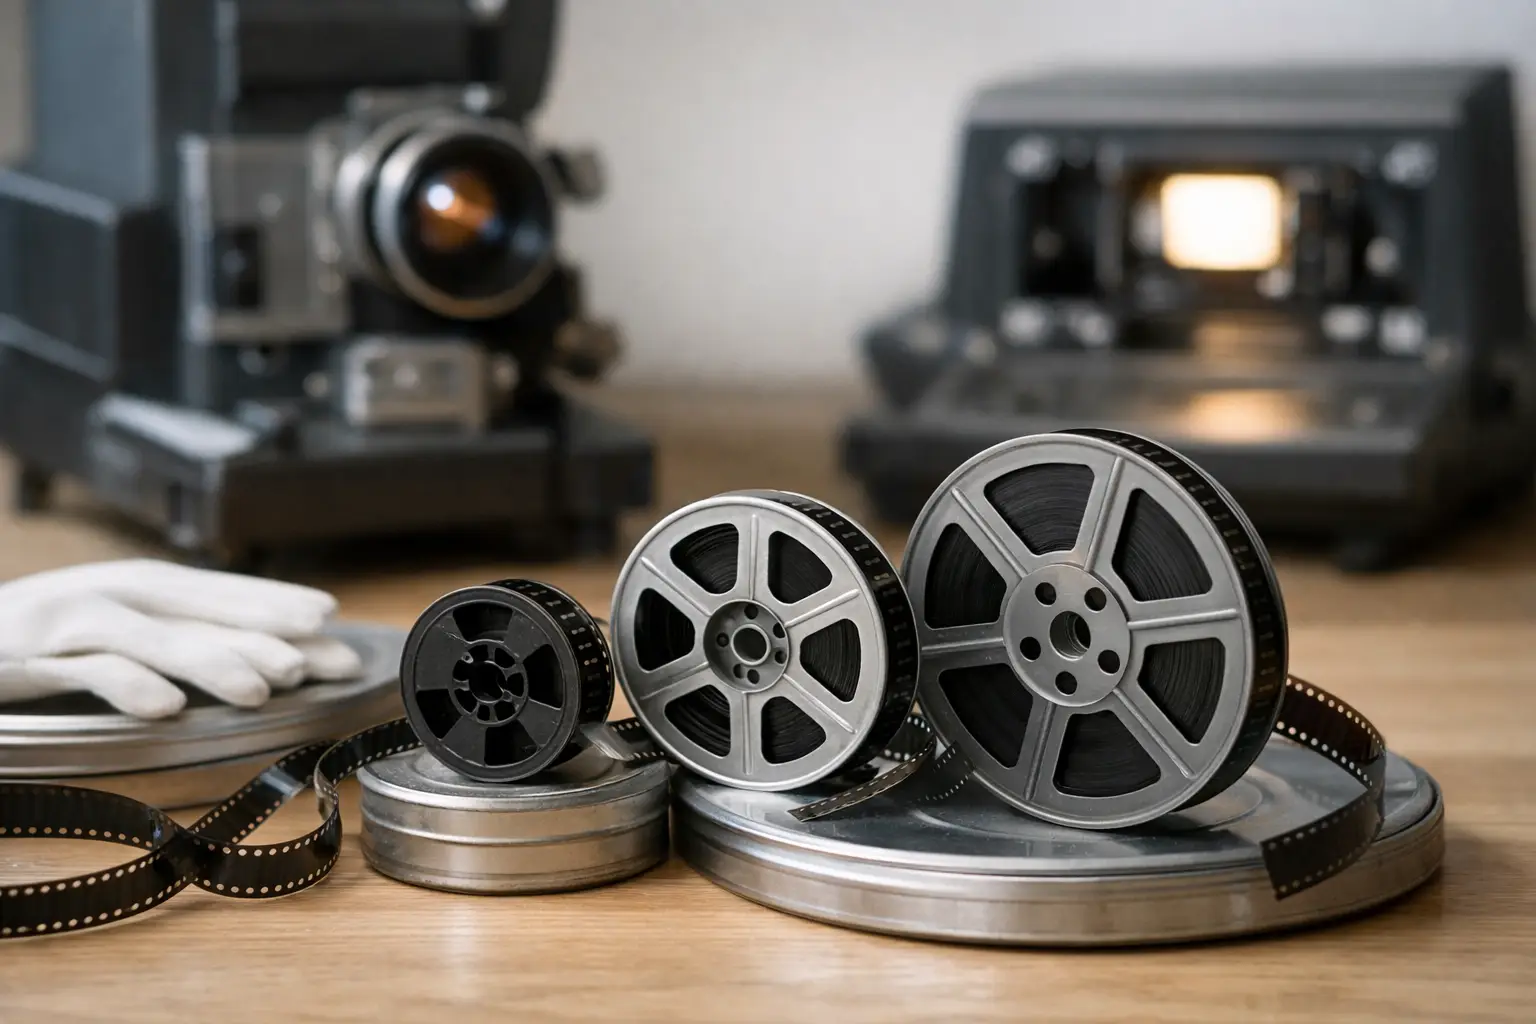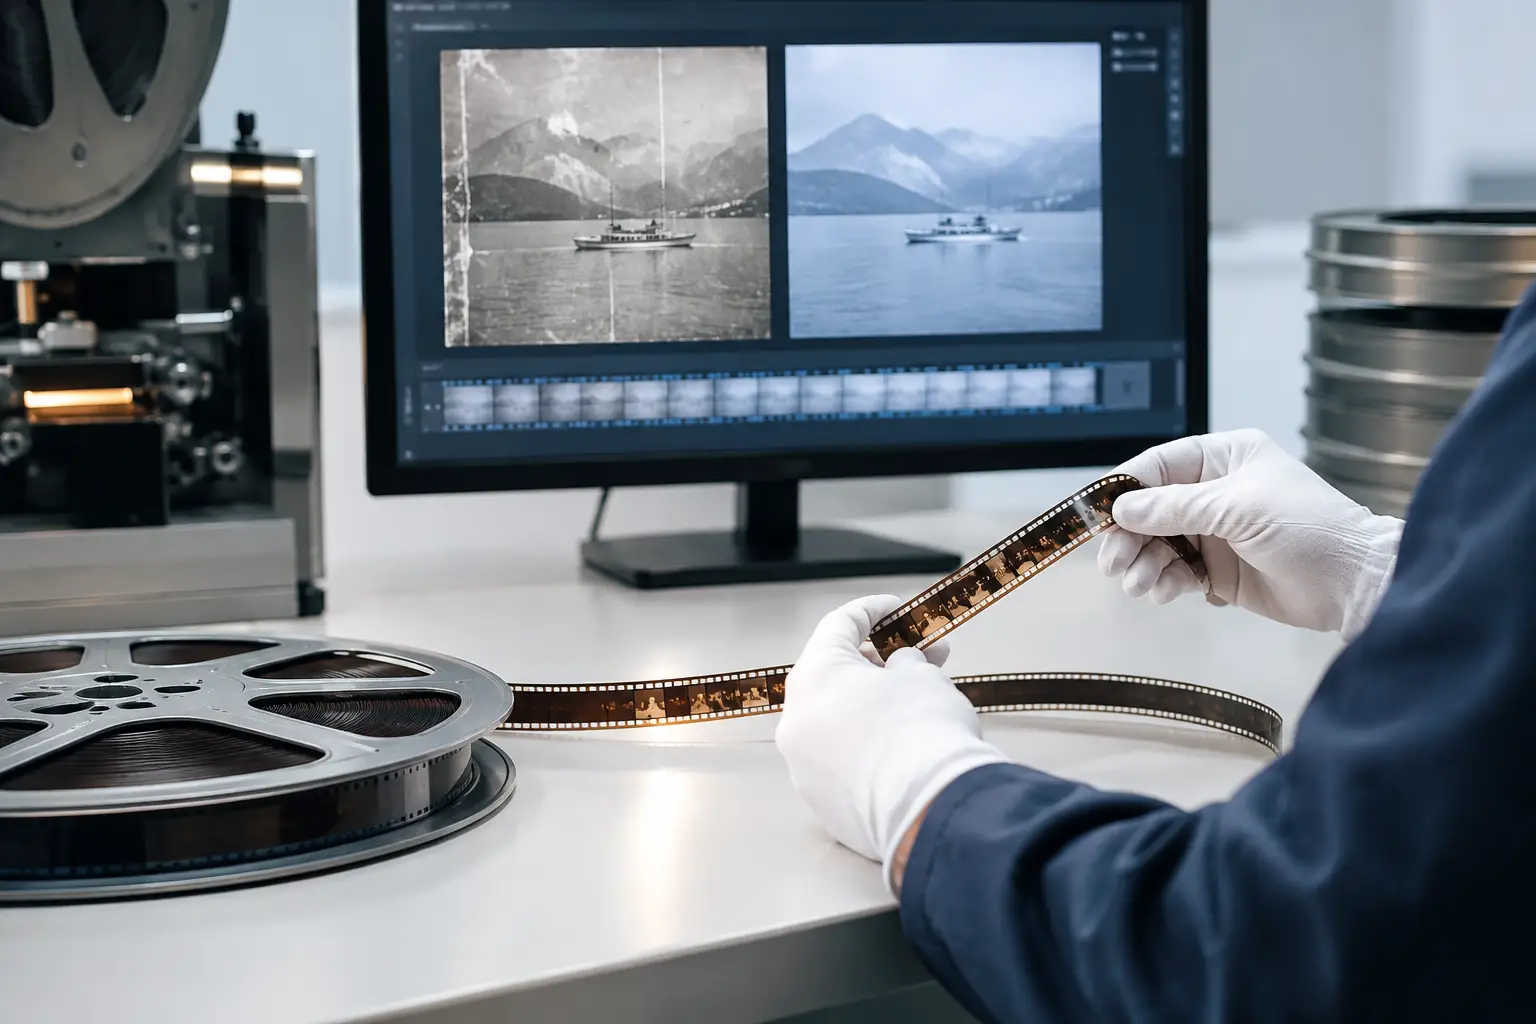
A reel-by-reel cleanup workflow breaks down quickly when a collection contains hundreds of scans with the same recurring defects: scanner dust, unstable registration, faded color, splice flashes, and inconsistent exposure. Restoration automation converts those repeated decisions into a controlled processing pipeline, while preserving the ability to inspect and correct the exceptions that matter.
For 8 mm, Super 8, 9.5 mm, and 16 mm archives, that distinction is critical. Film restoration is not a matter of applying one generic filter to every clip. The goal is to standardize the work that is predictable, then keep technical control over the footage whose damage, stock, scan quality, or historical value requires individual judgment.
What Restoration Automation Actually Does
Automation in a film-restoration workflow means more than batch encoding. It means defining a repeatable order of operations, saving treatment choices as presets, processing multiple clips without manual intervention, and producing exports with consistent technical settings.
A well-designed pipeline can import scans, apply crop and orientation corrections, stabilize image movement, remove transient dirt, reduce excessive grain, correct color, treat splice artifacts, synchronize sound when needed, and encode deliverables. The operator sets the rules once, previews the result on representative material, and applies the same logic to a group of files.
This is especially valuable after a large digitization project. A provider may receive dozens of 400-foot reels scanned under identical conditions. If all reels show the same edge dirt and modest weave, rebuilding the restoration chain for every file wastes time and increases the chance of inconsistent results. A preset-based workflow holds the treatment constant.
Automation does not mean every frame receives an identical visual correction. Advanced temporal filters evaluate neighboring frames, and some operations respond to the image content itself. RemoveDirtMC, for example, can identify short-lived debris without treating stable picture detail as dirt. MVTools2-based motion analysis can support temporal processing where movement must be accounted for rather than blurred away.
Build the Pipeline in the Right Order
The processing order determines whether automation protects the image or compounds its defects. A dirt-removal filter operating before stabilization sees different motion than the same filter operating after stabilization. Color work performed before an exposure correction can make a color cast harder to judge. There is no universal recipe, but a disciplined baseline prevents avoidable failures.
Start with scan normalization
Before applying restoration filters, verify the scan’s geometry, field order where relevant, frame rate, pixel format, and orientation. Confirm whether the image includes scan overscan, perforation area, or irregular borders. A crop that is appropriate for a centered Super 8 scan may remove useful edge information from a 16 mm scan with a shifted frame.
This is also the stage to separate materials that should not share a preset. Reversal film, faded Eastmancolor prints, black-and-white originals, and heavily compressed legacy files do not respond to correction in the same way. Grouping by capture condition and film type produces more reliable automated results than grouping only by filename or reel length.
Stabilize the mechanical movement
Film movement is often misdiagnosed as camera shake. On small-gauge film, the issue may be registration drift caused by shrunken stock, damaged perforations, or scanner transport variation. Perforation-based stabilization is useful because it references the physical structure of the film rather than relying only on scene content.
Perfo Lock-style stabilization can create a consistent frame position across an entire reel, but the crop must be checked afterward. Strong stabilization may reveal moving edges or require a slightly tighter framing. For archival deliverables, retaining a modest overscan version can be prudent even when a cleaner cropped version is made for viewing.
Remove dirt without erasing texture
Dust and white or black specks are ideal candidates for automation because they recur across scans and are usually brief. Yet aggressive temporal dirt removal can mistake fast-moving detail, film scratches, or fine patterns for defects. Hair, rain, glittering water, titles, and animation all deserve test previews before a preset is released across a full batch.
Grain reduction requires the same restraint. Grain belongs to the photochemical image; scanner noise and excessive amplification do not. The useful setting is not the strongest setting. It is the one that reduces distracting noise while retaining facial texture, fine lettering, and the natural movement of film grain. Create separate presets for clean, dense, and underexposed stocks instead of forcing one denoise profile onto all material.
Correct exposure and color with a reference frame
Automated color correction works best when it begins with a human-selected reference. Find a representative shot with neutral areas, expected skin tones, or known scene colors. Then establish the baseline for brightness, contrast, gamma, and chroma. Tools such as GamMac can support controlled tonal adjustment without requiring a manual script for each clip.
A batch correction is appropriate when a reel has a uniform cast or scanner bias. It is less appropriate when the source contains abrupt lighting changes, mixed indoor and outdoor scenes, or color fading that varies shot by shot. In those cases, use automation for the baseline and reserve scene-level corrections for the segments where they make a visible difference.
Where Batch Processing Saves the Most Time
The greatest gains arrive when automation handles repeated operational tasks as well as image processing. A restoration workstation should make it practical to apply a tested preset, queue a folder of scans, generate preview files, and encode final masters without rebuilding the pipeline from scratch.
For a typical family-film collection, create project groups such as standard Super 8 color, black-and-white Regular 8, sound Super 8, and damaged reels requiring manual review. Assign each group its own restoration and export preset. This protects against common mistakes, such as applying color processing to monochrome footage or delivering a sound reel without verifying image/sound synchronization.
Professional outputs should also be automated by purpose. A preservation master may use FFV1 or another high-quality archival codec, while a production intermediate may require 4:2:2 or 4:4:4 chroma and a client review file may be encoded in H.264 or H.265. The restoration settings can remain consistent while output resolution, codec, bit depth, audio handling, and file naming change by deliverable.
A clear naming convention matters. Include reel identifier, film format, restoration version, and output type. When hundreds of files are queued, names such as `R014_S8_v02_master` and `R014_S8_v02_review` make later verification far easier than generic encoder-generated filenames.
Quality Control Is Not Optional
Automation moves labor from repeated clicking to preset design and quality assurance. That is a better use of time, but only if every preset is validated against difficult footage before it reaches an entire archive.
Preview at least three kinds of scenes: a stable, well-exposed shot; a high-motion shot; and a damaged or poorly exposed shot. Check for ghosting, waxy faces, removed picture detail, color clipping, unstable borders, and audio drift. A short test render is more valuable than discovering a bad denoise setting after an overnight batch has finished.
Use a two-level review process for larger jobs. First, inspect representative frames and short sequences before queueing. Then review the beginning, middle, and end of every completed reel. Film defects can change across a reel, particularly near splices, leader sections, or areas affected by shrinkage.
Keep the original scan untouched. Automation should always produce derivative files, never overwrite the capture source. If a better filter, a revised color grade, or a different delivery codec is needed later, the original scan remains available for a new pass.
Make Expert Processing Repeatable
The value of restoration automation is not that it removes the restorer from the process. It captures the restorer’s best technical decisions in a form that can be applied consistently, inspected quickly, and revised without starting over.
AvyScan Lab is built around this model: a visual Windows workflow that exposes specialized AviSynth+ processing without requiring command-line operation or hand-written scripts. Presets, real-time preview, film-specific cleanup tools, and batch execution allow complex processing chains to remain understandable at the bench.
The best automated workflow is deliberately conservative. Let it handle the predictable defects across the collection, flag the unusual reels for closer work, and leave enough image character intact that the result still feels like film rather than a synthetic reconstruction.