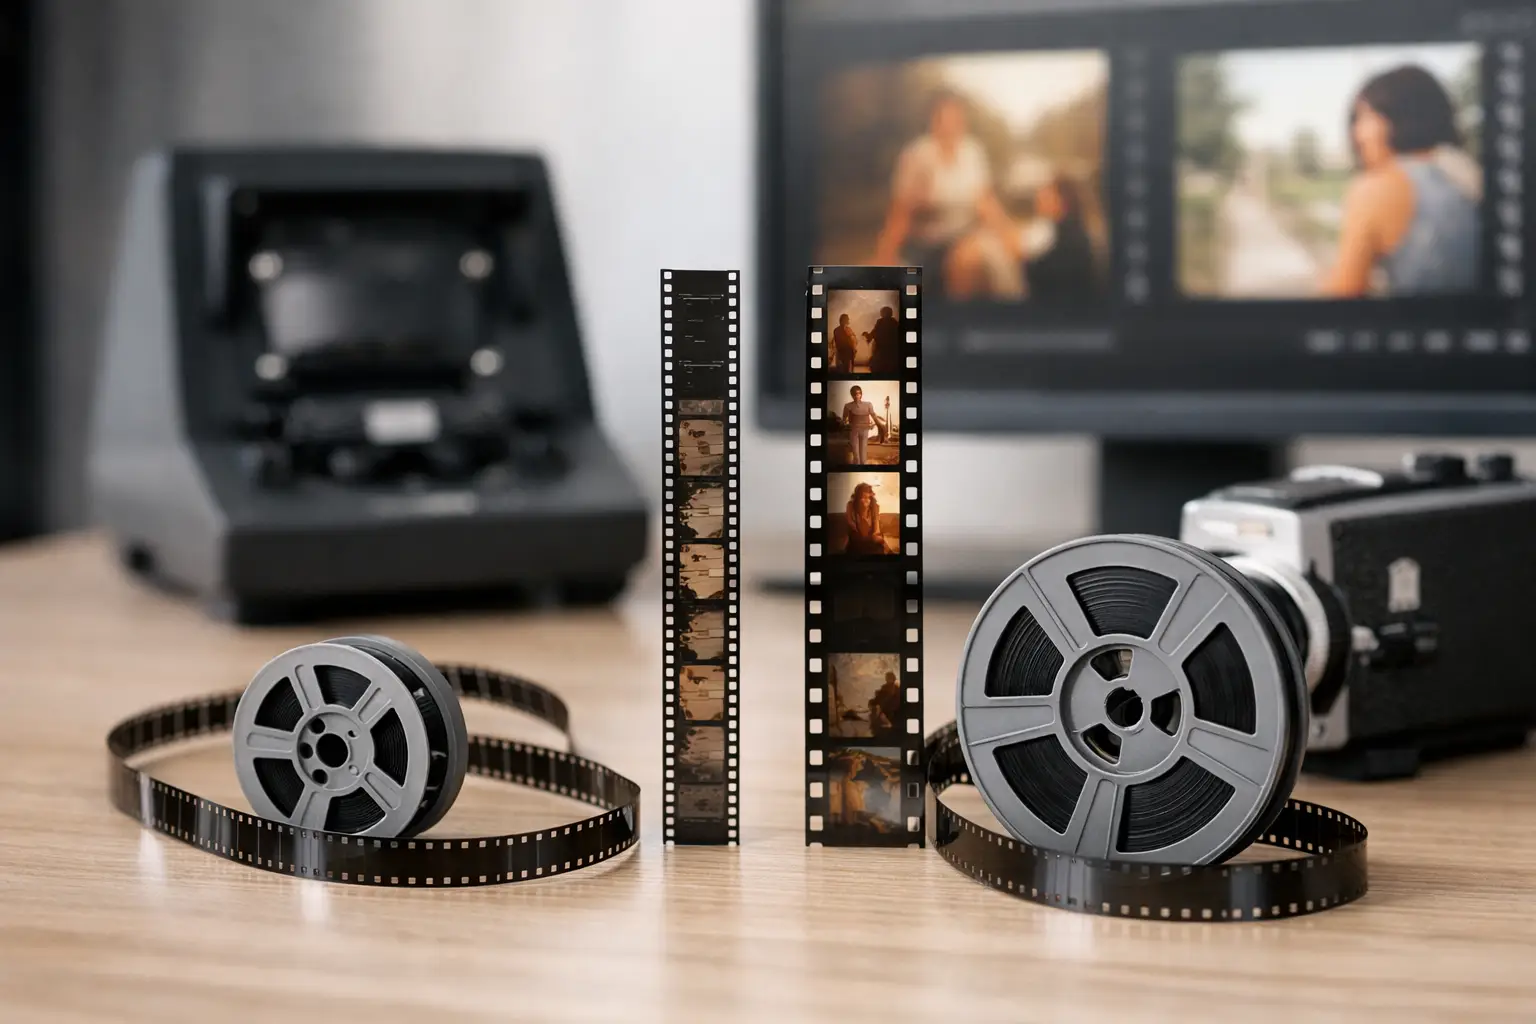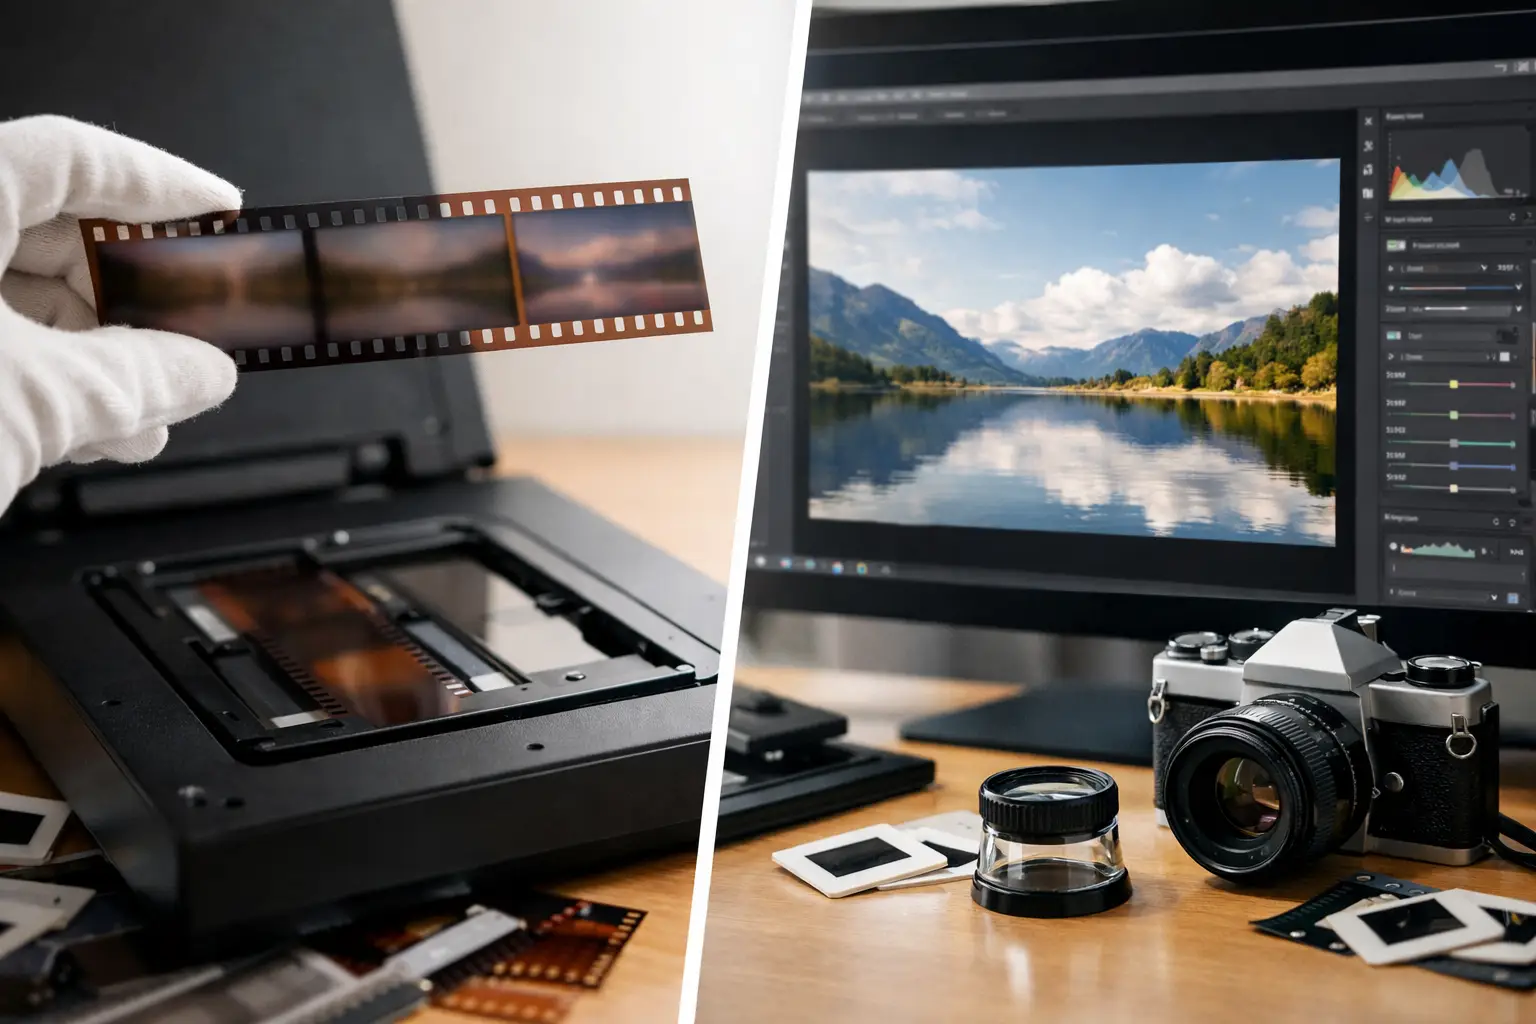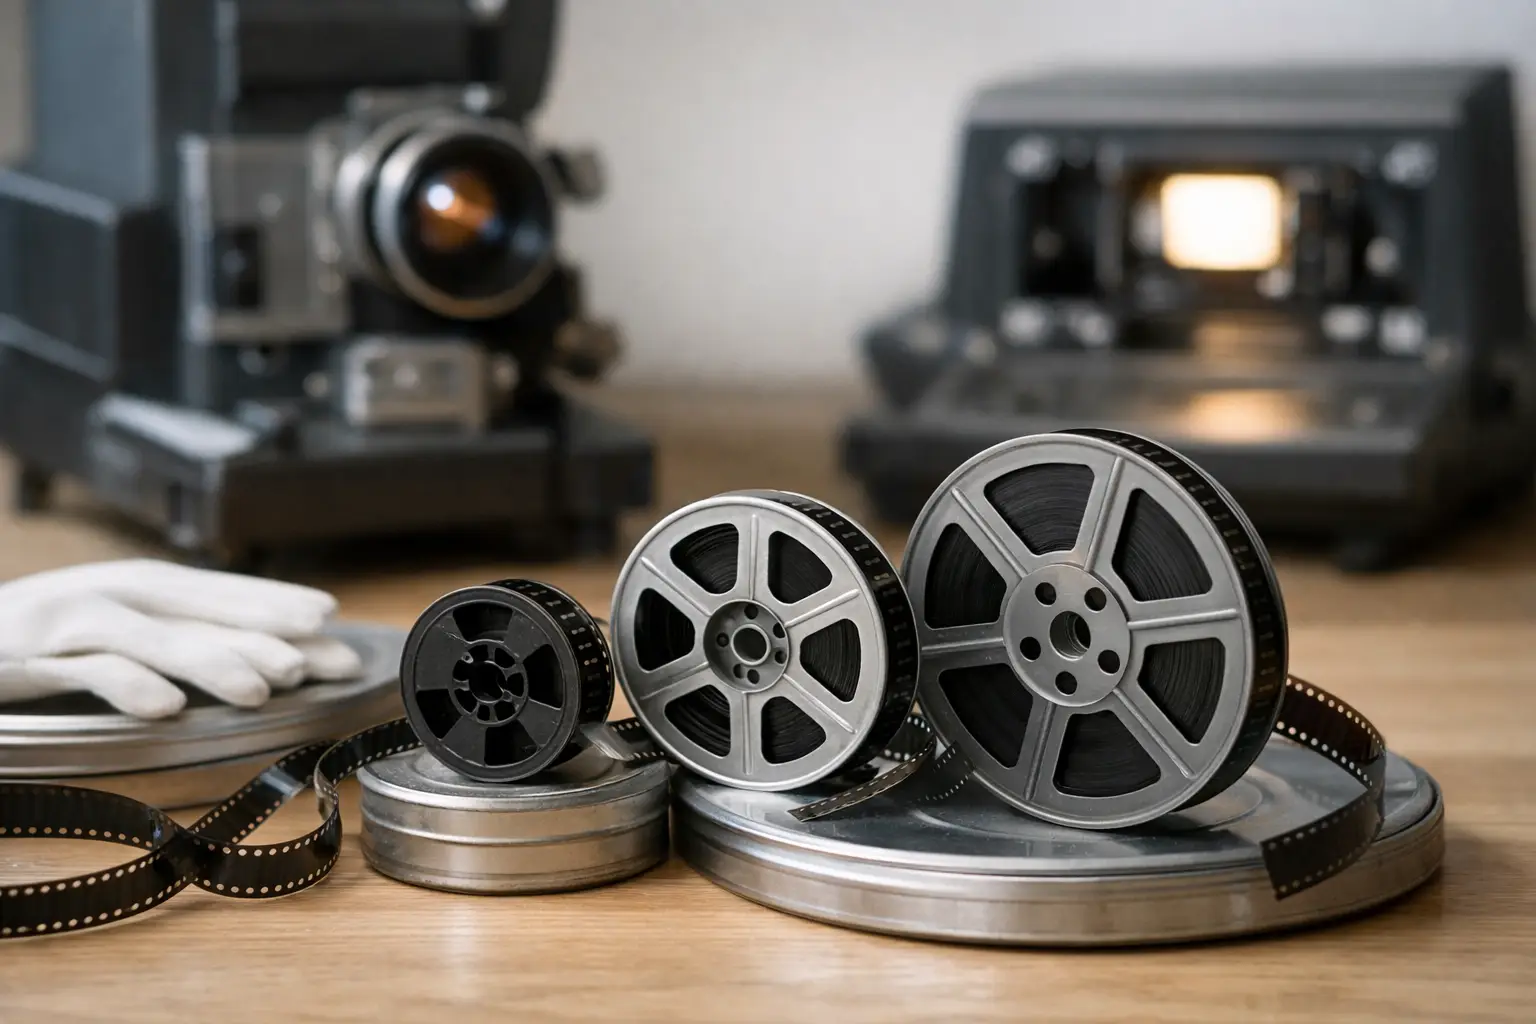
A family reel can survive for sixty years in a closet and still become unusable in a single careless transfer. That is why film preservation is not simply the act of copying 8mm, Super 8, 9.5mm, or 16mm footage to a digital file. It is a controlled process: assess the physical film, create the best possible scan, correct defects without erasing image history, and store master files that remain usable when current delivery formats change.
For collectors, archives, transfer houses, and small postproduction teams, the difficult part is rarely deciding whether a film matters. The difficult part is protecting what is on it while making it watchable again. Excessive cleanup can smear faces, flatten natural grain, or destabilize an image that was already scanned correctly. Insufficient cleanup leaves viewers focused on dirt, splice jumps, flicker, and color casts instead of the event recorded on the reel.
Film Preservation Starts Before Restoration
Preservation decisions begin with the physical original. A warped reel, brittle acetate base, damaged perforations, shrunken film, mold, or failing splices can affect both scanning quality and the safety of the film itself. Before projecting or scanning a reel, inspect its condition on rewinds, identify broken splices, and look for evidence of vinegar syndrome or other active deterioration.
The original film should be retained even after a successful scan. A digital file is an access copy and, potentially, a preservation master. It is not a replacement for the camera original. Better scanners, new restoration methods, or a later need for a different framing may justify a new transfer in the future.
Scanning also establishes the ceiling for every later correction. A compressed, low-bit-depth scan may be convenient, but it restricts what can be recovered from shadows, highlights, and faded color. When the source has historical or commercial value, capture as much image information as the scanner can provide. Frame-by-frame scanning, stable registration, and an image sequence or high-quality intermediate provide far more latitude than a heavily compressed consumer video file.
Treat the scan as source material, not finished video
A scan often looks worse than the projected film did. It may reveal gate dirt, every abrasion, uneven exposure, and the mechanical movement of perforations. This is normal. The scan has recorded the source honestly, including defects that projection blur and screen distance once hid.
That honesty is useful. It lets the restorer separate defects introduced by handling or scanning from details that belong in the picture. Fine film grain, fabric texture, smoke, rain, and fast motion are not dirt. A restoration workflow that confuses them with noise can produce a clean but lifeless result.
Build a Film Preservation Workflow Around the Defect
No single filter preserves every reel. The correct workflow depends on stock type, format, scanner behavior, damage level, and intended output. A 1930s 9.5mm home movie with heavy weave needs a different sequence than a relatively clean Super 8 sound film from the 1970s.
Start by organizing the project around a high-quality master scan. Keep the scan unchanged and create restoration versions separately. Work from copies or non-destructive project settings whenever possible. This protects the ability to revisit choices later, especially when a client, archive, or family member prefers a lighter restoration.
A practical sequence is usually mechanical correction first, then temporal and spatial cleanup, followed by color work and encoding. The order matters because stabilization changes frame position, and dirt removal methods often compare adjacent frames. Applying aggressive temporal filtering before correcting severe weave can reduce the reliability of those comparisons.
Stabilize only the movement that does not belong
Film movement falls into two categories: camera movement and mechanical instability. Handheld motion, pans, and imperfect amateur framing are part of the recording. Gate weave, vertical bounce, and registration drift caused by damaged or inconsistently scanned perforations are not.
Perforation-based stabilization is especially valuable for small-gauge film. By tracking the perforation rather than image content, it can lock the frame without interpreting a moving person, a passing car, or a camera pan as unwanted motion. A tool such as Perfo Lock addresses this specific problem more predictably than generic video stabilization in many scanned-film cases.
The trade-off is cropping and edge behavior. Stabilization may expose black borders or scanner edges as frames shift into alignment. Decide early whether the restoration master should retain the full scanned frame, including edges, or whether a modest crop is acceptable for a cleaner viewing copy. For archival work, retaining more of the scanned image is often the safer choice.
Remove dirt without removing the image
Dust, white specks, black spots, scratches, and splice flashes can be distracting, but cleanup should be proportional to the material. Temporal methods such as RemoveDirtMC can identify defects that appear in one frame but not neighboring frames. Motion-compensated analysis, including workflows based on MVTools2, helps prevent moving subjects from being mistaken for contamination.
Previewing is essential. A setting that works beautifully on a static outdoor shot may create trails around a child running through the next scene. Check shots with rapid motion, camera movement, smoke, water, patterned clothing, and text. These are the places where over-filtering reveals itself.
Splices require their own treatment. A bad cement or tape splice can create a flash frame, abrupt exposure change, jump, or brief loss of registration. Global dust removal is not designed to solve this. Dedicated splice cleanup lets the operator target the short disruption while preserving the surrounding frames. It is a small correction with a large effect on watchability.
Correct color with reference, not guesswork
Faded reversal film often shifts toward red, magenta, cyan, or yellow. Other reels contain abrupt exposure changes caused by aging, original camera auto-exposure, or different film stocks joined on one reel. Color correction should improve readability without inventing colors the source cannot support.
Use neutral objects, skin tones, known uniforms, signage, or repeated scenes as reference points when they exist. Correct broad casts before chasing individual colors. Gamma adjustments can recover the perceived balance between shadows and highlights, while tools such as GamMac help control tonal response. However, clipped highlights and crushed shadows cannot be fully reconstructed. The goal is a faithful, stable image, not a modern digital look.
For mixed reels, scene-by-scene correction is often necessary. A single global correction may improve half the reel while making another section worse. Split treatment at obvious stock changes, exposure shifts, or edits is slower, but it respects the actual structure of the film.
Preserve More Than the Picture
Some Super 8 and 16mm reels include magnetic or optical sound. Image restoration and sound synchronization must remain connected throughout the workflow. A process that drops, duplicates, or changes the timing of frames can cause audio drift if the soundtrack is not handled with the same care as the image.
Establish the intended frame rate from the scan, the original format, and the content itself. Home movies may have been shot at 16, 18, or 24 frames per second, while sound film has stricter synchronization requirements. Do not assume that playback speed in an old projector reflects the original capture rate. Incorrect timing changes motion, alters the duration of events, and can make synchronized sound unusable.
Keep original audio transfers where available. Noise reduction can reduce hiss, hum, and crackle, but aggressive processing can make voices metallic or remove ambient sound that gives footage its historical presence. As with the image, retain an unprocessed master alongside any restored listening version.
Choose Files for Preservation and Access
A preservation workflow should create more than one output. The master serves future restoration and archive needs; the access file serves current viewing, sharing, and editing. Trying to force both roles into one compressed file creates unnecessary compromises.
For preservation masters, use a high-quality codec suitable for editing and long-term retention. FFV1 is a strong choice where lossless compression and archival verification matter. Other workflows may use a high-bitrate mezzanine format, depending on the facility, client requirements, and compatibility needs. Preserve the scan's native resolution, frame rate, aspect ratio, bit depth, and chroma information whenever practical.
For access copies, H.264 through x264 or HEVC through x265 can produce efficient files for playback and delivery. The choice depends on the audience and devices involved. H.264 remains broadly compatible, while H.265 can reduce file size at similar visual quality but may complicate playback on older systems.
Avoid unnecessary color subsampling during master creation. If the scan supports 4:2:2 or 4:4:4 chroma, preserve it until a delivery version requires otherwise. Repeated decoding and re-encoding compounds losses, particularly around color edges, grain, and fine detail.
Make the Work Repeatable
A serious collection rarely consists of one reel. Batch processing matters when dozens or hundreds of scans share a scanner profile, film format, or common defect pattern. The objective is not to apply one preset blindly. It is to standardize the parts that should be consistent while keeping review points for reels that need individual attention.
A visual restoration environment can make advanced AviSynth+ processing practical without requiring every operator to write scripts. In AvyScan Lab, for example, a restorer can assemble a controlled chain for stabilization, dirt removal, color correction, splice cleanup, previewing, and professional encoding, then apply it efficiently across related scans. The advantage is not automation alone. It is being able to inspect the result, adjust parameters, and preserve a repeatable record of what was done.
Document the source reel, format, scanner settings, frame rate, restoration settings, output codec, and storage location. This metadata is part of preservation. Years later, it explains why a file looks the way it does and gives the next operator a starting point instead of a mystery.
A well-preserved film should still look like film. It may retain grain, slight exposure variation, and the visual character of the stock, but the viewer should be able to focus on the people, places, and events rather than on avoidable mechanical and chemical damage. That balance is where preservation becomes more than cleanup: it keeps the original record usable without rewriting it.