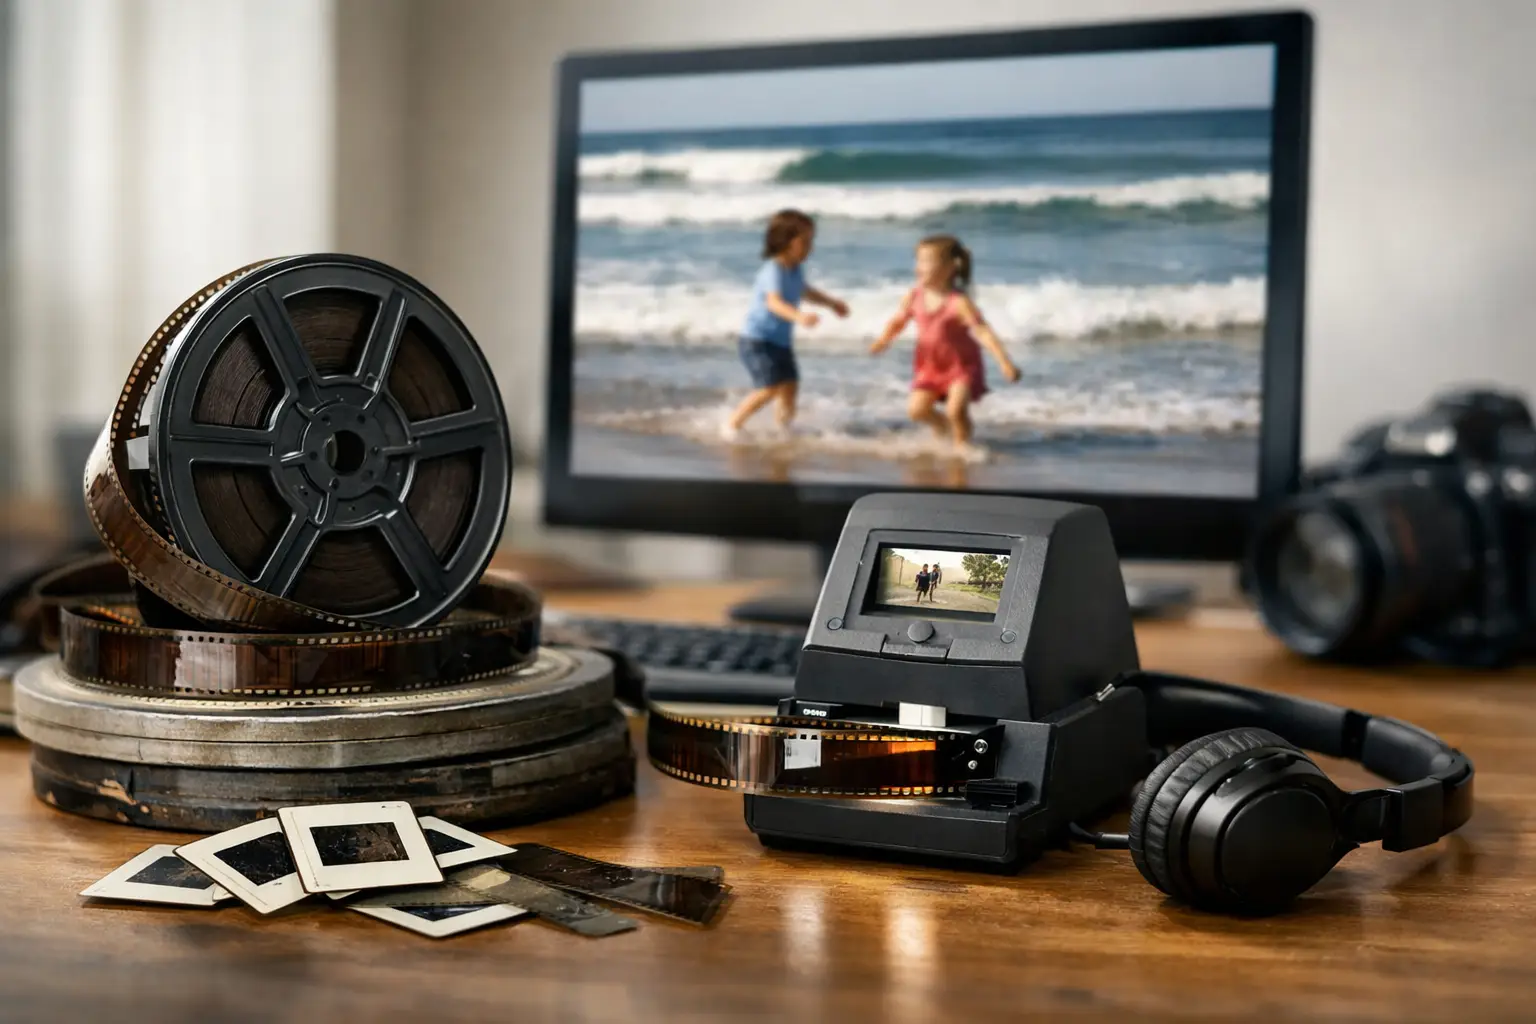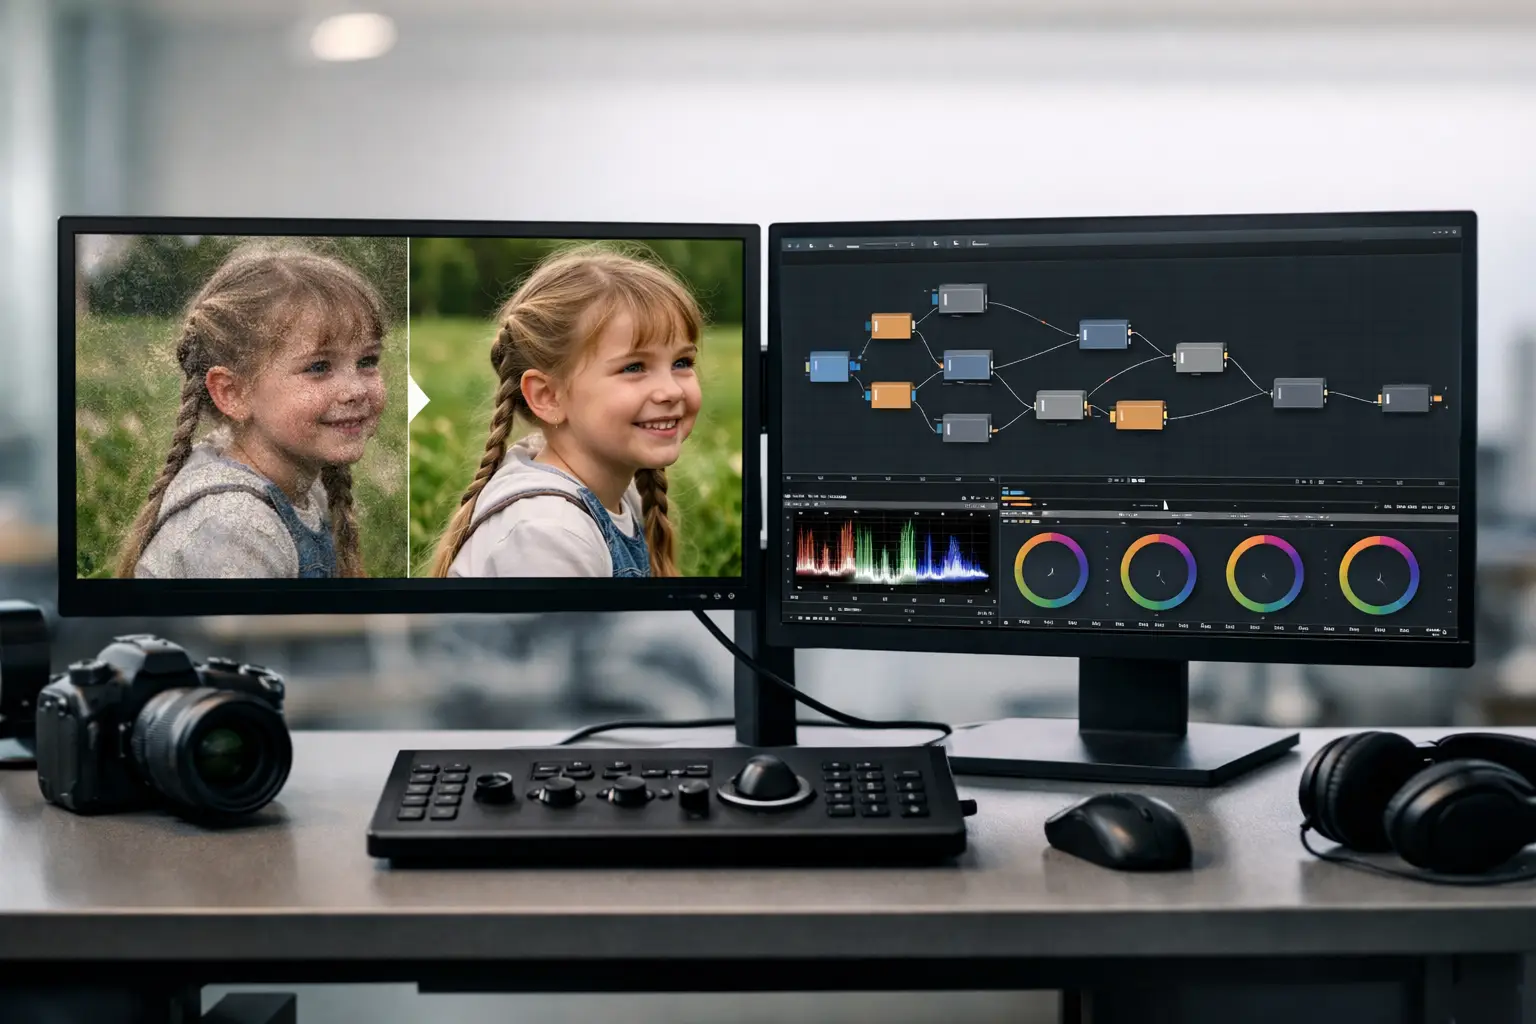
A scan can be sharp, well-framed, and apparently well exposed, yet still feel unusable once it plays at speed. A wall brightens and darkens. Skin tones pulse. A fade seems to breathe. This is why do film scans flicker is not a single-cause question: visible flicker can originate in the original camera exposure, the aging film stock, the transport mechanism, the scanner’s light source, or the restoration pipeline.
The correct fix depends on where the variation was introduced. Treat every frame with aggressive brightness normalization and the flicker may disappear, but so can intentional exposure changes, natural projector-light variation, fine grain, and highlight detail. The goal is not to make every frame mathematically identical. It is to remove unintended temporal variation while preserving the image’s photographic character.
What Flicker Looks Like in a Film Scan
Flicker is a frame-to-frame change in image brightness, color, or both. It differs from grain because grain is a fine, moving texture within the image. Flicker affects the overall luminance or a broad part of the frame, creating a rhythmic or irregular pulse that the eye notices immediately in motion.
A useful first distinction is between global and local flicker. Global flicker changes nearly the entire image at once. It often points to exposure, illumination, scanner gain, or density variation in the film. Local flicker affects one region more than another, such as a bright corner, a cloudy sky, or a splice area. That can indicate uneven film density, an optical issue, a damaged emulsion, or a scan affected by film curl and changing focus or illumination.
Color flicker deserves separate attention. A frame may retain stable overall brightness while its red, green, or blue balance shifts. This is common with faded reversal stock, unstable auto white balance, or corrections applied independently to frames. A neutral brightness correction will not necessarily solve it.
Why Do Film Scans Flicker? The Main Causes
Original camera exposure variation
Many home-movie cameras used automatic exposure systems that reacted continuously to changing scenes. A pan from shade to sun, a person crossing in front of a bright window, or a reflective white shirt could cause the aperture to adjust between frames. Older cameras may also have sticky iris mechanisms, aging meters, or inconsistent battery voltage. The resulting exposure pumping is recorded on the film itself.
This is especially visible in Super 8 and 8 mm footage shot outdoors. The camera may make small exposure corrections throughout a shot, even when the scene appears steady to the viewer. In this case, the scanner is accurately reproducing an original defect. Correction should be moderated rather than absolute, since the scene may contain real lighting changes the camera was trying to follow.
Frame-rate and shutter interaction
Film cameras and projectors expose discrete frames, while older lighting systems can vary with the AC power cycle. If the camera shutter speed and the light source were poorly synchronized, each frame may receive slightly different illumination. Incandescent lighting usually produces a smoother result, but fluorescent, discharge, and poorly regulated LED sources can generate obvious fluctuation.
Modern scanning can add its own version of this problem. A scanner using a pulsed or PWM-controlled LED source may interact with its camera exposure timing. If illumination is not stable during every capture, the scan can show periodic brightness changes even when the film is consistent. The regularity is a clue: a repeating pulse at a fixed interval often points to scan timing or illumination rather than random film density.
Film density changes and aging
The film strip is not always optically uniform. Reversal film can develop density variation across a roll due to age, processing inconsistencies, storage history, or chemical degradation. Color layers can fade at different rates, producing shifts that are more apparent in projected or scanned motion than in a still frame.
Aged acetate film may curl, buckle, or shrink. As it moves through a scanner, its position relative to the light path can change slightly. That can alter the apparent brightness, especially with directional illumination or scanners that are sensitive to focus and film flatness. Thin-gauge formats such as 8 mm and Super 8 make these mechanical and optical tolerances more visible.
Transport instability and scanner auto settings
Not every exposure fluctuation is truly flicker. If the film moves vertically or laterally during capture, the frame can sample a different part of uneven illumination, a vignette, or a sensor response pattern. A scan may then appear to pulse as well as weave. Perforation damage, shrinkage, poor tension, and unstable capstan or sprocketless transport can all contribute.
Automatic scanner controls are another frequent cause. Auto exposure, auto gain, auto white balance, and scene-based contrast adjustment should be disabled for archival scanning whenever possible. These controls respond to image content. A dark frame after a bright frame can cause the scanner to raise gain; a return to normal exposure then looks like a flash. The scan becomes inconsistent precisely because the system is trying to make each individual frame look pleasing.
Diagnose Before You Correct
Before applying a deflicker filter, inspect the scan as a sequence. Step through a problem section frame by frame and compare a fixed, neutral area such as a wall, pavement, sky, or background. If its brightness shifts while the scene itself is unchanged, you have a likely global flicker issue.
Then look for a pattern. A gradual drift over several seconds may be an exposure meter reacting to the scene or a roll-level density change. A rapid, regular pulse can indicate lighting or capture timing. Abrupt jumps at one or two frames often occur at splices, damaged sections, or scanner exposure adjustments. A correction that works for a slow drift may smear or overcorrect a one-frame jump.
Also inspect the RGB channels independently. If luma is stable but one channel rises and falls, treat the color instability directly. Correcting only luminance can leave skin tones and neutrals visibly pulsing.
A reliable workflow starts with the least processed source available. Prefer a high-bit-depth capture, ideally with stable manual exposure and no baked-in automatic contrast behavior. Compressed delivery files can conceal the source of the issue by clipping highlights, crushing shadows, or adding temporal compression artifacts that resemble flicker.
Correcting Flicker Without Flattening the Image
Stabilize geometry first
If the frame is moving, stabilize it before evaluating brightness corrections. Perforation-based stabilization is particularly valuable for 8 mm, Super 8, 9.5 mm, and 16 mm because it establishes a consistent reference point in the film itself. Without stable geometry, a temporal filter can interpret shifting image areas as exposure changes.
A workflow using Perfo Lock or a comparable perforation-tracking process should be checked around damaged perforations, splices, and shrunken sections. Stabilization is not a substitute for deflicker, but it prevents one defect from confusing the correction of another.
Use temporal analysis, not per-frame equalization
Good deflicker processing compares neighboring frames and estimates the unwanted change over time. It should use a configurable analysis window, scene-change detection, and a correction strength that can be limited. The more frames included in the analysis, the better the tool can identify slow unwanted trends, but the greater the risk of flattening deliberate transitions.
Avoid simply matching every frame’s average brightness to the previous frame. That approach can make cuts, fades, lightning, flash photography, and intentional camera exposure changes look unnatural. It may also amplify grain because a frame with more visible grain can be misread as a brightness difference.
A practical approach is to work in passes. First apply a conservative global luminance correction and preview the result at normal playback speed. Then correct color-channel fluctuation only where needed. Finally, inspect transitions, titles, fades, and scene cuts by hand. Those are the places where automated temporal processing most often needs restraint.
Protect grain and real scene changes
Film grain is temporal by nature. It moves from frame to frame, and a heavy deflicker operation can either suppress it into a plastic texture or cause it to shimmer. If grain reduction is needed, apply it with care after the major brightness instability has been corrected, and judge the result on moving footage rather than paused frames.
Scene changes should be excluded from temporal averaging. A proper pipeline detects cuts and prevents information from one shot influencing the next. Fades require special handling because the brightness change is intentional. The right result is a smooth fade, not a frozen exposure level.
For difficult reels, process shots separately. This adds setup time, but it produces better results than forcing one setting across indoor scenes, outdoor scenes, titles, underexposed material, and heavily faded footage. Batch processing is efficient when the defect is consistent; manual segmentation is more accurate when it is not.
A Controlled Restoration Pipeline
For restoration work, order matters. Import the highest-quality scan, verify frame rate, and disable any automatic adjustments at the capture stage. Stabilize transport-related movement, remove obvious splice flashes or defective frames, then analyze and correct flicker. Follow with color balancing, dust and dirt cleanup, restrained grain management, and final encoding.
This order keeps each tool focused on the defect it is designed to solve. In AvyScan Lab, a visual AviSynth+ workflow makes that separation practical: stabilization, cleanup, temporal correction, color work, and export can be previewed as a controlled chain instead of buried in a one-click enhancement process. For preservation masters, use a suitable high-quality codec such as FFV1 or another production format that preserves the corrected image without adding compression artifacts; create delivery encodes separately with x264 or x265 as needed.
The best-looking film scan is rarely the most aggressively processed one. When brightness variation stops calling attention to itself, grain still moves naturally, fades remain intact, and the original scene retains its exposure character, the restoration has done its job.