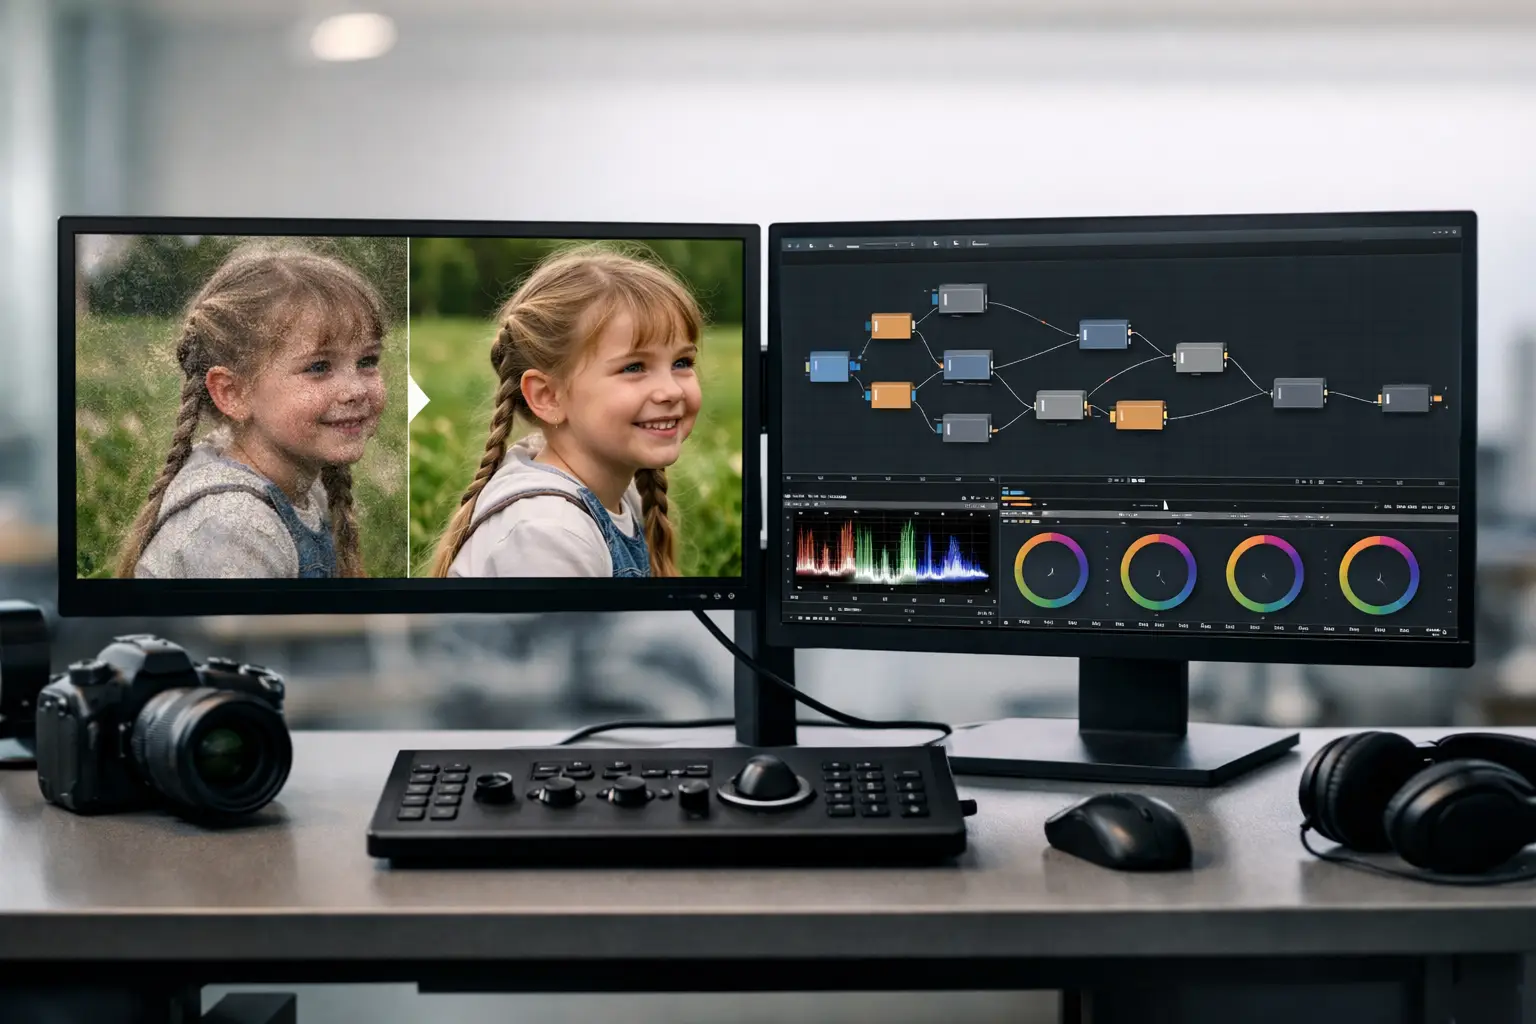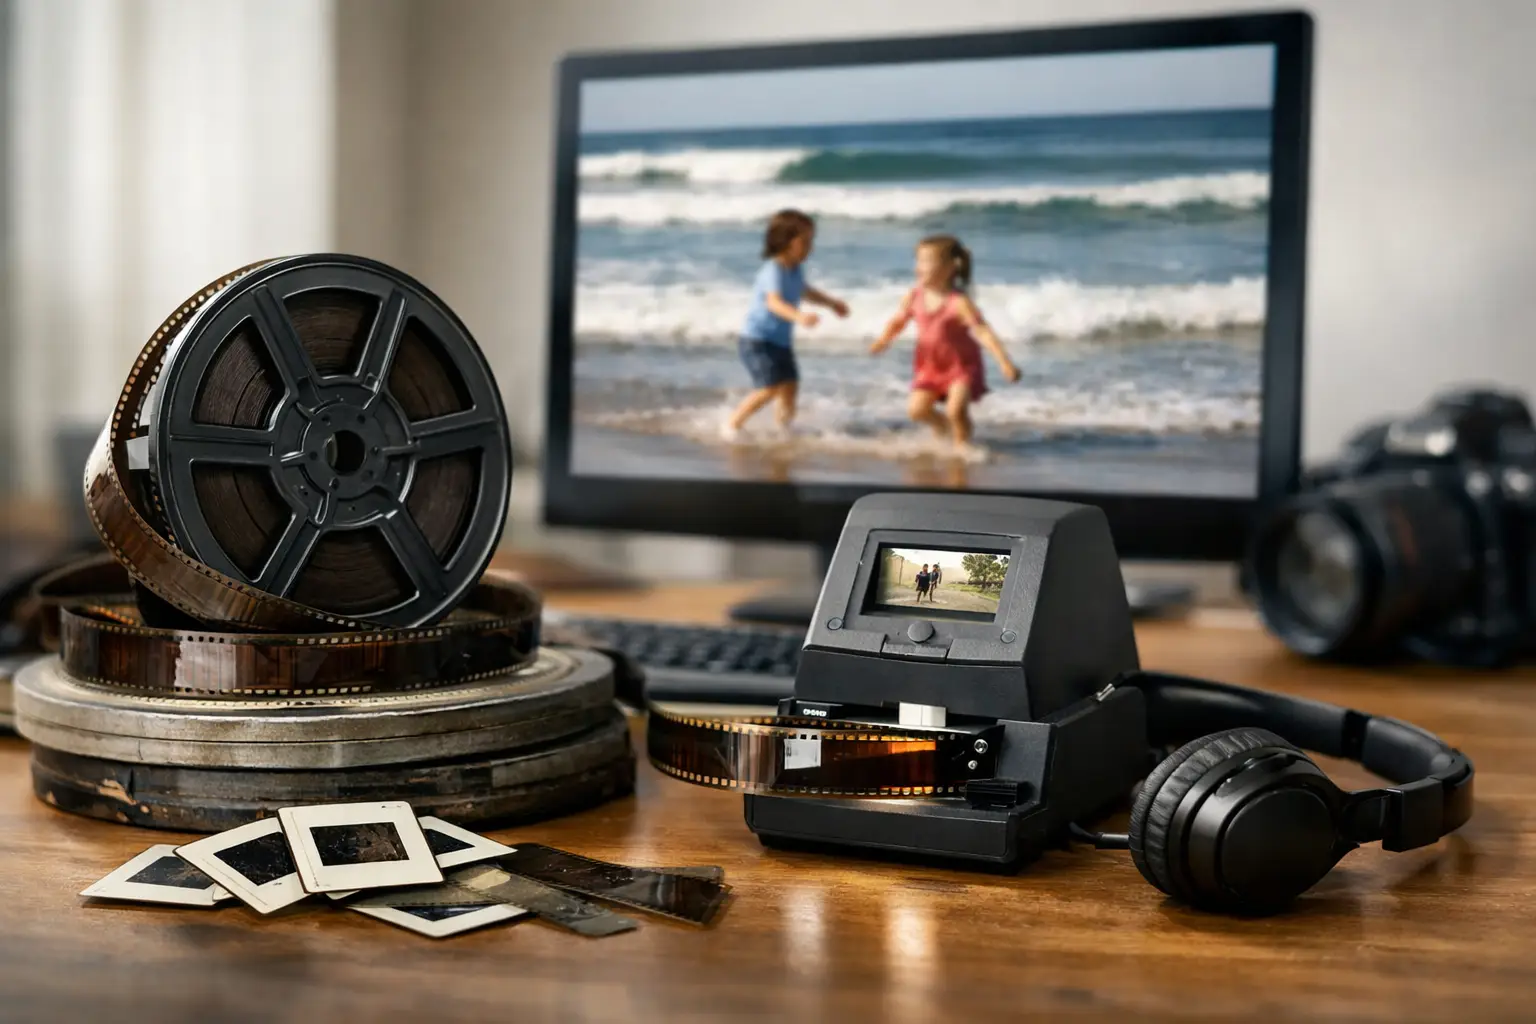
A digitized home movie restoration project often begins with a scan that is technically usable but difficult to watch. The family is visible, the event is recognizable, and the footage is safely copied from aging film, yet every defect competes for attention: gate weave, dust bursts, splice jumps, heavy grain, faded color, and unstable exposure. Restoration is the stage that turns a transfer into a reliable viewing and preservation master.
The objective is not to make an 8mm or Super 8 film look like modern digital footage. It is to recover what the camera and original stock recorded while reducing distractions introduced by aging, handling, projection, and scanning. That distinction determines every technical decision, from stabilization strength to grain reduction and export codec.
Start With the Right Scan, Not Aggressive Filters
Restoration cannot recreate information that was never captured. A poor scan with crushed shadows, clipped highlights, soft focus, or heavy compression limits what any software can recover. For valuable reels, work from the highest-quality scan available, ideally a frame-by-frame transfer rather than a real-time telecine capture.
A preservation-oriented source should retain as much image data as practical. This commonly means a high-resolution scan, a modestly compressed or lossless intermediate, and sufficient chroma information for color correction. If the scan was delivered as a heavily compressed H.264 file, it can still be improved, but repeated filtering and re-encoding will expose compression artifacts quickly.
Before applying a correction, inspect several representative sections: a bright outdoor scene, a dark interior, a shot with camera movement, a splice, and a section with visible damage. A reel rarely has one uniform problem. A global setting that works on a sunny picnic may erase shadow detail in an indoor birthday party.
Preserve Overscan When It Has Value
The black border around a scanned frame can look untidy, but it is useful diagnostic information. It reveals frame instability, warped edges, perforation behavior, and the amount of image area available for stabilization or cropping. Do not crop it permanently before evaluating the reel.
For some projects, a final delivery crop is appropriate. For archival masters, keeping a version with overscan can be the better decision. It preserves evidence of the original film frame and gives future restoration work more room to operate.
Stabilization Should Follow the Film, Not Fight It
Mechanical instability is one of the most visible defects in small-gauge film. A frame may drift vertically, sway horizontally, or jump at splices. Conventional video stabilizers can reduce movement, but they may also interpret camera pans, handheld motion, or moving subjects as unwanted shake. The result can be a picture that looks warped or unnaturally locked.
Film-specific stabilization works best when it references a consistent physical feature of the scan. Perforation-based stabilization, often called Perfo Lock, tracks the film transport rather than the image content. This is especially effective on 8mm, Super 8, 9.5mm, and 16mm material where frame positioning varies because of shrinkage, scanner mechanics, or damaged perforations.
Stabilize before making fine judgments about dirt and scratches. When the image moves from frame to frame, static defects become harder to distinguish from picture detail. However, avoid overcorrecting. Slight camera movement is part of how home movies were shot. The target is stable film registration, not the removal of every intentional pan or handheld gesture.
Remove Dirt Without Removing the Image
Dust and small spots are ideal candidates for temporal restoration because they tend to appear in one frame or a few frames while real image detail persists through motion. Tools based on motion estimation, including workflows built around MVTools2 and RemoveDirtMC, compare neighboring frames to identify transient defects.
This approach can produce remarkably clean results, but it requires careful parameter selection. A strong dirt-removal pass can mistake fast-moving hands, confetti, rain, water reflections, or film grain for damage. Faces and fine textures are the first places where excessive filtering becomes obvious.
A practical workflow is to begin conservatively, preview at 100 percent scale, and inspect motion-heavy shots. If a filter removes a dust speck but softens eyelashes, fabric texture, or tree branches, it is too aggressive for that scene. Restoration settings should serve the most important image information, not chase a perfectly sterile frame.
Splices deserve their own treatment. A physical cement or tape splice can create a one-frame jump, brightness flash, or torn edge that general dirt removal may not solve. Dedicated splice cleanup can target these brief disruptions while preserving the surrounding frames. This is faster and more controlled than applying a broad correction to the entire reel.
Grain Reduction Is a Balancing Act
Film grain is not automatically damage. It is part of the photographic structure of the original stock, especially in underexposed consumer film, high-speed emulsions, and older color materials. Excessive denoising replaces that structure with waxy skin, smeared motion, and flat backgrounds.
The right question is not, “How much grain can be removed?” It is, “Which grain is preventing the image from being read?” A lightly exposed daylight reel may need little or no grain reduction. A dim indoor Super 8 sequence may benefit from a temporal grain treatment that makes faces and room details easier to see.
Apply grain reduction after stabilization and major dirt cleanup, then compare the filtered result with the original in motion. Still frames can make a strong denoiser look impressive. Playback reveals whether it creates trailing artifacts, plastic-looking faces, or a loss of the film’s natural texture.
If delivery requires a cleaner presentation, retain an archival master with restrained processing. A viewing copy can be more polished, but it should not be the only version preserved.
Correct Color and Exposure Scene by Scene
Color fade is rarely consistent across a reel. Kodak, Fujifilm, Agfa, and other stocks age differently, while storage conditions can shift color balance unevenly from one scene to the next. Magenta, cyan, yellow, or red casts may appear gradually or change abruptly at a splice.
Automatic color correction can provide a starting point, but it does not know that a sunset should be warm, a living room may have tungsten lighting, or a faded blue dress should remain blue rather than neutral gray. Use visual references within the image: skin tones, white shirts, neutral walls, grass, sky, and familiar objects. Then preserve the mood of the original scene instead of forcing every shot toward the same neutral balance.
Gamma correction is particularly valuable for home movies because many scans look either blocked in the shadows or washed out in the highlights. Controlled tools such as GamMac can help recover midtone separation without pushing black levels into gray or clipping bright areas. Small adjustments often produce a more faithful result than dramatic contrast changes.
For color footage, inspect chroma noise separately from luminance detail. Color speckles and unstable chroma can be distracting, but aggressive chroma smoothing may bleed colors across edges. Working in a suitable 4:2:2 or 4:4:4 pipeline preserves more flexibility during correction, particularly when the scan contains subtle color information worth retaining.
Keep Image and Sound in Sync
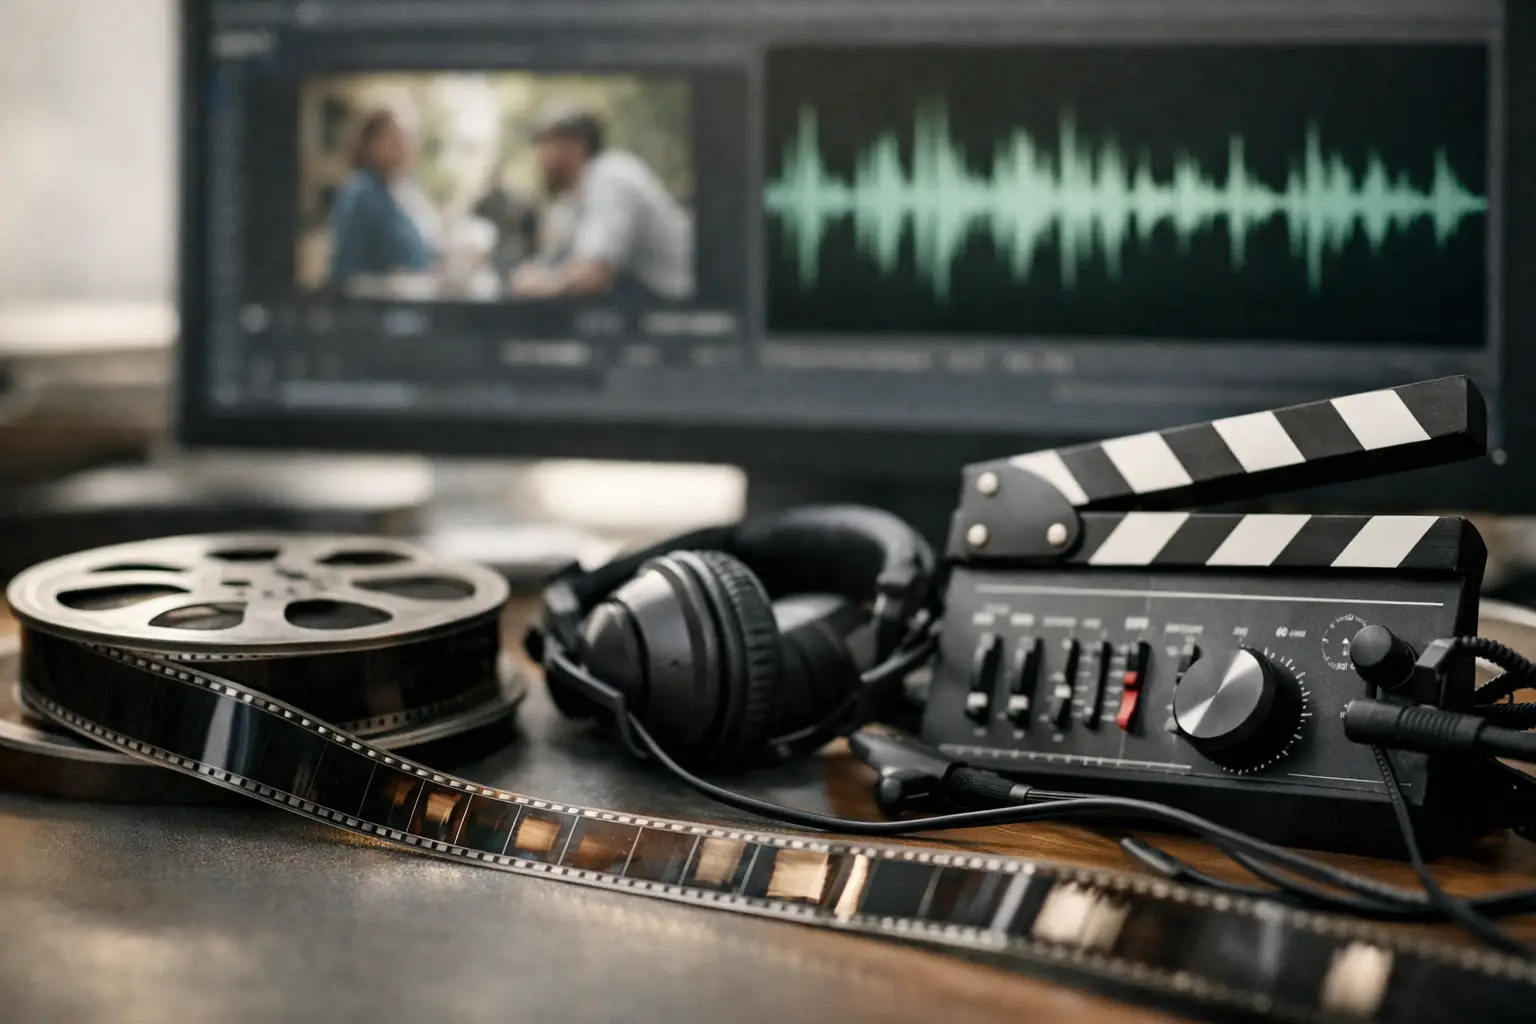
Sound film introduces a separate restoration challenge. On magnetic or optical sound releases, the audio head is physically offset from the picture gate. Scanning and capture workflows must account for that displacement, and edits or missing frames can introduce drift over the duration of a reel.
Check synchronization at several points, not only at the beginning. A child blowing out candles, a door closing, or a person speaking on camera provides useful visual cues. If the offset is constant, it can be corrected globally. If sync changes after splices or damaged sections, the reel may need segmented adjustments.
Avoid treating audio as an afterthought. A clean image with drifting dialogue or poorly aligned music still feels defective. Image and sound should be reviewed together before the final encode.
Export a Preservation Master and a Viewing Copy
A restoration is not finished when the preview looks good. The export format determines whether the work remains usable in the future. A high-quality preservation master should minimize additional loss and remain practical for later editing or reprocessing. FFV1 is a strong option for lossless archival delivery, while other mezzanine formats may fit established studio workflows.
For everyday playback and sharing, create a separate delivery file. H.264 remains broadly compatible, while x265 can reduce file size at comparable visual quality when playback support is acceptable. Choose resolution, bitrate, and audio settings based on the intended use rather than using the same export for archival storage, editing, and family viewing.
Batch processing matters when a collection contains dozens or hundreds of reels with similar scan characteristics. Save reusable presets for common film types, but keep scene-level overrides available. Efficiency should come from a repeatable pipeline, not from forcing every reel through identical settings.
AvyScan Lab is designed around this type of workflow: specialized controls for film defects, real-time preview, AviSynth+ processing without manual scripting, and professional encoding options in one visual environment. The benefit is not simply faster filtering. It is the ability to make deliberate restoration decisions without turning each reel into a command-line project.
The most successful restoration leaves viewers focused on the people, places, and moments in the frame. When a repaired film still looks like film, moves naturally, retains its texture, and can be safely exported for both preservation and viewing, the technical work has done its job.