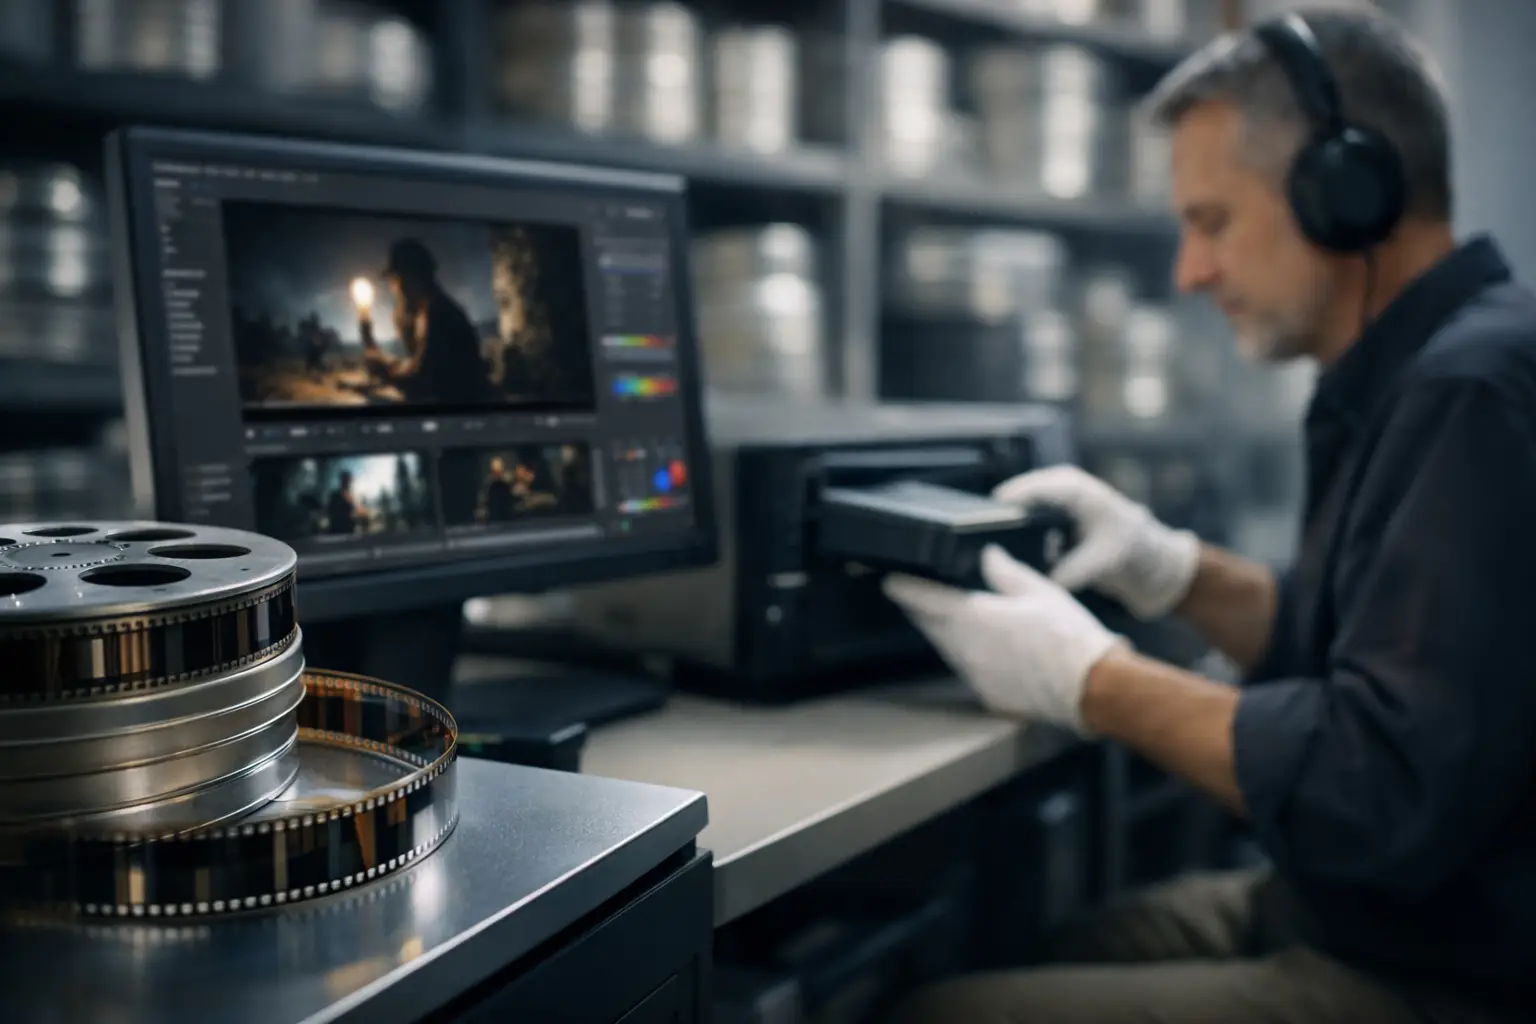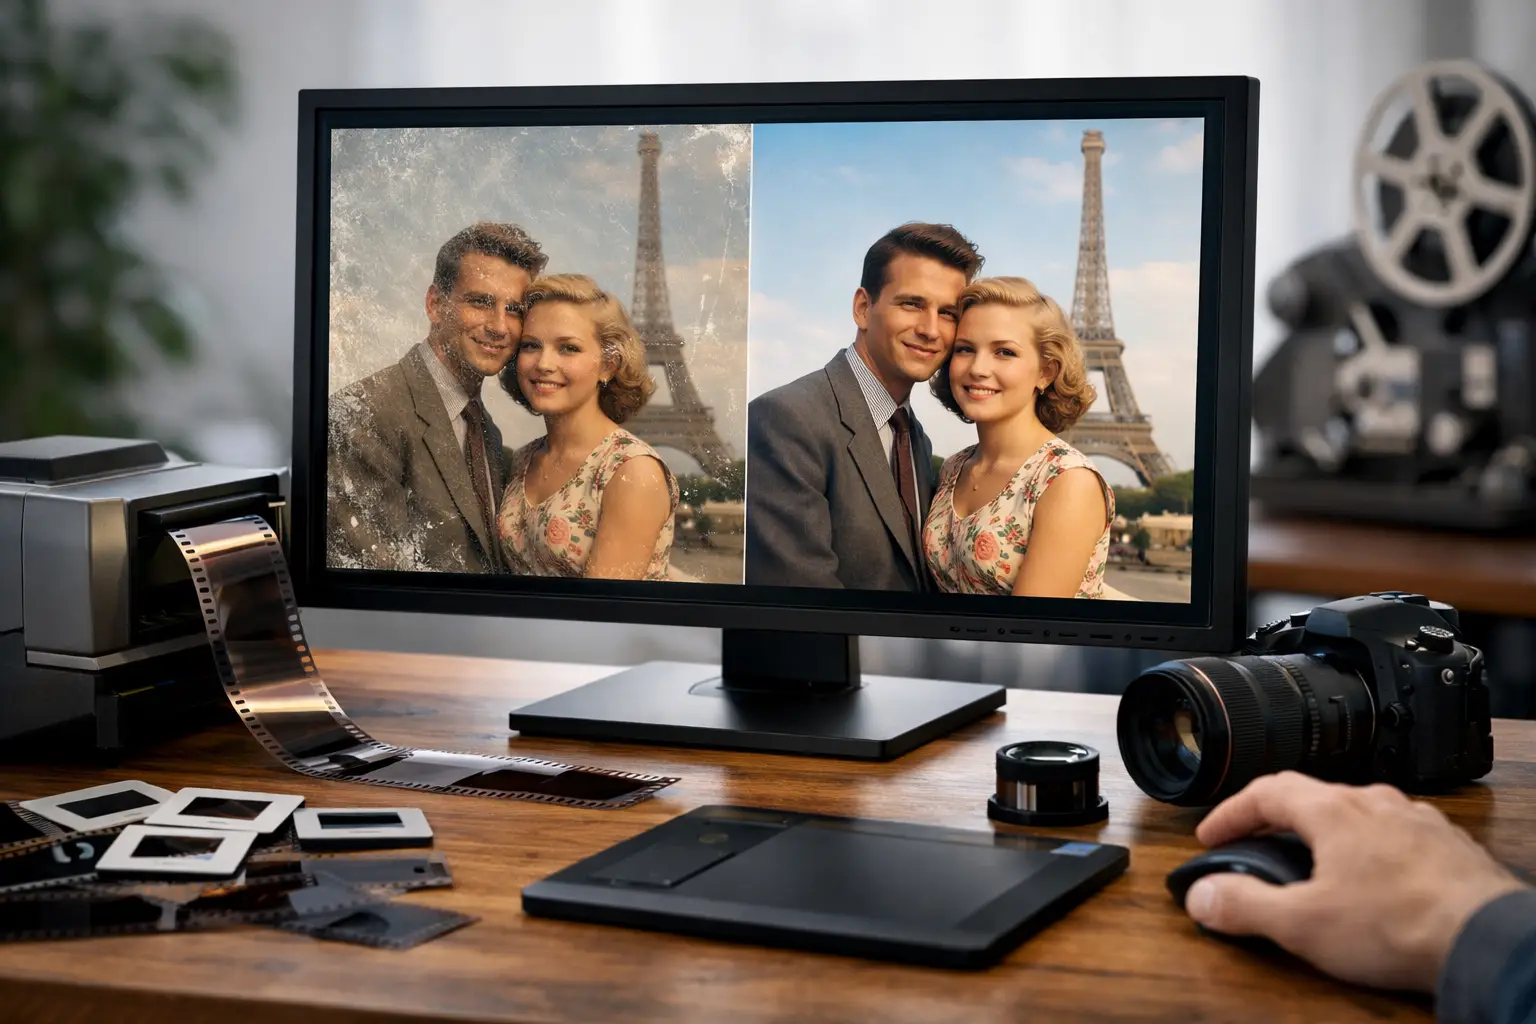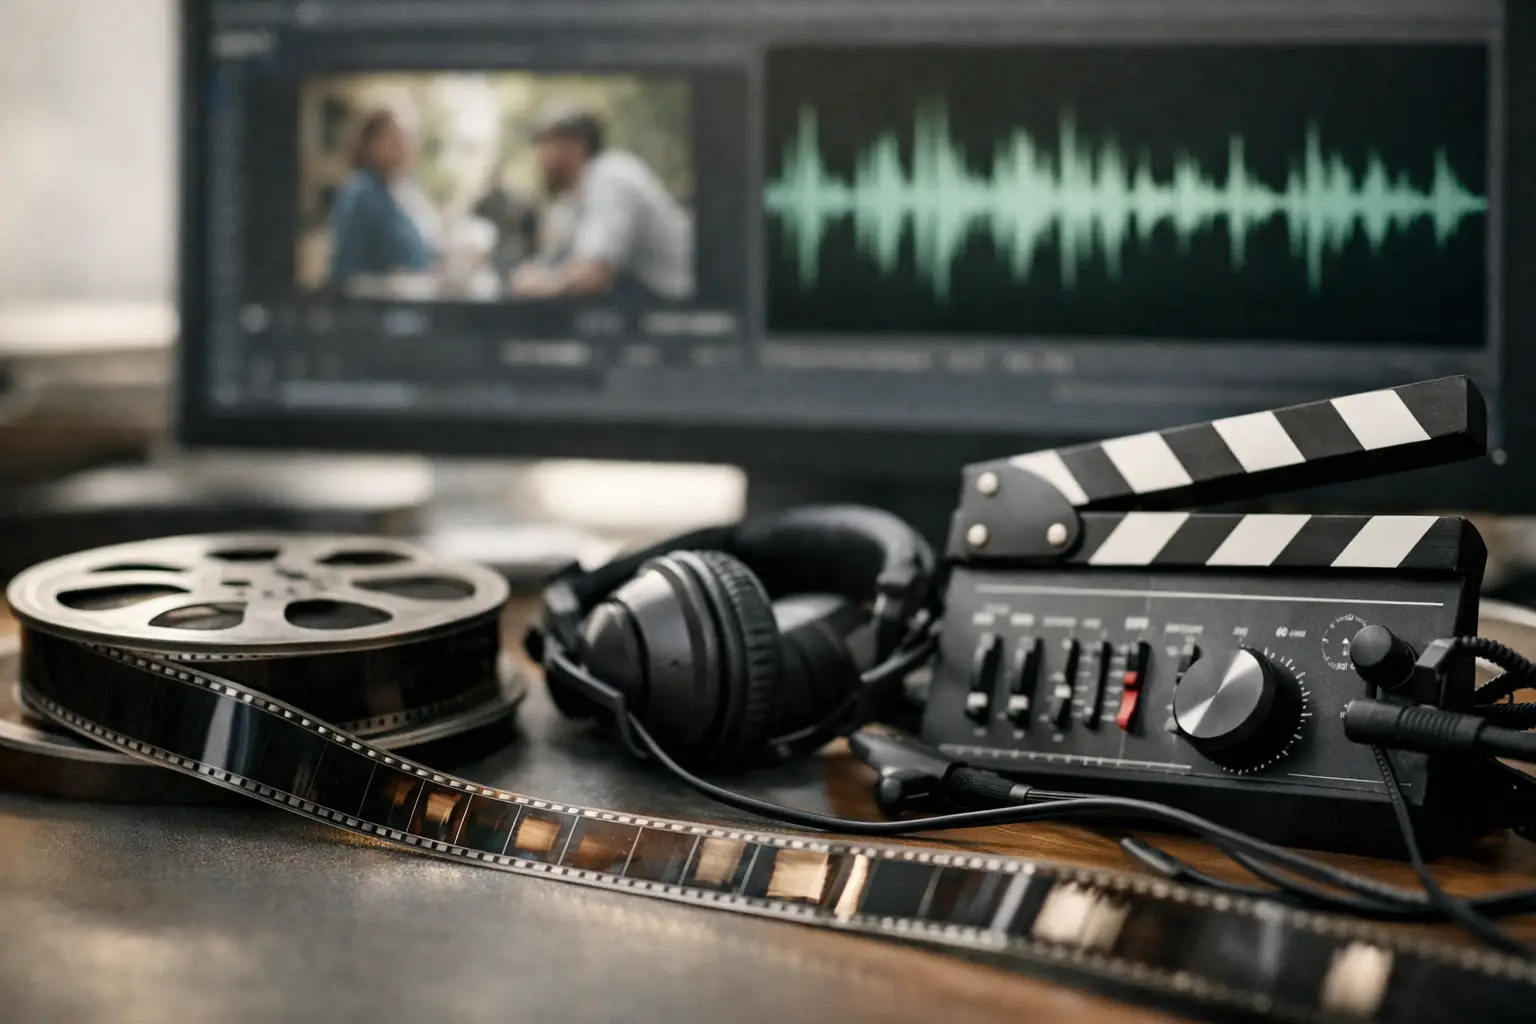
A scan can look clean, stable, and beautifully graded yet still fail as a viewing experience when dialogue slowly slips away from the image. To sync sound on film scan correctly, the real task is not simply moving an audio track until a clap appears to match. It is preserving a common timebase between a film transport, a scanner, an audio capture path, and the final export.
That distinction matters most with small-gauge archives. Super 8 and 16 mm sound films may carry magnetic stripes, while other productions rely on separate tape or digital audio. Both cases can produce drift, offset, flutter, or sudden discontinuities that only become obvious after several minutes of playback. A reliable workflow starts by identifying where timing changed and correcting that cause before encoding a master.
Why sync sound on film scan becomes difficult
Film is measured in frames; audio is measured in samples. When both were captured from the same original device at a stable speed, aligning them is straightforward. But legacy film rarely arrives under those conditions. Projectors and telecine systems can run slightly fast or slow. A reel may have been shot at 18 fps, transferred at 24 fps, and later edited into a 29.97 fps video file. Audio may have been digitized from a separate recorder whose playback speed was not calibrated.
A fixed offset and continuous drift are different faults. A fixed offset means the soundtrack is consistently early or late. Shift it by the required number of frames or milliseconds, verify several visual cues, and the correction holds. Drift means synchronization changes over time. If speech matches at the head but is one second late at the tail, a simple shift only hides the problem temporarily.
There is also local instability. A damaged splice can remove or duplicate frames. A scanner can hesitate around a warped section. Magnetic stripe playback may briefly lose contact, creating a dropout or a small change in speed. These events require local repair, not a global stretch of the entire soundtrack.
Start with the source and its intended cadence
Before importing footage into a restoration pipeline, document the film format, the likely shooting rate, whether sound is optical or magnetic, and how the audio was captured. For many family films, this information is imperfect. That is normal. The goal is to establish a testable starting point rather than guess at a final frame rate.
Common small-gauge speeds are useful clues, not guarantees. Silent Regular 8 and Super 8 footage is often 16, 18, or 24 fps. Sound Super 8 is commonly associated with 18 or 24 fps. Standard 16 mm productions may be 24 fps, while educational, industrial, or amateur material can vary. Some cameras also used variable-speed settings, and a single reel can contain segments made at different rates.
Do not force the scan into a delivery frame rate before determining its native cadence. A scanner may create one file per film frame, which is ideal for restoration. A video transfer may instead create a 23.976, 24, 25, or 29.97 fps file using repeated frames or pulldown. Those are not interchangeable timebases. If the image file has already undergone cadence conversion, establish exactly what conversion occurred before attempting audio alignment.
Frame count is the most dependable reference
For a frame-based scan, total frame count provides a precise reference. Divide the number of scanned frames by the confirmed capture rate to determine the picture duration. Compare that duration with the audio file at its native sample rate. If the difference is proportional from beginning to end, the audio or picture needs a controlled speed correction.
This is more reliable than judging duration from a media player display, which may round values or interpret variable-frame-rate files unpredictably. It also avoids a common mistake: retiming audio to match a video file whose frame rate metadata is incorrect.
Establish synchronization with visible and audible anchors
Use at least three anchors: one close to the beginning, one around the middle, and one near the end. A slate clap is excellent, but archival films rarely offer one. Look instead for a door closing, a hand clap, a dropped object, a flashbulb, a musician striking an instrument, or a visible word beginning with a strong consonant.
At each point, compare the image event with the waveform. A waveform makes transients much easier to locate than listening alone. If all anchors are displaced by approximately the same amount, apply a fixed offset. If the offset grows steadily, calculate a global retime ratio. If the relationship changes abruptly at one location, inspect that section for a splice, missing frame, duplicated frame, or an audio interruption.
For dialogue, inspect consonants rather than vowels. Plosives such as p, b, t, d, k, and g create clearer visual and audio events. For music, use percussive attacks. A soundtrack can feel acceptable in a wide shot but become visibly wrong in a close-up, so always validate on the most demanding material available.
Correct drift without damaging pitch or motion
When picture duration and audio duration differ by a small, consistent percentage, retime one element to the other. The correct choice depends on the source. If the film scanner captured every frame accurately but the separate audio playback ran slow, retime the audio. If the audio is known to be a calibrated master and the picture was transferred at the wrong constant speed, reinterpret or retime the picture instead.
Audio speed correction has a trade-off. A basic resample changes both duration and pitch. That can be historically correct when the original playback speed was wrong, but it may make voices sound unnatural. Time-stretch processing can preserve pitch while changing duration, though aggressive processing can introduce artifacts, especially on music, room tone, and degraded magnetic recordings. Small corrections are usually transparent; larger corrections deserve A/B review.
Picture retiming also requires care. Changing frame rate metadata is preferable when no frames need to be created or removed. Interpolating frames can make motion smoother, but it can alter the appearance of film cadence and create artifacts around grain, scratches, or fast movement. For archival work, preserving original frames is often more valuable than smoothing motion for a modern display.
Restore the image before final sync verification
Image restoration can affect sync decisions. Stabilization may crop or reposition a frame but should not alter frame count. Dust removal, grain reduction, color correction, and splice cleanup should likewise be frame-safe when configured correctly. Any process that deletes, duplicates, blends, or interpolates frames must be tracked because it changes the picture timeline.
This is where a film-specific workflow is valuable. Perforation stabilization can make visual anchors easier to judge. Splice cleanup can reduce the distracting flash or jump around an edit, while preserving the timing relationship on either side. Batch processing keeps the same restoration and encoding decisions consistent across a collection, but each reel still needs an individual sync check.
AvyScan Lab is designed around this frame-aware approach: stabilize and restore scanned film through a visual AviSynth+ workflow, then maintain control over image/sound alignment before final encoding. The practical benefit is not automation for its own sake. It is the ability to inspect the exact frames that determine whether a soundtrack remains credible.
Treat damaged sections as local events
A reel with one bad splice does not need a global repair. Mark the exact point, then decide whether the picture is missing frames, the audio has a dropout, or both. If frames are missing from the scan but the audio is continuous, make a corresponding audio cut only if preserving synchronization requires it. If a sound dropout occurs while picture remains intact, repair or mute that audio segment without changing picture timing.
Keep a log of every local intervention. Record the frame number, the source issue, and the correction applied. This is essential for archive work, client approval, and future remastering. It also prevents a later restoration pass from silently reintroducing drift.
Export with a stable, documented timebase
Once sync is approved, encode the delivery file at a deliberate frame rate and audio sample rate. For preservation masters, use a format suitable for high-quality archival storage and retain the original scan sequence or lossless scan file when possible. For access copies, H.264 or H.265 may be appropriate, but confirm that the export preserves constant frame rate and does not introduce an unexpected cadence conversion.
Audio should normally remain at 48 kHz for video delivery unless a project requirement calls for another rate. Avoid repeated sample-rate conversion. Preserve the unprocessed audio capture as a separate source file, particularly when working with magnetic stripe or fragile recordings that may need future noise reduction or equalization.
Finally, review the encoded file, not only the timeline preview. Check the opening, several scene changes, a demanding dialogue or music sequence, and the final minute. A correct project can still export incorrectly if a frame-rate setting, audio delay, or muxing parameter changes at the last stage.
The most useful habit is simple: trust measured frame counts and repeatable anchors more than memory or intuition. Once picture cadence and audio duration are treated as technical evidence, sound synchronization stops being a last-minute adjustment and becomes a controlled part of film restoration.