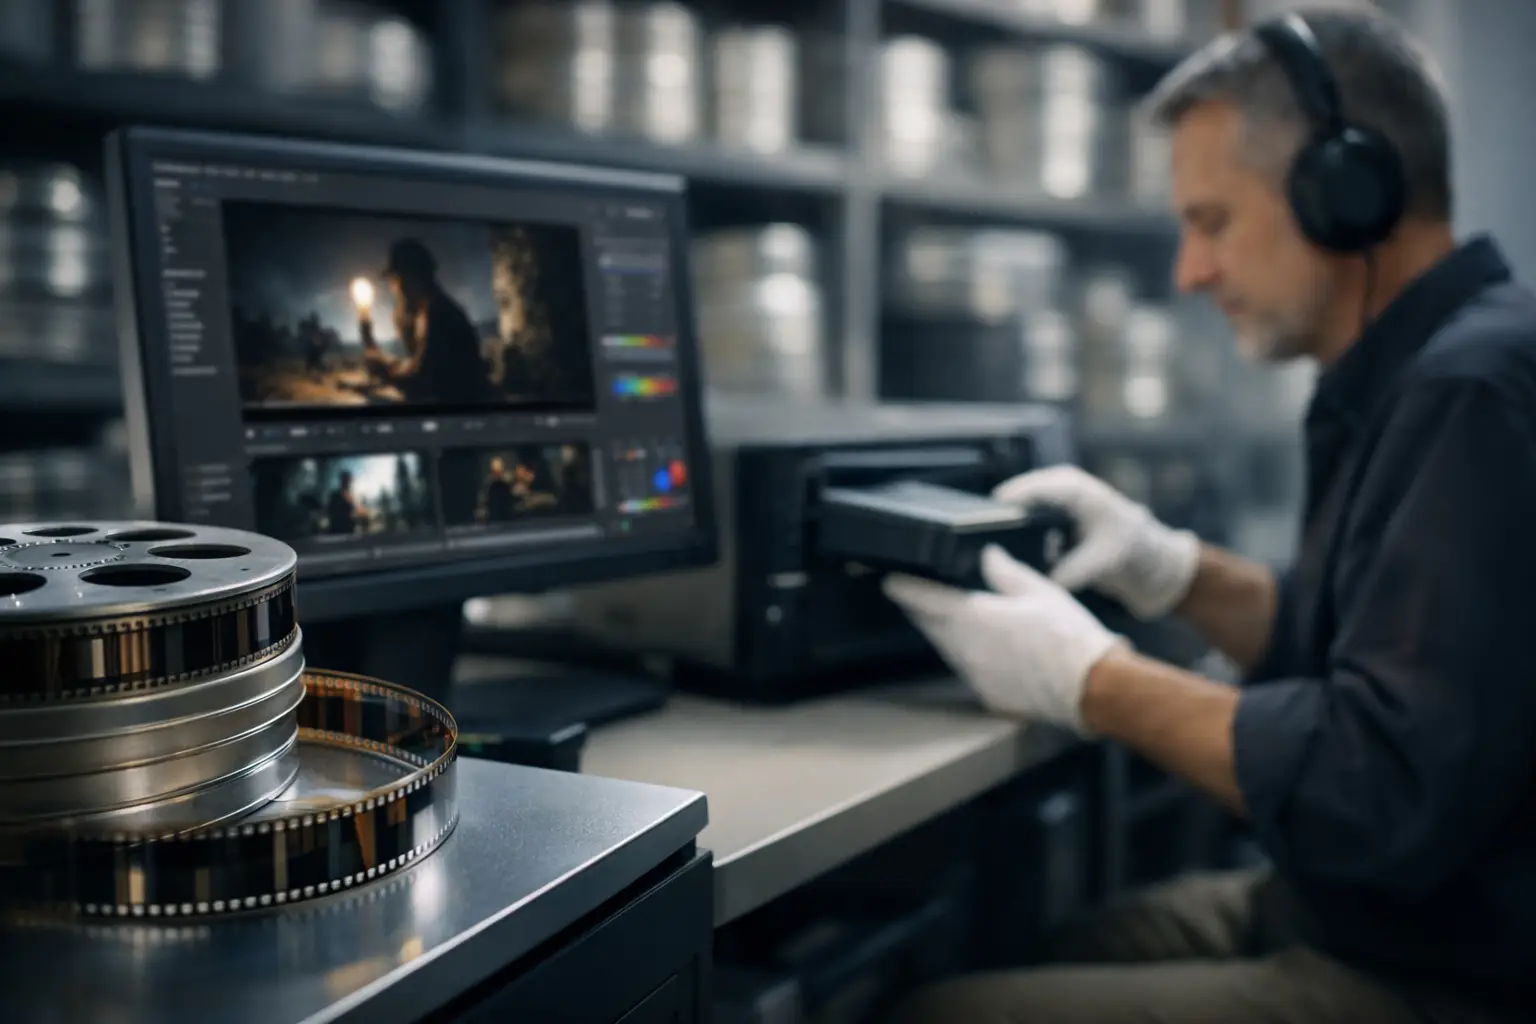
A clean Super 8 restoration can still be compromised at the export stage. If a stabilized, dust-cleaned scan is compressed into an 8-bit delivery file with aggressive chroma subsampling, detail that took hours to preserve may be gone for good. Professional film archive encoding is the discipline of creating files that retain the image data, restoration decisions, and future usability of a film scan without making storage or workflow unmanageable.
For 8 mm, Super 8, 9.5 mm, and 16 mm collections, encoding is not simply the last button in the process. It determines whether a future color pass, a new dust-removal method, or a remaster for a different screen can start from a trustworthy source. The correct answer depends on the scan format, the intended preservation level, the available storage, and whether the file is a master or a viewing copy.
Start by Separating the Master From the Delivery File
The most common archive mistake is treating one exported file as the answer to every need. A preservation master and a viewing file have different jobs.
The master is the long-term production asset. It should preserve the highest practical bit depth, chroma information, frame rate, and image dimensions from the scan and restoration pipeline. It is the file used if you later revisit color correction, Perfo Lock stabilization, splice cleanup, or sound synchronization.
A delivery file is optimized for access. It may be smaller, more compressed, and converted for broad compatibility with televisions, phones, editing systems, or online sharing. It is useful, but it should not replace the master.
For many collections, the practical structure is simple: retain the original scan, create a restored archival master, then generate one or more access copies. Keeping both the untreated scan and the restored master may feel redundant, but they answer different preservation questions. The original scan records what the film produced at capture. The restored master records the best controlled interpretation of that material at a specific point in time.
Choose a Codec for the Role It Must Serve
Codec selection should follow the purpose of the file, not a generic recommendation. A codec that is excellent for a web delivery can be a poor choice for a restoration master.
FFV1 for preservation-focused masters
FFV1 is a strong option when the priority is mathematically lossless compression and long-term preservation. It is widely used in archival workflows because it can significantly reduce file size compared with uncompressed video while retaining every encoded pixel value. For a cleaned and corrected film scan, this makes it an effective choice for a restoration master.
Its trade-off is compatibility. FFV1 is well supported in preservation environments and technical playback tools, but it is not the most convenient format for every consumer player or editing application. That is not a reason to avoid it. It is a reason to pair it with practical delivery encodes.
ProRes and DNxHR for active postproduction
If the restored file will move regularly through editing, color, or client-review systems, an intraframe mezzanine codec such as ProRes or DNxHR can be appropriate. These codecs are designed for efficient decoding and frame-accurate editing. They are often easier to handle in professional NLEs than lossless archival formats.
They are not lossless in most common profiles, so they should be selected deliberately. A high-quality 10-bit 4:2:2 profile can be an excellent production master, particularly for a small studio delivering projects on a schedule. For the most preservation-sensitive work, retain the original scan or a lossless archival master alongside it.
x264 and x265 for access copies
H.264 through x264 and H.265 through x265 are efficient choices for viewing copies. They can produce excellent results at a fraction of the storage required by archival or mezzanine files. H.265 generally delivers smaller files at comparable quality, while H.264 remains more universally compatible.
Neither should be the only copy of a restored film archive. Long-GOP compression can blur fine grain, simplify difficult motion, and create artifacts around dust, scratches, or fast-moving subjects. A carefully tuned encode can look very good, but it is still a delivery decision rather than a preservation decision.
Preserve Bit Depth and Chroma Deliberately
Film restoration often reveals subtle information that generic export presets discard. Faded reversal stocks may contain delicate tonal transitions in skies and faces. Color negative scans can require substantial correction before their intended palette appears. Grain also behaves differently from digital noise, and compression may treat it as disposable detail.
For this reason, a 10-bit workflow is usually preferable when the scan and processing chain support it. Ten-bit encoding provides more tonal precision than 8-bit encoding and reduces the risk of visible banding after color work, gamma adjustments, or later grading. If your scan is genuinely 10-bit or higher, exporting an 8-bit master throws away usable precision.
Chroma sampling matters as well. For black-and-white film, the issue is less critical, although bit depth and luma detail still matter. For color film, 4:2:2 is a sensible professional baseline for many restored masters, while 4:4:4 is justified when the scan, color pipeline, and storage plan support it. A 4:2:0 delivery encode may be perfectly acceptable for playback, but it is not the preferred format for retaining color detail in a master.
Do not inflate a limited source artificially. Encoding a heavily compressed 8-bit 4:2:0 scan as 10-bit 4:4:4 will not recreate missing information. The goal is to avoid losing information that is actually present, not to create technical specifications on paper that the source cannot support.
Keep the Film’s Native Motion Intact
Archive encoding must respect the frame rate established during scanning and restoration. Amateur film is especially vulnerable to careless conversion because 8 mm and Super 8 commonly originated at 16, 18, or 24 frames per second, while sound film and 16 mm workflows may follow different rates.
Do not convert material to 29.97 or 30 fps merely because a delivery preset expects it. Frame duplication, blending, and poorly configured interpolation can change motion cadence and introduce ghosting. If a telecine or scanner capture has speed variation, correct it as a restoration decision using the appropriate source analysis, not as an incidental side effect of encoding.
The same applies to interlacing. Film scans are normally progressive. A progressive master should be flagged and encoded as progressive, with no interlaced field processing introduced downstream. Incorrect field metadata can make a clean scan look combed or unstable on playback.
Encode After Restoration, Not Before It
Lossy compression should occur as late as possible. Grain reduction, RemoveDirtMC-style temporal cleanup, scratch treatment, stabilization, color correction, and splice repair all make decisions from image data. Re-encoding between those stages compounds losses and can confuse filters that depend on consistent detail from frame to frame.
A controlled workflow starts with the highest-quality scan available, applies restoration in a high-precision pipeline, previews the result at full resolution, and then exports the chosen master. Only after that should access encodes be created.
This is where a film-specific interface has a real operational advantage. In AvyScan Lab, restoration tools such as Perfo Lock, Splice Cleanup, color controls, and batch processing can be arranged before the export stage, while the encoding settings remain visible as part of the same workflow. The benefit is not merely convenience. It reduces the chance that a temporary preview preset or a web-oriented codec becomes the accidental archival output.
Validate the File You Just Created
A file is not archived because it finished rendering. Professional film archive encoding includes verification.
Check the technical properties: codec, container, pixel format, bit depth, chroma sampling, dimensions, progressive status, frame rate, audio sample rate, and channel layout. Then inspect the content, not just the metadata. Review dark scenes for banding, grain-heavy passages for compression smearing, splice areas for motion artifacts, and scenes with saturated reds or blues for chroma damage.
For larger batches, use consistent naming that identifies the reel, version, restoration date, frame rate, and file role. Keep a plain project record with the scanner source, restoration settings, codec profile, and any known issues. Metadata will not repair a damaged file, but it prevents future operators from guessing what they have received.
Storage needs the same discipline. Maintain at least two copies on separate storage devices, ideally in separate locations. Verify copies with checksums when the archive has real financial, historical, or personal value. Hard drives fail, cloud accounts change, and a single external drive is not a preservation strategy.
Professional Film Archive Encoding Is a Repeatable Decision
The best encoding workflow is not always the one with the largest files. A local history project with hundreds of reels may reasonably use FFV1 masters and H.264 access copies. A commercial restoration house may maintain lossless preservation assets, 10-bit ProRes production masters, and client-specific H.265 deliveries. A family collection may prioritize an accessible viewing library while retaining the original scan on protected storage.
What matters is that each file has a declared purpose. Preserve the scan, protect the restored master from unnecessary loss, and make smaller copies only when access requires them. Years from now, the archive will be judged less by the codec name than by whether it still gives you enough information to make a better version.