A film scan can be technically sharp and still look like a poor transfer. Dust becomes more visible at high resolution, gate movement turns into distracting jitter, faded color shifts faces toward red or cyan, and every splice can produce a sudden exposure or framing change. The best software for film scans is not simply the editor with the longest effects list. It is the software that understands these defects as properties of scanned film and gives you controlled ways to correct them without erasing the image itself.
For Super 8, Regular 8, 9.5mm, and 16mm material, the right choice depends on what your scanner has already delivered, what condition the film is in, and whether the destination is family viewing, preservation, client delivery, or further postproduction. A practical evaluation starts with the restoration pipeline, not the marketing label.
What the best software for film scans must handle
A useful restoration application needs to work from a high-quality source, ideally a sequence or mezzanine file that retains the scan's detail and color information. If the only input is a heavily compressed H.264 file, some correction remains possible, but compression artifacts can be mistaken for grain, dirt, or edge detail. The software should let you inspect the image at full resolution before committing to a treatment.
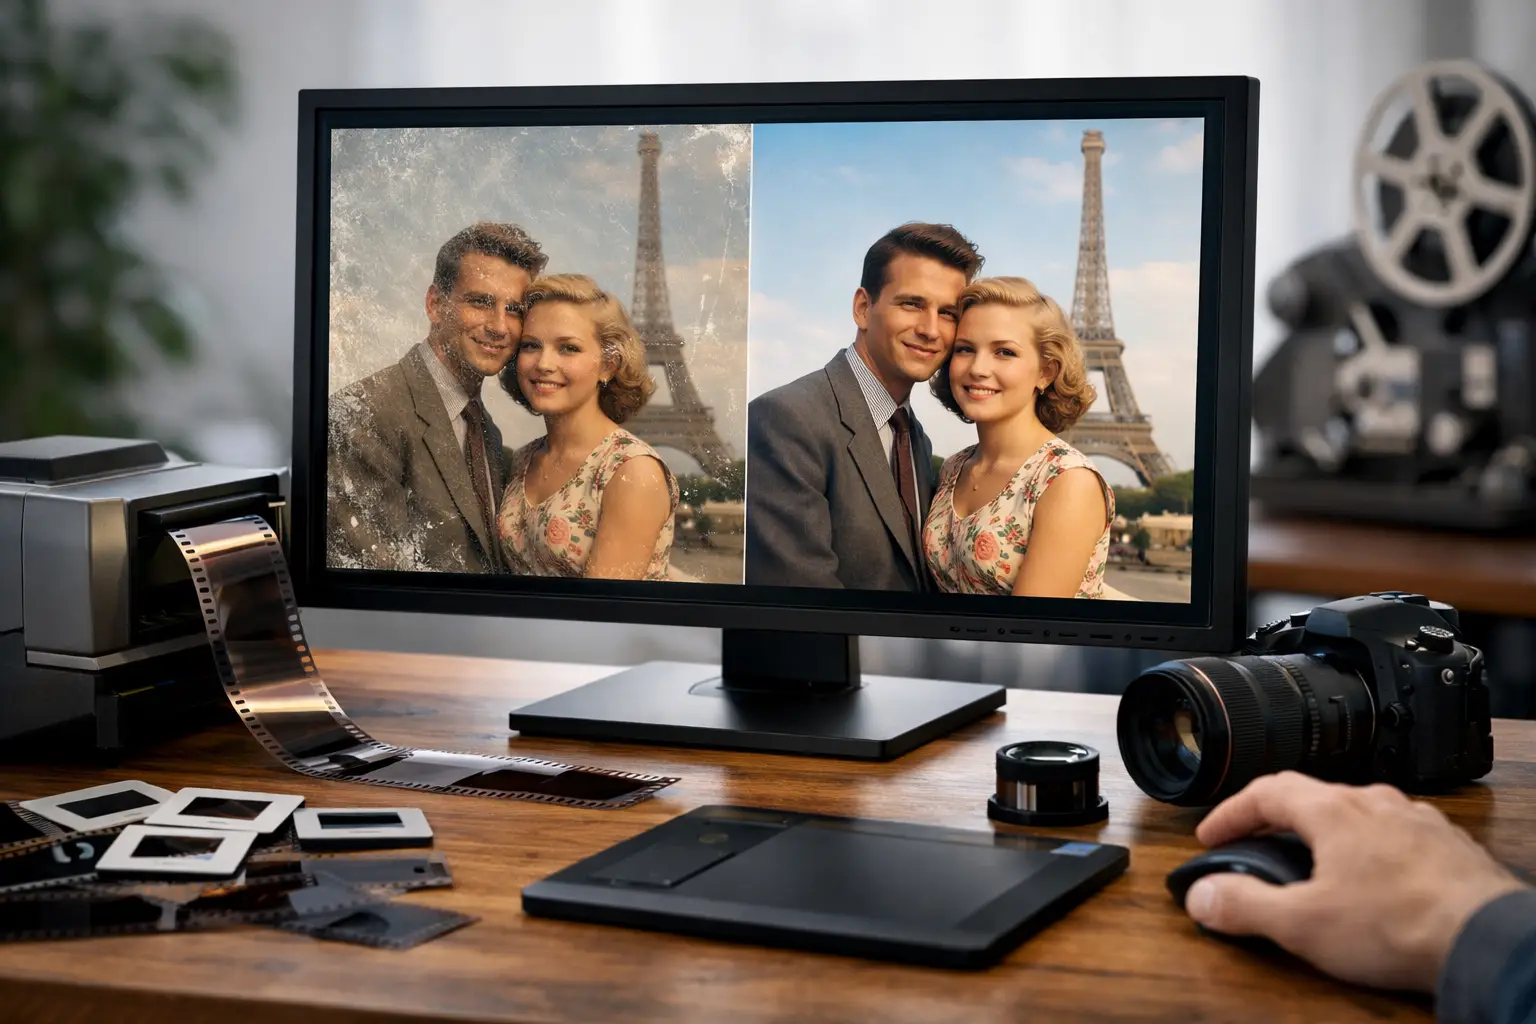
The first requirement is temporal cleanup. A single-frame dust spot is usually easy to identify because it does not belong to adjacent frames. Good dirt-removal processing compares motion across time, detects isolated defects, and replaces them conservatively. This is fundamentally different from applying a blur to every frame. Tools based on motion compensation, including workflows built around RemoveDirtMC and MVTools2, can clean intermittent dust while preserving moving subjects when configured carefully.
The second requirement is stabilization that matches the film's mechanical behavior. Digital stabilization can hold the picture steady, but it may crop too aggressively or drift when the subject itself fills the frame. Perforation-based stabilization is more appropriate when the scan includes a reliable reference near the sprocket area. It stabilizes the film transport rather than guessing from picture content. For shrunken, warped, or damaged stock, the ability to adjust detection and inspect the tracked result matters more than a one-click preset.
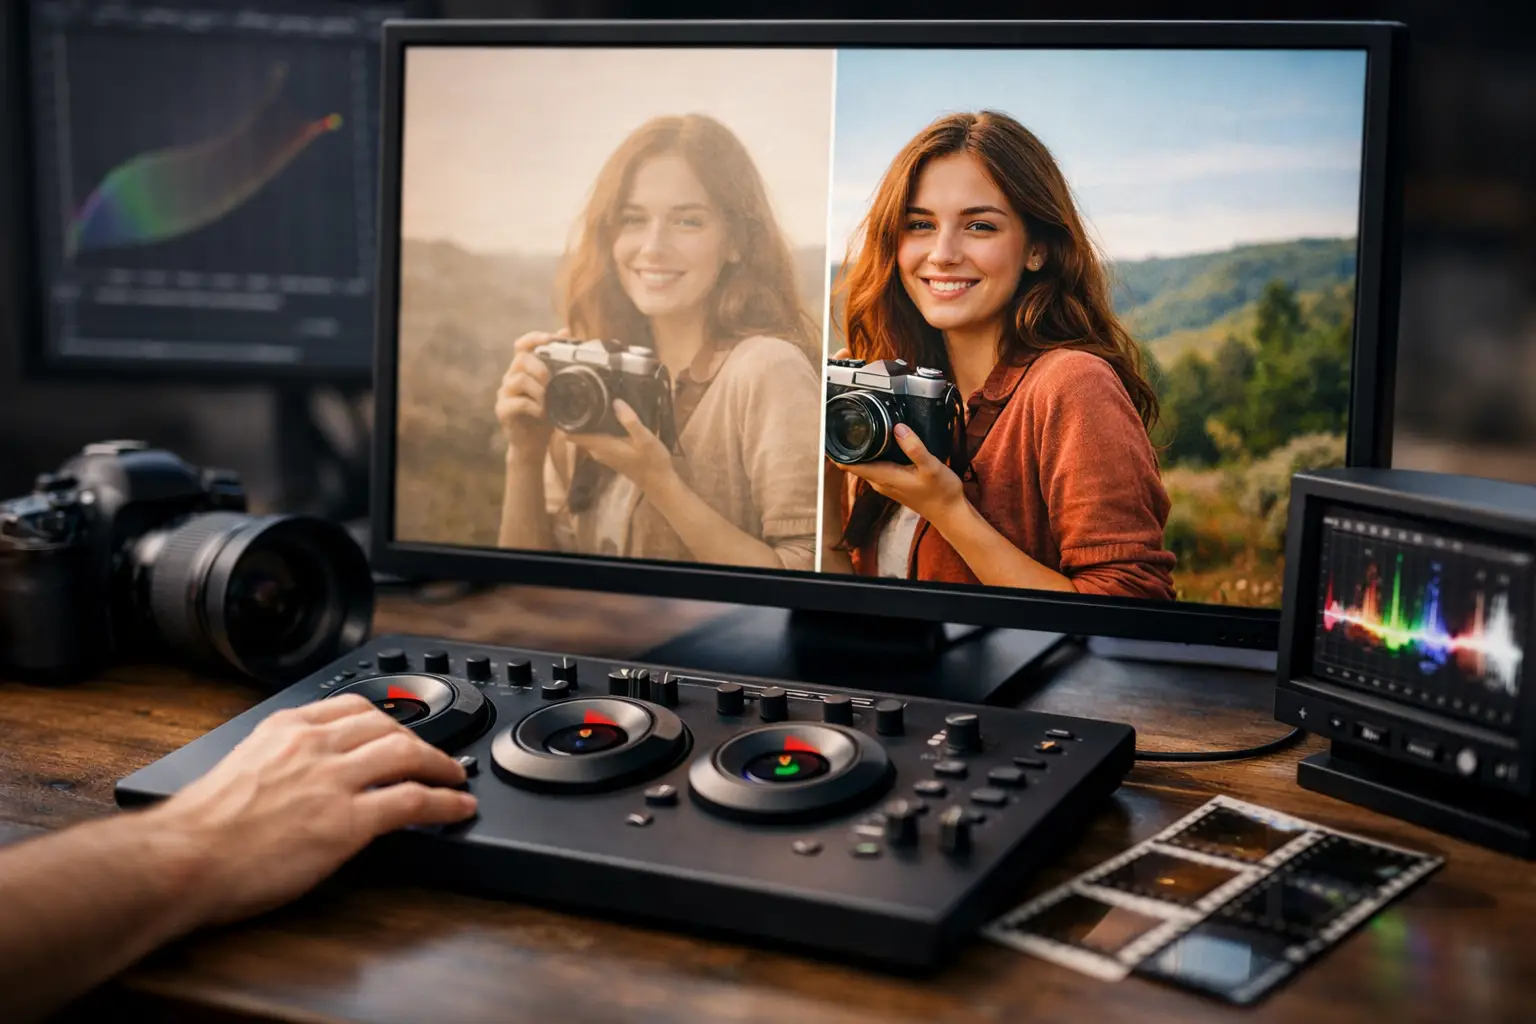
Color correction comes next, but it should not be treated as a cosmetic afterthought. Reversal film, print film, and faded negative each fail differently. A practical tool needs primary controls for black point, white point, contrast, gamma, saturation, and channel balance, plus curves or similar controls for more selective correction. Gamma-aware processing is particularly useful when recovering shadow detail without blowing out highlights. A filter such as GamMac can be valuable in a controlled pipeline, but the operator must still judge skin tones, neutral areas, and the intended character of the original stock.
Finally, the software must export files that fit the job. A restoration master and a viewing copy should not be encoded the same way. Lossless or near-lossless formats such as FFV1 are sensible for preservation and interchange. x264 and x265 are efficient for delivery, but settings must be chosen to avoid turning fine film grain into block noise or smearing it away. Support for 10-bit processing and 4:2:2 or 4:4:4 chroma is not a luxury when the scan contains subtle color variation or will receive further grading.
Specialized restoration software versus general video editors
A general-purpose editor is useful for assembling reels, trimming heads and tails, adding titles, syncing a separate soundtrack, and producing a final program. It can also correct basic exposure and color. But an editor is rarely designed around the repeating, frame-level defects found in amateur film scans. Its denoiser may soften grain and detail together. Its stabilization may lock onto a moving face instead of the frame. Its repair tools may require manual work that becomes impractical across several hours of footage.
Dedicated film-scan restoration software narrows the problem. It places dust removal, grain management, splice cleanup, perforation tracking, flicker reduction, color control, and encoding within one sequence of operations. That order is critical. Stabilizing before cropping, correcting major exposure shifts before judging grain, and cleaning defects before final compression all affect the final result.
There is a trade-off. A specialist application may not replace a full non-linear editor for sound mixing or creative finishing. The strongest workflow often uses a restoration tool to create a clean, stable master, then sends that master to an editor only for assembly and delivery. This keeps destructive corrections away from the final editing stage and makes the restoration repeatable.
Evaluate the workflow, not just individual filters
A long list of filters does not guarantee useful results. Film restoration is an iterative process, and the best software makes iteration fast enough to be practical. Look for real-time or near-real-time preview, before-and-after comparison, parameter presets, and the ability to render short test sections before processing an entire reel.
Preview is especially important for grain reduction and dirt removal. Excessive temporal filtering can create ghost trails around moving hands, cars, or camera pans. Excessive grain reduction can give faces a waxy texture and flatten the grain structure that belongs to the film. The correct setting is usually the lowest one that removes the distracting defect. A good operator preserves evidence of the original medium while removing damage that prevents the footage from being watched.
Splice handling is another differentiator. Old home-movie reels often include cement splices, tape splices, missing frames, and abrupt shifts in exposure or registration. A specialized Splice Cleanup function can identify the short discontinuity around a join and reduce the visible flash or jump without treating the entire reel as defective. That saves time and avoids global filtering for a local problem.
For sound film, image and audio synchronization needs equal attention. A restored image sequence may have a different frame count if damaged frames were removed or duplicated during transfer. Software that supports image and sound synchronization helps retain the relationship between optical or magnetic sound and picture before export. This matters most for 16mm and sound Super 8 projects, where a clean picture without stable sync is not a finished restoration.
Batch processing separates a tool from a one-off utility
One reel can be restored manually. Twenty reels require a system. Batch processing lets an operator apply a tested pipeline to multiple files while preserving reel-specific adjustments where needed. It is useful for digitization providers, archives, and collectors working through a large family collection.
The ideal batch workflow begins with a representative test reel. Build a preset that handles the common condition of the collection, then create exceptions for badly faded, heavily scratched, or unstable material. Do not force every reel through the same aggressive cleanup. A 1970s Super 8 daylight reel and a 1940s 16mm black-and-white print may need entirely different color, grain, and stabilization settings.
A well-designed Windows application can make sophisticated engines accessible here. AvyScan Lab, for example, exposes an AviSynth+ restoration pipeline through a graphical interface, allowing users to combine tools such as temporal cleanup, Perfo Lock stabilization, color correction, professional encoding, and batch jobs without manually writing scripts. The advantage is not that automation replaces judgment. It is that the tested decisions can be applied consistently once judgment has established the right settings.
Questions to ask before choosing software
Before committing a large archive to any application, test it against the defects that actually exist in your scans. A short clip with a clean exterior scene proves very little. Use a section with dust, a visible splice, a handheld pan, a face in low light, and a saturated color area. Then inspect the output frame by frame as well as at normal playback speed.
Ask whether the application preserves your source dimensions and bit depth, whether it can produce an archival master without unnecessary recompression, and whether its preview reflects the final render. Check how it handles cropped scans, oversized frame borders, and perforation visibility. If your scanner produces image sequences, confirm that the software manages them reliably rather than forcing an early conversion to a compressed video file.
Also consider ownership and repeatability. A restoration setting should be saved, documented, and reproducible months later. This is valuable when a client asks for a revised delivery, when an archive needs a second format, or when you want to improve a master as tools evolve. A perpetual license with a fully usable trial or free tier can be more practical for occasional archival projects than a subscription designed around constant editorial use.
The right software should make you more deliberate, not more dependent on presets. Start with the least invasive correction, preview each stage, keep a high-quality master, and let the condition of each reel determine how far restoration should go. That is how scanned film remains recognizable as film while becoming stable, clean, and ready to be seen again.