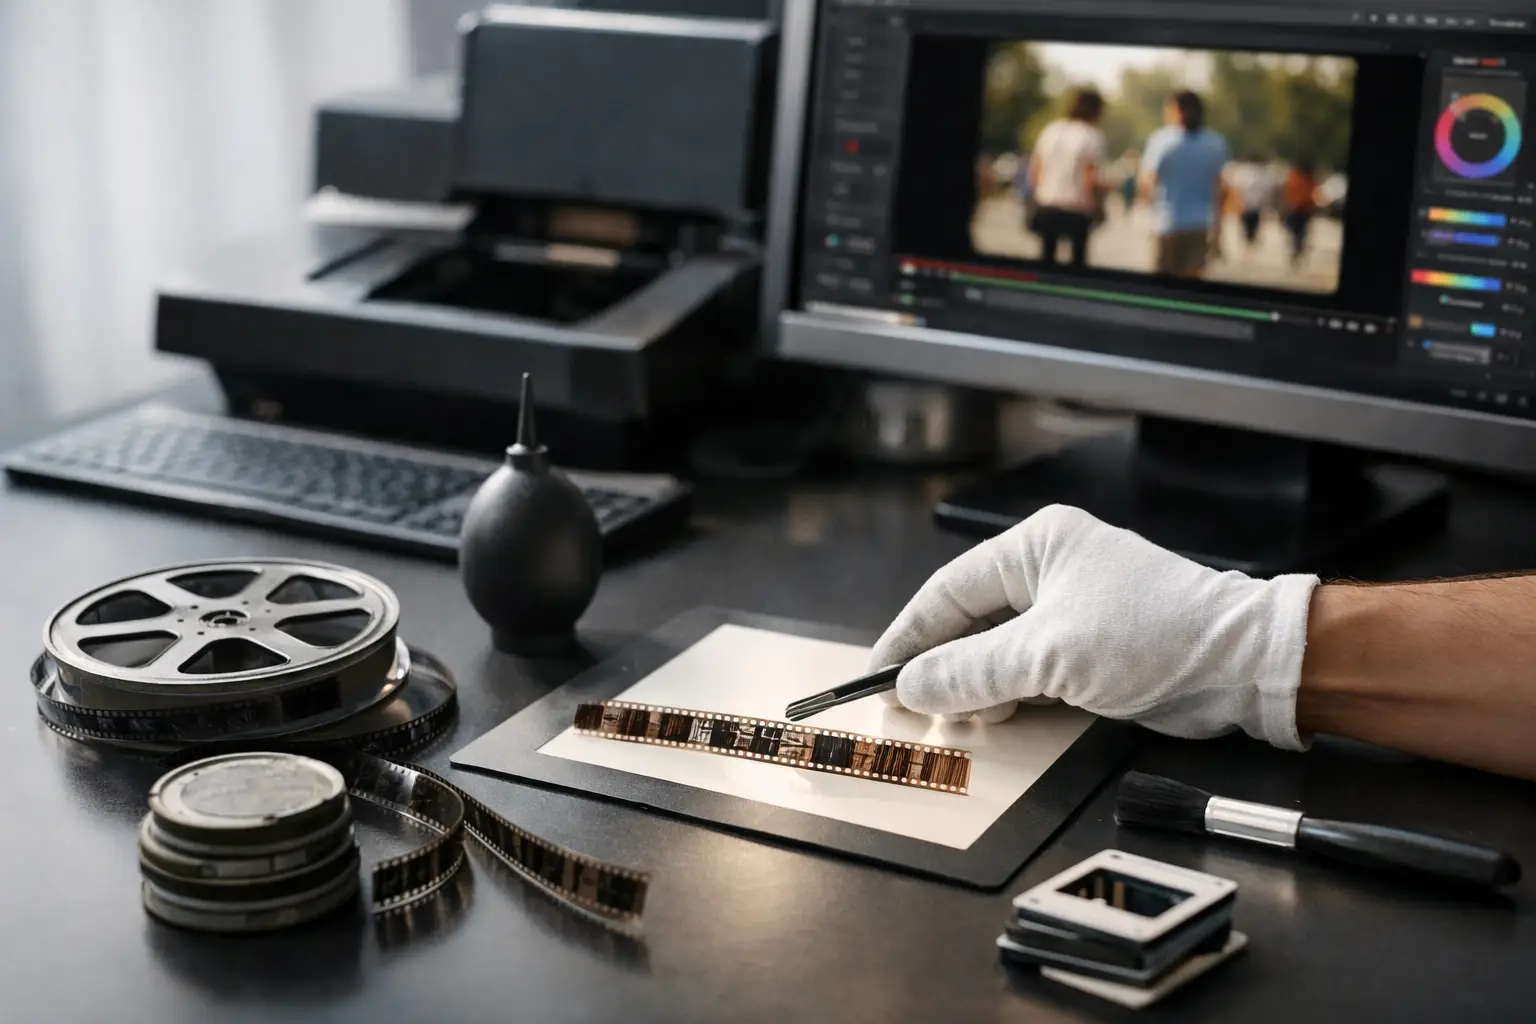
A good Super 8 scan tells the truth twice. It preserves what the film captured, and it reveals everything the film has suffered since - dust, shrinkage, splice marks, gate weave, color drift, and contrast loss. If you are figuring out how to restore super 8 film, the goal is not to make it look digitally modern. The goal is to recover stability, legibility, and tonal balance without erasing the character of the original stock.
That distinction matters because Super 8 restoration is full of trade-offs. Push denoising too far and faces turn waxy. Overcorrect faded color and skin tones become synthetic. Stabilize aggressively and motion starts to feel pinned down instead of photographic. The best workflow is controlled, preview-driven, and built around the defects specific to scanned small-gauge film.
How to restore super 8 film without damaging the image
The first decision happens before any filter is applied. You need to know what kind of scan you have and what kind of restoration it can support. A lightly compressed MP4 from a consumer scanner gives you less room than a ProRes, FFV1, or image-sequence scan captured from a stable telecine or frame-by-frame system. If the source is already clipped, noisy, or heavily sharpened, restoration has to be more conservative.
Start by checking the basics in motion, not just on a still frame. Look at exposure consistency, registration stability, dust density, splice artifacts, color bias, and whether the scan includes the full frame area. Super 8 often carries edge information that helps you diagnose mechanical instability. If you only inspect a single frame, you miss the problems that define film restoration: breathing, jitter, flicker, and temporal defects.
A practical pipeline usually follows this order: ingest, inspection, stabilization, defect cleanup, grain management, color correction, sound sync if present, then export. That order is not absolute, but it is sensible. For example, dirt removal performs better on a stabilized image because moving geometry is less likely to be misread as a defect. Likewise, color correction is easier once flicker and instability are under control.
Start with stabilization and frame geometry
Many damaged Super 8 scans are not ruined by scratches or fade. They are ruined by motion that should not be there. Gate weave, vertical bounce, warped perforation tracking, and splice jumps create a restless image that makes every other defect more visible.
There are two main ways to stabilize. The first is content-based stabilization, where the software tracks image features. This can work well on scenes with enough detail, but it can drift on soft shots, heavy grain, or cuts with similar textures. The second is perforation-based stabilization, which uses the mechanical reference of the film itself. On small-gauge film, that is often the more reliable method when the scan includes enough of the frame edge to detect it.
If the reel has damaged joins, expect sudden displacement at splices. Those should not be treated the same way as normal weave. A dedicated splice cleanup step helps isolate and smooth these local events without forcing the entire clip into overly rigid motion. This is one of the places where generic video tools often fall short. Film defects are not random video noise. They are tied to transport mechanics, stock wear, and the physical structure of the strip.
Remove dust and scratches with temporal discipline
Once the frame is stable, defect removal becomes more predictable. Dust, white specks, black spots, and small emulsion marks are usually best handled with temporal methods that compare neighboring frames. Tools in the RemoveDirtMC family can be very effective here because they distinguish transient defects from persistent image detail.
The key is threshold control. If you set detection too low, the software starts replacing texture that actually belongs to the scene - hair, fabric, foliage, skin pores, film grain. If you set it too high, the obvious defects survive and the cleanup feels incomplete. On Super 8, especially reversal stocks, fine image detail is limited to begin with. That means restoration should protect what little authentic microdetail remains.
Long vertical scratches are a different case. Temporal cleaning may reduce them, but deep or continuous scratches sometimes need separate treatment or masking strategies. If the scratch persists across many frames, the software may interpret it as image structure rather than contamination. In those cases, partial correction is often the realistic target. A scratch that becomes less distracting while preserving edge detail is preferable to a blurred patch that announces heavy processing.
Control grain without flattening the film look
Super 8 grain is not a defect in the same sense as dust or jitter. It is part of the image formation. But scans can exaggerate it, especially when the scanner sensor is noisy, the exposure is thin, or the original stock is fast and underlit. That is why grain reduction should be framed as management, not elimination.
Motion-compensated denoising with MVTools2 can preserve moving detail better than simple spatial blur, but it still requires restraint. Strong settings can create ghost trails, frozen textures, or plastic-looking faces. This is especially visible in handheld family footage where natural movement and grain are intertwined.
A better approach is to reduce the most distracting excess while keeping a believable film texture. In practice, that often means treating luma and chroma differently. Chroma noise can usually be reduced more aggressively without harming perceived sharpness, while luma needs a lighter hand. If the final delivery is for archive, preserve more grain. If the delivery is for casual viewing, you can be slightly more assertive, but only after checking motion at full speed.
Correct color fade and contrast carefully
Color correction on Super 8 depends heavily on stock type, storage history, and scan quality. Old reversal film may shift toward red, magenta, or cyan. Black levels may float. Highlights may go weak and yellow. Sometimes the problem is not only fade but scanner white balance and inconsistent lamp output.
Begin with neutral structure before creative interpretation. Set black and white points conservatively so you do not clip dress detail, clouds, or shadow texture. Then correct the dominant cast. GamMac-style tonal correction can be useful because it allows more precise shaping than a simple brightness or contrast slider. For heavily faded reels, expect to balance channels across tonal ranges rather than with a single global fix.
Skin tones are the best reality check. Grass and sky are less reliable because film stocks render them differently, and memory is often inaccurate. If you are restoring family footage, the aim is usually plausible color, not forensic certainty. A restrained result that feels photographic is more durable than a dramatic grade that looks impressive for ten seconds and artificial for ten minutes.
Handle flicker, exposure breathing, and sound only when needed
Not every reel needs flicker correction, but when it does, it should be addressed before final grading. Exposure instability can come from the original camera, the projector or scanner, or deterioration in the film itself. Mild temporal smoothing can even out brightness fluctuations, though excessive correction may suppress intentional light variation in the scene.
If your source includes magnetic stripe sound, restoration becomes a sync problem as well as an image problem. Super 8 sound scans may drift if image and audio were captured in separate passes or at inconsistent transport speed. In that situation, image restoration should respect the final sync target. Stabilization and splice cleanup are useful, but frame additions, removals, or retiming must be documented so sound stays aligned.
This is where a structured interface helps. A tool built around restoration workflow - rather than generic editing - makes it easier to preview changes in real time, apply film-specific modules, and keep the pipeline coherent from cleanup through encoding. AvyScan Lab is designed around exactly that logic, exposing specialized processes such as perforation locking, splice cleanup, grain reduction, color correction, and professional export without forcing the user into manual scripting.
Export for archive first, delivery second
The last mistake in many restorations happens at export. After doing careful work, users compress too early or too heavily. For preservation, export a high-quality master first. FFV1 is a strong archival option, and ProRes or other mezzanine formats may be appropriate depending on your environment. If color fidelity matters, check whether you need 4:2:2 or 4:4:4 rather than defaulting to lower chroma sampling.
Create a separate delivery file after the master is secured. x264 and x265 are fine for access copies, review files, and online delivery, but they should not be the only output if the material has long-term value. Batch processing is useful when handling many reels, though it should be based on reel families with similar defects. A one-size-fits-all preset is efficient, but it is rarely optimal.
How to restore super 8 film comes down to discipline more than magic. Respect the physical origin of the image, fix the defects that interfere with viewing, and stop before software starts rewriting the footage. If a restored reel feels steady, readable, and true to its stock, you have done the job that matters.