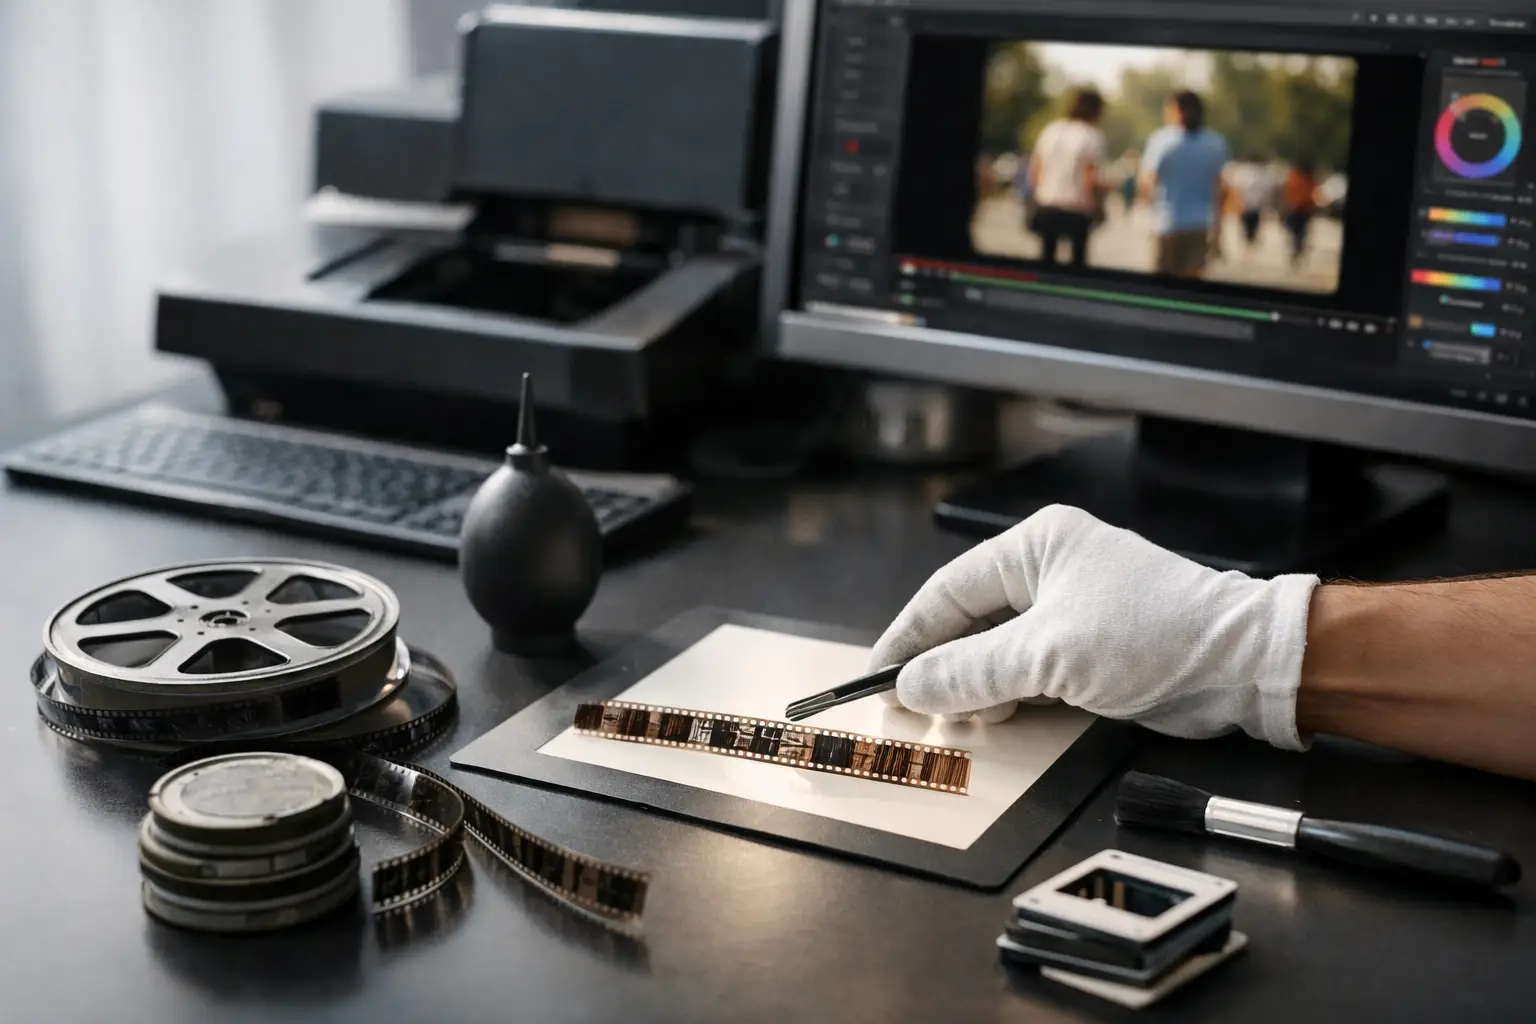
A clean 8mm scan is not necessarily a restored 8mm image. High-resolution capture can reveal every embedded dust particle, splice bump, perforation drift, faded dye layer, and patch of scanner noise that was less obvious on projection. A practical guide to 8mm scan cleanup starts with one rule: preserve the photographic information before attempting to make the image look modern.
The best restoration workflow is selective. It removes defects that distract from the footage while retaining grain, edge detail, motion character, and the original exposure of the film. For family films, archives, and commercial collections, that distinction determines whether the result still feels like film or becomes a soft, unstable digital approximation.
Start With the Best Possible Scan
Cleanup cannot recover information that was never captured. Before applying filters, inspect the source scan at 100% resolution and confirm its frame rate, bit depth, color sampling, and codec. An 8mm reel scanned as lightly compressed 10-bit or 16-bit material gives color correction and dust removal far more room than a highly compressed delivery file.
Whenever possible, retain a preservation master separate from the working file. A lossless or near-lossless master in a format such as FFV1, or a high-quality intermediate with 4:2:2 or 4:4:4 chroma, is preferable to beginning restoration from H.264 or H.265 delivery media. Compressed files can contain blocking, ringing, and chroma artifacts that dust filters may mistake for actual film defects.
Also check whether the scan includes the film edge or perforations. That extra image area may look untidy, but it can be valuable for stabilization. Perforation-based stabilization can follow the physical film registration rather than estimating motion from picture content, which is especially useful when a camera pan, zoom, or moving subject fills the frame.
Inspect Before You Correct
A restoration pass should be based on defects you can identify, not on a fixed filter chain. Scrub through the reel and look for recurring problems: isolated white dust, black dirt, vertical scratches, weave, jitter, exposure pumping, splice flashes, and color shifts. Note whether an issue persists across the whole reel or appears only in sections.
This inspection also separates film defects from intended image texture. Grain is not dirt. Fine grain changes from frame to frame and is often strongest in underexposed scenes or high-speed stock. Dust usually appears as sharp, isolated marks that do not match surrounding image detail. A cleanup setting strong enough to erase dust can also erase texture in grass, hair, clothing, and distant architecture if it is not carefully limited.
Preview short, representative shots rather than judging settings from a single easy frame. Test a bright outdoor scene, a dark interior, a shot with faces, and a shot with motion. The correct settings for one scene may be too aggressive for another.
Stabilize the Film Registration First
Mechanical instability is one of the most visible defects in 8mm scans. Frame-to-frame weave can make the image appear to float, while vertical jitter creates a distracting bounce. If the scan was captured without precise pin registration, stabilization should generally happen early in the pipeline.
For scans that include perforations, a Perfo Lock approach is the most controlled option. It tracks the film’s actual perforation position and aligns each frame based on the transport reference. This avoids a common weakness of image-based stabilizers: they can interpret a real camera pan as unwanted movement and pull the picture in the wrong direction.
When perforations are not available, motion-estimated stabilization using tools such as MVTools2 can still be effective. The trade-off is that it requires careful review. Shots with handheld camera movement, fast action, or a foreground object crossing the frame can produce warping or false motion correction. Use a lower stabilization strength when the original camera movement is part of the shot.
Cropping is unavoidable after stabilization because aligned frames expose shifting edges. Keep the crop modest where possible, then decide whether to leave a thin black border, zoom slightly, or rebuild the edge. For archival work, preserving the full frame often matters more than creating a borderless presentation image.
Remove Dust and Splice Artifacts Without Smearing Detail
Temporal dirt removal compares neighboring frames to identify defects that exist in one frame but not the next. This is powerful for 8mm film because dust and small scratches are often transient, while real picture detail has coherent motion. Filters based on temporal analysis, including workflows built around RemoveDirtMC, can clean a reel quickly when motion estimation is accurate.
The key is restraint. Set the cleanup threshold low enough that stationary image detail remains intact. Then increase it only where needed. Watch closely for three warning signs: faces becoming waxy, fine detail turning into a flat patch, and moving objects leaving trails or halos. These artifacts indicate that the filter is treating valid image information as dirt.
Splices deserve separate treatment. A physical splice can cause a bright flash, a dark frame, a jump in registration, or a brief exposure shift. Global dirt removal rarely fixes these cleanly because a splice is not a normal speck of dust. A dedicated Splice Cleanup step can identify and repair the affected frames more precisely, often by blending or replacing only the damaged region.
Do not assume every scratch should disappear. Long vertical scratches may require targeted repair, but a heavy global scratch filter can suppress legitimate vertical detail such as window frames, tree trunks, and clothing texture. If a scratch is visible only for a few seconds, a localized correction is usually safer than applying a strong setting across an entire 400-foot reel.
Treat Grain as Texture, Not Noise
Grain reduction is often the point where restoration loses credibility. 8mm and Super 8 stocks can have pronounced grain, particularly in low light, expired film, or heavily amplified scans. Reducing it can improve compression efficiency and make dust easier to see, but excessive denoising removes the film’s structure.
Use grain reduction after major dust cleanup and stabilization, and start with a conservative temporal setting. Examine skin, foliage, lettering, and textured fabrics at full resolution. If these areas lose their natural detail before the grain becomes acceptable, reduce the filter strength rather than pushing harder.
It also helps to distinguish scanner noise from film grain. Scanner noise may appear as fixed-pattern noise, colored speckles, or repeated texture that does not move naturally with the image. Film grain varies organically from frame to frame. A specialized pipeline can target the unwanted component while preserving the grain pattern that belongs to the original stock.
For many family-film projects, a light cleanup is the right choice. The goal is not a perfectly sterile image. It is a stable, watchable image that still carries the character of the original camera and film.
Correct Exposure and Color in the Right Order
Color correction should be performed with the scan’s limitations in mind. A reel may have faded toward cyan, magenta, or yellow; indoor sequences may have deep color casts; and exposure can change from shot to shot as the original camera’s auto-exposure reacts to the scene.
Begin with neutral balance and overall density before chasing saturation. Correct black level, white point, and midtone contrast so that the image has a believable tonal foundation. Gamma tools such as GamMac are useful when shadows are too closed or highlights need controlled recovery without shifting the entire image uniformly.
Avoid forcing every shot to match a modern reference. A warm late-afternoon scene should remain warm. A 1970s indoor reel may retain some of its original tungsten cast. The better question is whether the color shift hides useful picture information or distracts from the intended scene.
Shot-by-shot correction is often necessary when a reel contains mixed locations, mixed stocks, or camera exposure changes. Batch processing is valuable for repeated defects, but color judgment still benefits from scene-aware adjustments.
Build a Repeatable Cleanup Pipeline
For recurring work, establish a consistent order: inspect the scan, stabilize registration, repair splices and major defects, remove dirt, apply restrained grain management, correct color and exposure, then encode delivery files. This order prevents later stages from confusing instability or splice damage with image detail.
A visual workflow is especially useful when processing multiple reels. In AvyScan Lab, the underlying AviSynth+ processing chain can be configured through a structured interface, allowing users to preview changes, compare settings, and batch-process similar material without writing scripts manually. The benefit is not automation for its own sake. It is repeatability: the same cleanup logic can be applied consistently while still allowing exceptions for difficult shots.
Keep two outputs whenever the project warrants it: an archival master with minimal compression and a practical viewing copy encoded for playback or sharing. x264 and x265 are effective delivery options, while a preservation master should prioritize fidelity and future reprocessing over file size.
The most successful 8mm cleanup is rarely the one with the strongest filters. It is the one where dust, jitter, and color decay stop interrupting the viewing experience, while the film’s original detail, motion, and memory remain unmistakably present.