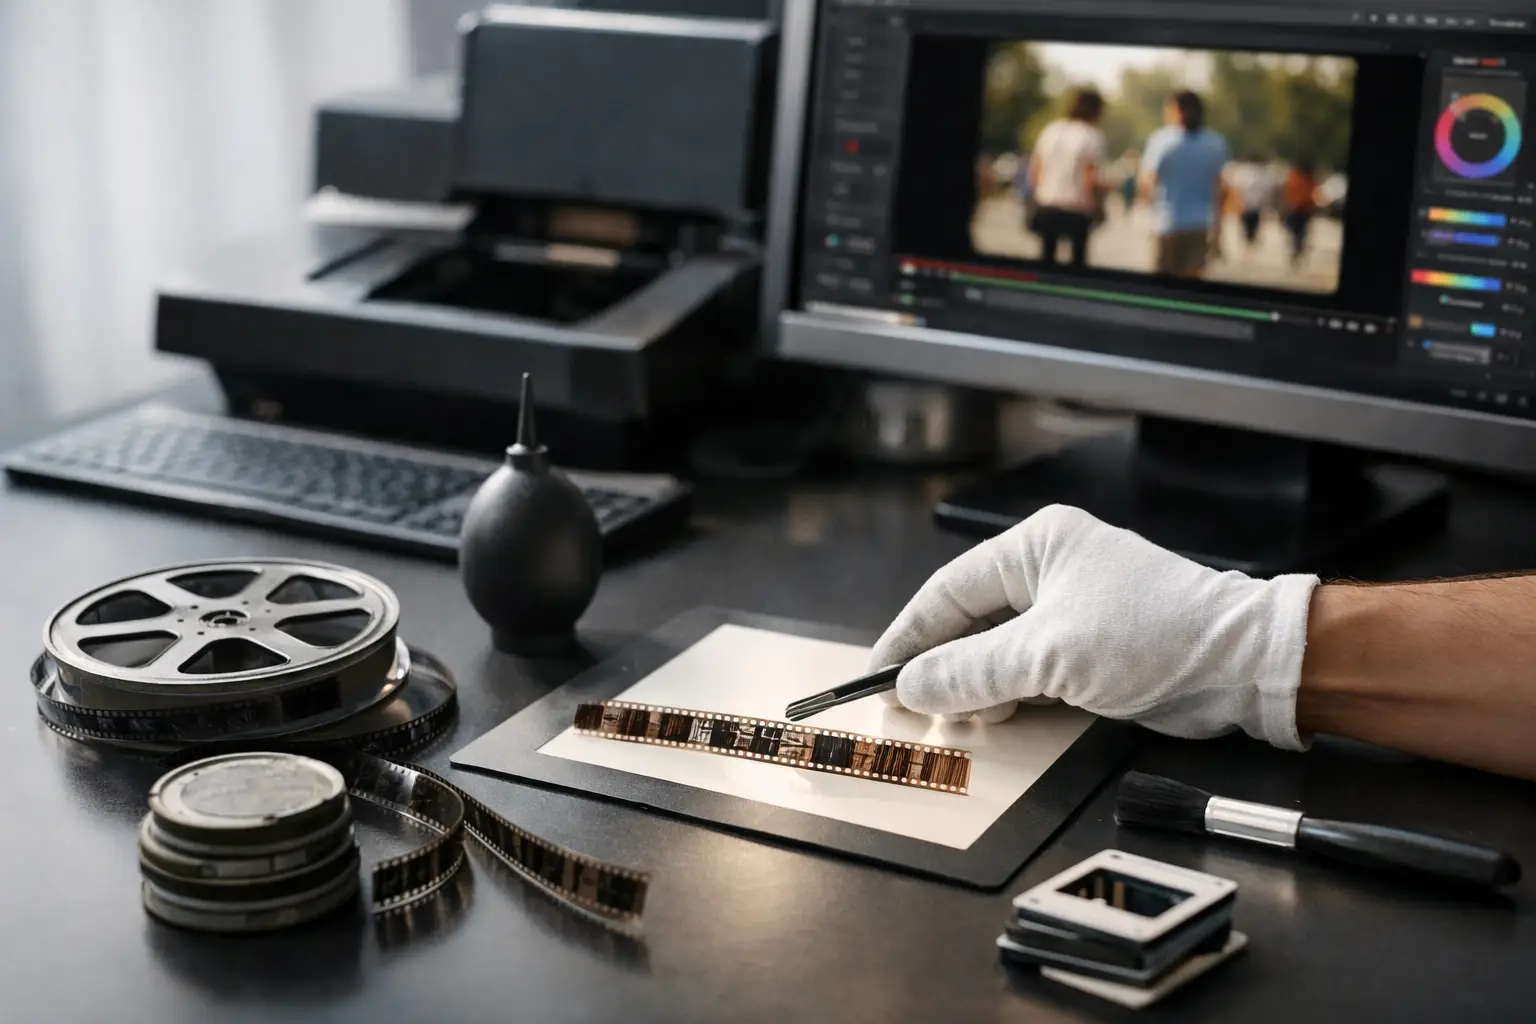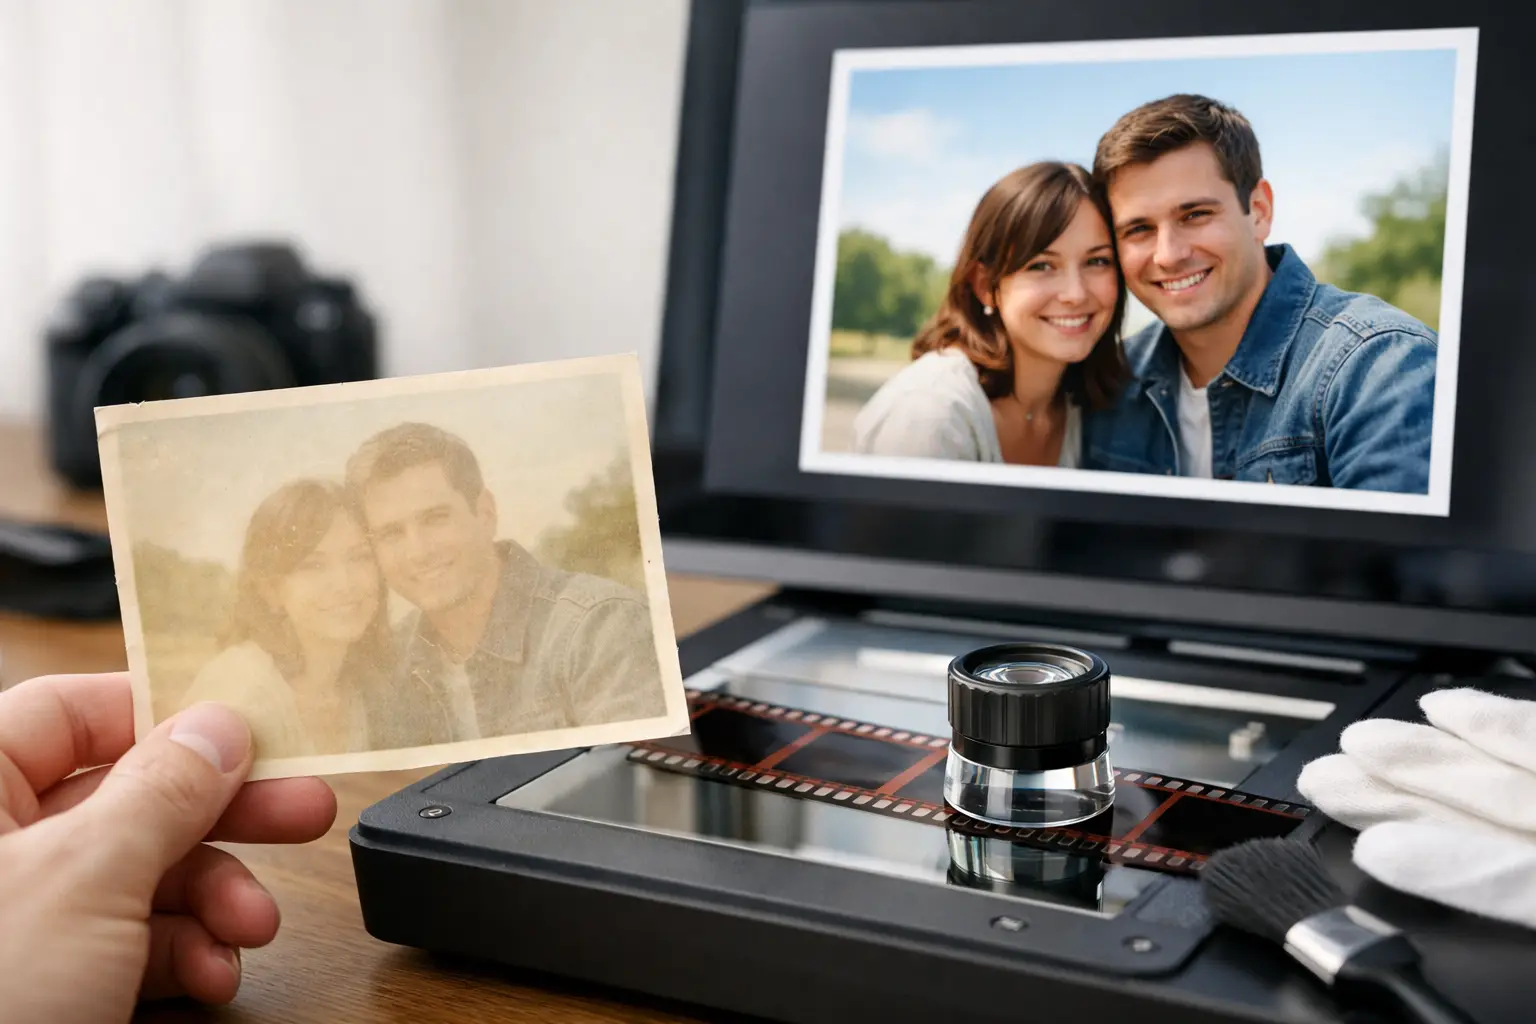
A 1970s Super 8 reel with orange skin tones, pale skies, and nearly identical shadows is not necessarily beyond recovery. But the honest answer to “can faded film be restored” is conditional: digital restoration can often rebuild a convincing, balanced image from a scan, yet it cannot recreate picture information that the film dyes no longer contain.
That distinction matters. A restoration workflow should recover separation, neutralize unwanted casts, protect faces and highlights, and preserve the visual character of the original stock. It should not turn a faded family film into an artificial modern video image with clipped color, crushed blacks, or aggressive noise reduction.
What Fading Actually Does to Film
Color film records an image through dye layers. Over decades, those dyes do not age at the same rate. Cyan dye loss commonly produces a red or orange cast. Yellow dye loss can push the image toward blue. Magenta dye loss can leave a greenish result. Storage conditions, film stock, processing history, and exposure all influence the severity and direction of the shift.
Fading is also more than a color problem. As dye density changes, contrast can flatten. Black areas may become brown or gray, highlights can lose differentiation, and adjacent colors that were once distinct may collapse into a similar hue. A blue shirt and a gray wall, for example, may be difficult to separate once the blue record has substantially deteriorated.
The original film is not repaired by software. What can be restored is the scanned representation: its tonal balance, color relationships, local contrast, and perceived detail. The better the scan preserves density range and chroma information, the more credible the correction can be.
Can Faded Film Be Restored? Start With the Scan
The scan establishes the ceiling for restoration. A heavily compressed H.264 or H.265 delivery file can look acceptable for viewing, but it leaves less room for major color work. Compression discards subtle color variation and can introduce block artifacts or banding that become visible when shadows and saturation are adjusted.
For preservation and serious grading, work from the highest-quality transfer available. Ideally, that means a high-bit-depth scan or an archival intermediate, with limited processing baked in by the scanning provider. Formats such as FFV1, ProRes, or a high-quality image sequence preserve substantially more latitude than a small web-ready file. Chroma sampling also matters. A 4:2:2 or 4:4:4 source retains more useful color detail than 4:2:0 when a strong correction is required.
Do not assume that a scan labeled “color corrected” is the best source. Many transfer services apply automatic correction reel by reel, or even scene by scene, before delivery. That can be convenient, but it may clip channels, lift blacks, or suppress the original exposure variation. When possible, retain an untouched master alongside any corrected version.
A useful first inspection is technical rather than aesthetic. Check whether any RGB channel is clipped in the highlights or crushed in the shadows. Look at neutral objects, such as white shirts, gray pavement, clouds, and black camera cases. Then compare several shots from the same reel. A single correction rarely fits an entire roll because exposure and lighting conditions change from scene to scene.
Build Color Back in a Controlled Order
Trying to fix a faded reel with one saturation control is usually where restoration becomes unnatural. Saturation amplifies every surviving color indiscriminately, including the unwanted cast, scanner noise, and chroma blotches. A more reliable pipeline corrects the image in stages.
Set black and white points without destroying detail
Begin by establishing a believable tonal range. Faded film often has weak blacks, but forcing every dark area to pure black can erase clothing texture, hair detail, and information around perforation shadows. Set the black point only as far as the scene supports. Do the same at the highlight end. A bright window, cloud, or wedding dress may contain meaningful detail that disappears if white is pushed too hard.
Gamma correction is often more useful than a broad contrast increase at this stage. Tools such as GamMac can reshape midtones while preserving the endpoints, making faces readable before color is addressed. The objective is not a dramatic image. It is a stable tonal foundation.
Correct the dominant cast, then refine channels
Once the tonal range is under control, remove the major color bias. A red-faded reel may need reduction in red and restoration of cyan-blue balance, but the exact adjustment depends on the scene. Skin tones are useful references, though they should not be treated as a universal target. A child under tungsten light, an outdoor scene at sunset, and a white balance error from the original camera will each require different judgment.
Channel-level correction is more precise than global saturation. Curves or channel gain controls can restore separation in the shadows, midtones, and highlights independently. For example, reducing red only in the shadows may neutralize brown blacks without making a sunset look cold. If the scan has enough information, selective chroma adjustments can bring back weak greens or blues while keeping skin tones restrained.
The strongest correction is often not the most faithful one. Preserve the period feel of the material. Kodachrome, Ektachrome, and consumer negative stocks did not render color identically when new, and a successful restoration should not erase those characteristics.
Work shot by shot when the reel demands it
A reel shot over several years may contain daylight, flash-lit interiors, beach scenes, and underexposed living rooms. Applying a single global grade will produce compromises. Separate the film into correction groups or scenes, then create settings appropriate to each group.
Previewing before encoding is essential. Watch skin tones, neutral objects, saturated clothing, and shadow areas in motion. A correction that looks good on one frame can reveal pumping, flicker, or sudden color shifts as the shot plays.
Treat Grain, Dirt, and Instability as Separate Problems
Fading frequently appears alongside dust, scratches, weave, splice flashes, and grain. These defects should not be attacked with one heavy filter chain. Their causes are different, and their corrections have different risks.
Grain reduction can make faded footage appear cleaner, but too much temporal filtering removes fine texture and produces motion trails or waxy faces. Dust and dirt removal methods such as RemoveDirtMC can be highly effective on isolated defects, yet settings must be checked around fast motion, camera flashes, and scene cuts. Those events can be mistaken for dirt if the filter is pushed too far.
Mechanical instability should be stabilized from the film structure whenever possible. Perforation-based tracking is more reliable than general image stabilization on many 8mm, Super 8, 9.5mm, and 16mm transfers because it follows the physical reference that caused the movement. In a specialized workflow, Perfo Lock can stabilize a scan while minimizing unwanted reframing of the picture itself.
Clean up splices before judging color continuity. A bright splice flash or a damaged join can look like a grading error during playback. Dedicated splice cleanup helps make scene transitions less distracting without forcing broad temporal smoothing across the reel.
Know the Limits of Digital Recovery
Some images can be transformed. Others can only be improved. If all three color channels are clipped or the film has severe dye loss in one layer, software cannot identify the original color with certainty. It may create a plausible color, but plausibility is not documentation.
This is especially relevant for archival work. Keep an unmodified scan, document the correction choices, and export a preservation master separately from viewing copies. A restored version should be reversible at the project level, even if it is intended for family screening or commercial delivery.
Be cautious with automated colorization and AI-driven recoloring. These tools may be useful for a creative presentation, but they are interpretive. They can invent garment colors, alter skin tones, and change the historical record. For heritage footage, a restrained correction that admits its limits is often more valuable than a spectacular but speculative result.
A Practical Restoration Workflow for Faded Scans
For most small-gauge projects, the efficient order is: preserve the original scan, inspect it at full resolution, correct geometry and stabilization, remove obvious dirt and splice artifacts, establish tonal range, correct the dominant color cast, refine color by scene, then apply restrained grain management before final encoding. If the film includes an optical or magnetic soundtrack, synchronize and verify sound after picture timing is stable.
This order prevents one treatment from concealing another problem. Stabilizing after an aggressive crop, for instance, can magnify edge artifacts. Heavy denoising before color correction can erase the subtle texture needed to judge whether a hue is genuine or a compression artifact.
AvyScan Lab is designed around this type of film-specific pipeline, bringing AviSynth+ processing into a visual Windows workflow. The value is not simply having filters available. It is being able to preview, adjust, batch-process, and encode a controlled restoration without manually building scripts for every reel.
A faded film deserves correction that is deliberate rather than merely vivid. When the scan retains usable information, careful tonal and channel-based work can return depth, separation, and emotional clarity to images that first appeared lost - while leaving the history of the film visible where it should remain.