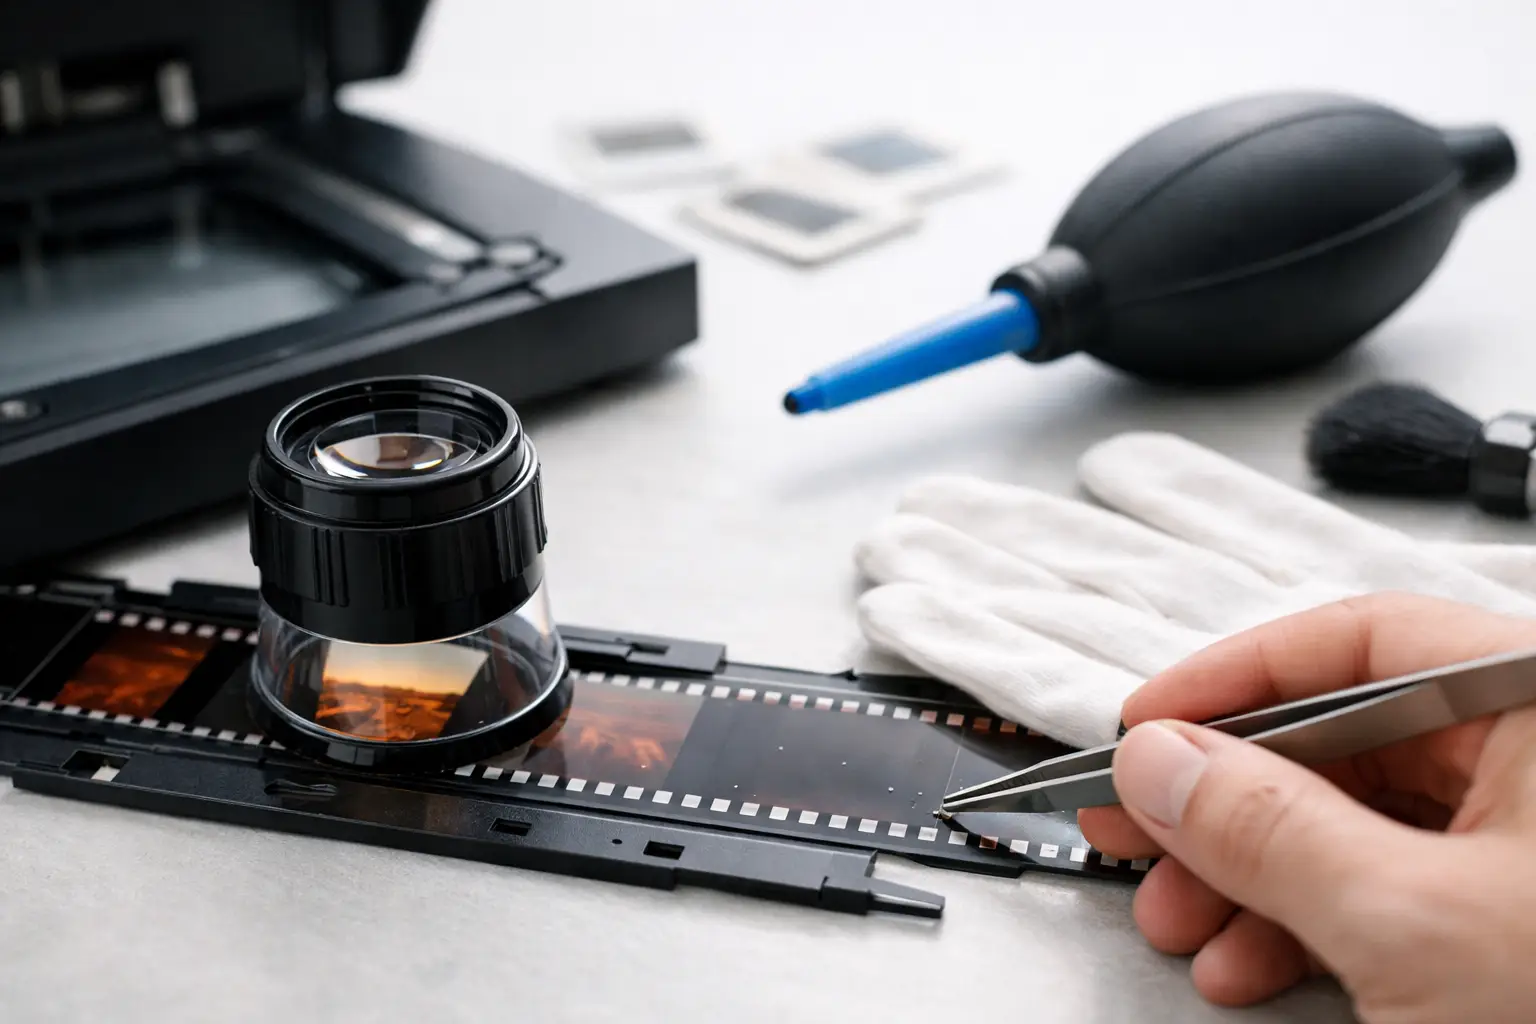
The problem with dust is not that it is hard to see. It is that it rarely appears alone. A typical 8 mm, Super 8, 9.5 mm, or 16 mm scan carries dust, embedded dirt, sparkle, flicker, grain, and sometimes gate weave in the same shot. If you want to remove dust from film scan footage without softening faces, text, or fine texture, the job is not a single filter. It is a controlled restoration sequence.
Remove dust from film scan footage without damaging detail
Dust on film scans usually falls into two categories. The first is static contamination introduced before or during scanning - loose particles, gate dust, hairs, and debris. The second is image-level damage already present on the film - adhered dirt, emulsion defects, and small white or black spots that behave like defects rather than natural grain.
Those categories matter because they respond differently to processing. Loose dust often appears for one frame or a few frames and can be corrected with temporal analysis. Embedded dirt may persist longer, overlap image edges, or sit inside textured areas where aggressive filtering starts to erase real detail. A good workflow separates these cases instead of treating every spot with the same strength.
In practice, the safest strategy is to stabilize first if the scan has visible weave, then apply dust and dirt removal, then evaluate grain management and color work. If the frame is moving mechanically, temporal tools can mistake that motion for detail variation and either leave dirt behind or create artifacts around high-contrast edges.
Why dust removal fails so often
Most bad results come from one of three mistakes. The first is using a generic denoiser to solve a defect problem. Noise reduction is designed to reduce random variation. Dust is not random image noise. It is a localized interruption, often brighter or darker than its surroundings, with a short temporal life.
The second mistake is pushing defect removal too hard. Strong settings may clean specks, but they also flatten grain, smear skin texture, and deform thin lines such as wires, lettering, eyelashes, and fine fabric. This is especially visible in small-gauge film, where genuine image detail is already close in scale to the defects you are trying to remove.
The third mistake is correcting dust before dealing with frame registration. If perforation instability or scanner jitter is present, the software has a moving target. Temporal repair becomes less reliable because matching adjacent frames is harder. Even a modest stabilization pass can improve dust detection substantially.
A practical workflow to remove dust from film scan material
Start with the cleanest possible scan. That sounds obvious, but it changes everything downstream. Compressed delivery files make dust removal harder because codec artifacts can mimic defects. If possible, work from a lossless or lightly compressed master such as FFV1, ProRes 4:2:2 or 4:4:4, or another high-quality intermediate. You want full tonal information before restoration starts.
Next, inspect the defect behavior in motion, not just on a paused frame. A single still image can make a dust spot look severe when it is only present for one frame. Conversely, a persistent piece of dirt may look minor in a frame grab but become distracting during playback. Real-time preview is useful here because you can judge whether a setting is correcting the defect or creating temporal instability.
If the film is unsteady, apply stabilization before dust cleanup. On film-originated material, perforation-based stabilization is often more reliable than content-based image stabilization because it references the transport geometry rather than guessing from picture content. That matters in scenes with camera motion, zooms, or low-contrast backgrounds.
Then use a dedicated dirt-removal stage rather than a broad denoising stage. In AviSynth-based workflows, tools such as RemoveDirtMC are designed for exactly this kind of temporal defect suppression. They compare neighboring frames, identify outlier pixels that do not belong to consistent motion, and replace them selectively. The key word is selectively. When set correctly, these tools target transient dirt while preserving the underlying photographic structure.
Settings should be conservative at first. Run a light pass, inspect difficult shots, and only then increase strength if needed. High-detail areas, fast motion, and heavy grain are where overly aggressive correction becomes obvious. A shot of a blue sky can tolerate more cleaning than a shot with hair, foliage, or patterned clothing.
What settings usually need adjustment
Threshold is the first control to watch. Lower thresholds catch more defects, but they also risk classifying grain and fine detail as dirt. Higher thresholds preserve detail better, but they leave more contamination behind. There is no universal value because exposure, stock condition, scan quality, and film gauge all change the balance.
Temporal radius is the second major variable. More temporal context can improve repair, but only when neighboring frames align well and the subject motion is predictable. On unstable home movies with handheld movement, a large temporal window may produce ghosting or strange edge behavior. Shorter temporal analysis is often safer.
Motion compensation quality also matters. Advanced motion estimation can preserve moving subjects more accurately during dirt removal, but it takes more processing time and may need cleaner source material to work well. For batch restoration, the right question is not just what looks best on one clip. It is what remains reliable across an entire reel.
A light grain reduction pass can be useful after dust removal, not before, if the remaining grain masks residual defects or makes the image feel harsher than the original projection would have. But grain and dust should not be treated as the same problem. Good restoration keeps the filmic texture while removing contamination that never belonged to the image.
Shot-by-shot judgment beats one-click cleanup
Reels are inconsistent. A family reel may shift from well-exposed outdoor footage to underexposed interior scenes, then to aging sections with splice marks and heavy dirt. One preset rarely handles all of that correctly.
This is why a structured visual pipeline matters more than a long list of filters. You need to preview, compare, and adjust by shot or by defect class. On some scenes, dust removal can be strong with no visible penalty. On others, the right choice is partial cleanup followed by acceptance of a little residual contamination rather than loss of facial detail.
That trade-off is especially important in archival work. If the goal is faithful preservation, you are not trying to make 1950s or 1970s amateur film look digitally perfect. You are trying to remove distractions introduced by handling, storage, and scanning while keeping the photographic character intact.
When automated dust removal is not enough
Some defects are too large, too persistent, or too complex for automatic cleaning alone. Thick hairs across multiple frames, mold damage, torn emulsion, and splice flashes may require a separate repair step. The same goes for dirt stuck near titles, subtitles, or other thin graphic elements where temporal replacement can distort legibility.
In those cases, the best workflow combines automatic dirt removal with specialized passes for splice cleanup, scratch reduction, or frame repair. This is where a film-specific toolset has a clear advantage over a generic video editor. Film defects have patterns. Once the software is built around those patterns, correction becomes faster and more predictable.
For users who want the control of AviSynth+ without writing scripts manually, a visual application such as AvyScan Lab makes that process far more practical. You can build a restoration chain with dedicated film tools, preview the result in real time, and batch the same logic across multiple reels while still adjusting settings where the footage demands it.
Export choices affect the final result
After you remove dust from film scan footage, avoid throwing the gains away with a poor export. Heavy delivery compression can reintroduce artifacts around repaired areas, especially in flat backgrounds and shadow gradients. If the file is for preservation, archive a high-quality master first. Then create smaller access copies afterward.
Chroma subsampling, bit depth, and codec choice all matter if additional grading or restoration will continue later. A clean restoration pipeline deserves an output format that preserves its work. For long-term projects, a lossless or near-lossless master is usually the sensible checkpoint.
The best dust removal is not the strongest setting. It is the setting that makes the defect disappear without announcing the software. If you can watch the reel, notice the image instead of the cleanup, and still recognize the grain, texture, and character of the original film, you are very close to the right answer.