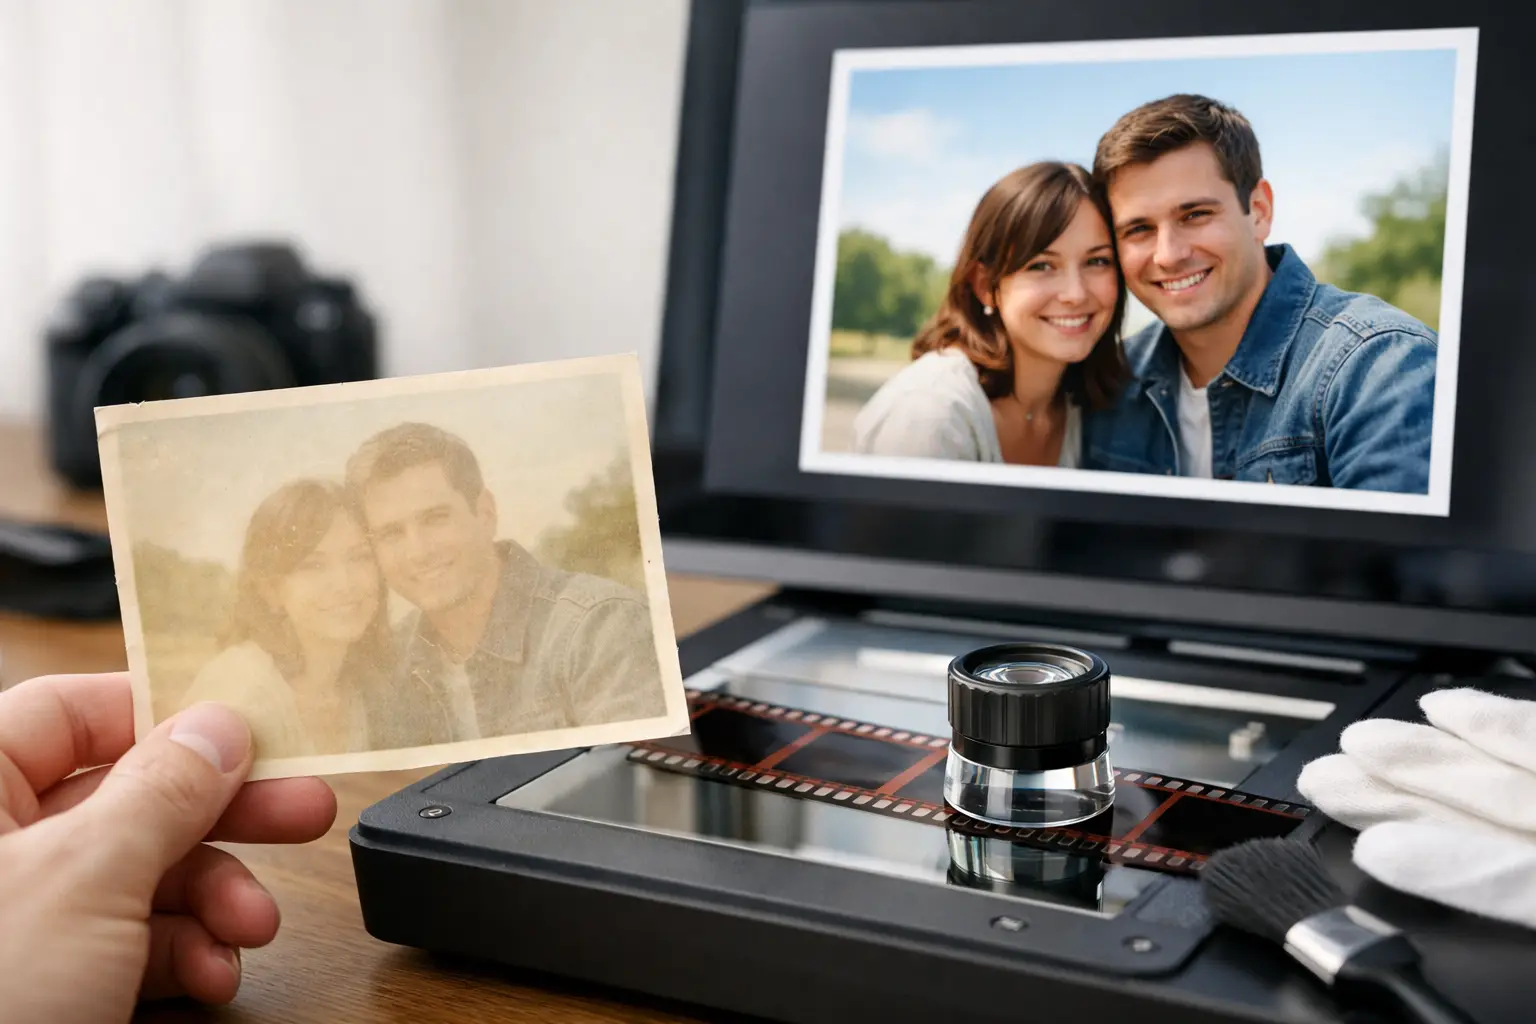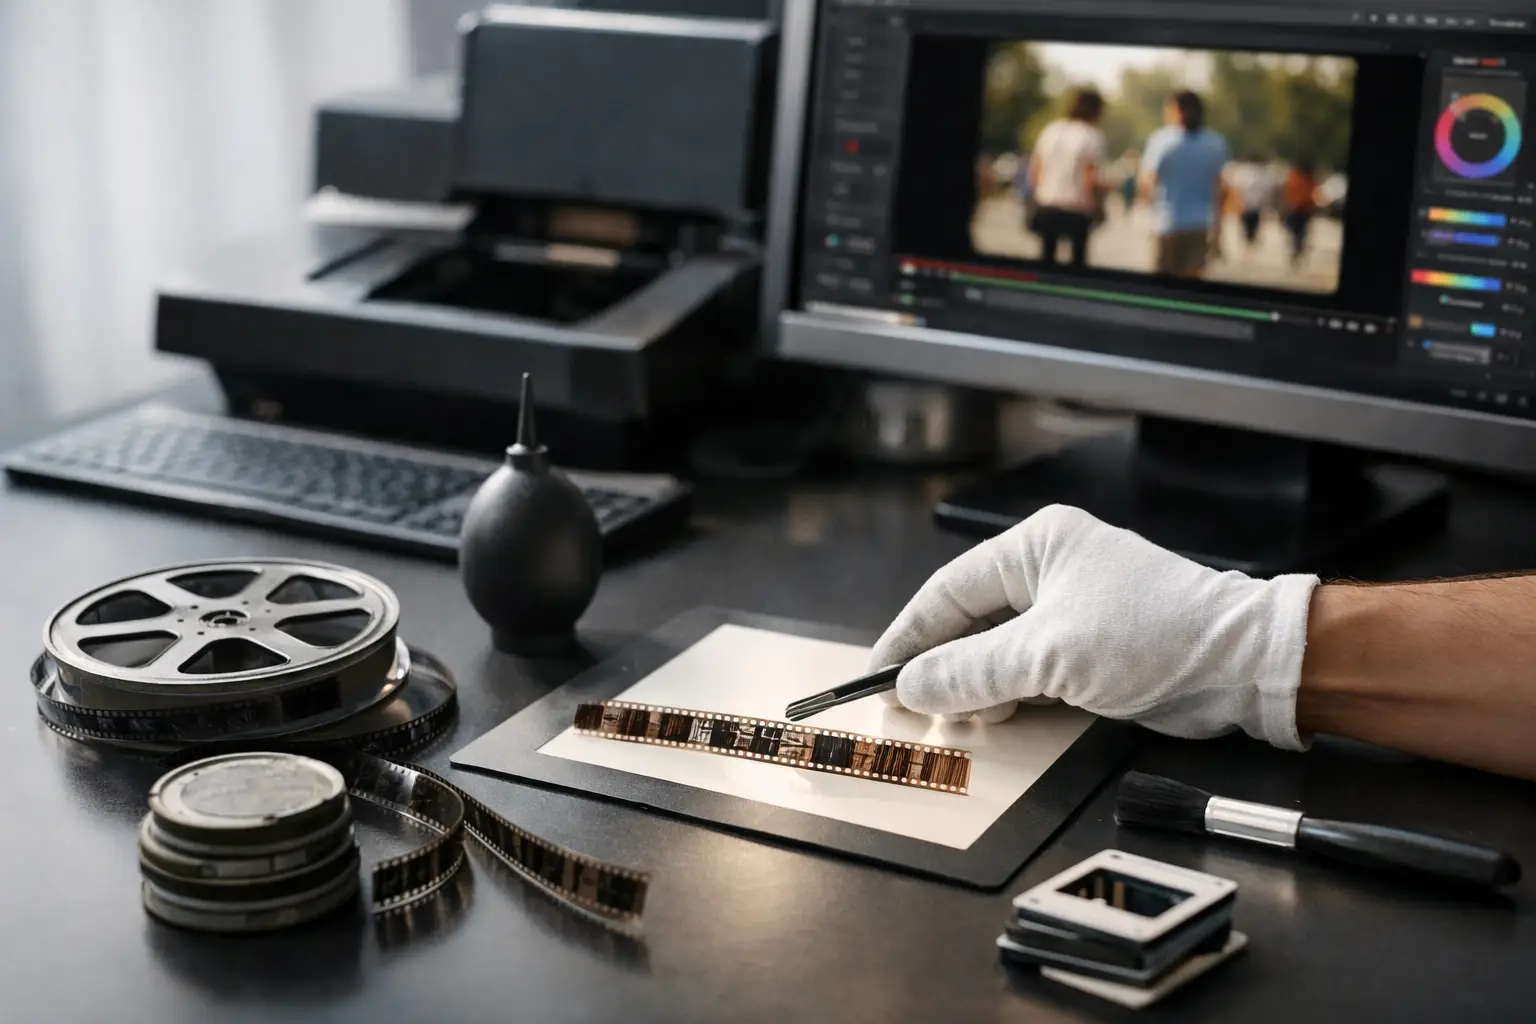
A faded reel rarely has one color problem. A 1970s Super 8 scan may carry a red or magenta bias from dye loss, while a 16 mm reversal film can show dense shadows, weak highlights, and color shifts that change from shot to shot. This guide to film color recovery is built around the restoration decision that matters most: recover believable color without replacing the look of the original film with a modern digital grade.
Color recovery is not the same as making every frame neutral, saturated, and bright. Family films were shot under mixed daylight, tungsten lamps, consumer auto exposure, and aging camera filters. Documentary footage may include intentional color choices, stock-specific contrast, or laboratory variations. The goal is to remove degradation and scanning errors while preserving the visual evidence that belongs to the source.
Start Film Color Recovery With the Scan
The best correction begins before any color tool is touched. Inspect the scan at full resolution and at the intended delivery resolution. Look for a dominant cast, but also identify whether that cast is global, scene-specific, or unstable from frame to frame. A reel that looks red overall may actually contain normal outdoor scenes, heavily faded indoor scenes, and a few transitions affected by exposed splices.
Evaluate the scan in three ways: by eye, with histograms, and with RGB or YUV scopes. Your eye detects whether skin, foliage, skies, paper, walls, and familiar objects feel plausible. Histograms reveal clipped shadows or highlights. Scopes show whether one channel is consistently displaced from the others, even where no neutral object is visible.
Do not grade from an uncalibrated monitor if color fidelity is the deliverable. A display with a cool white point can make a warm scan appear acceptable, leading you to overcorrect it toward blue. Set a stable viewing environment, use a calibrated display when possible, and avoid judging a reel under changing room light.
Before correcting color, also check scan settings. A scanner exposure error, incorrect gamma transform, or compressed 4:2:0 intermediary can limit what color processing can recover. Preserve a high-quality master whenever possible. For restoration work, 10-bit or higher material and 4:2:2 or 4:4:4 chroma provide more room for channel balancing and selective correction than heavily compressed delivery files.
Identify the Type of Fading Before You Correct It
Film color problems are often discussed as a single issue, but their causes demand different treatment. Dye fading changes the balance of the image at a chemical level. Poor storage can accelerate the loss of individual dye layers. A scanner can introduce its own white-balance or gamma mismatch. Aging projection copies may include laboratory timing changes that were present long before digitization.
A strong red or magenta cast is common in faded color film because cyan dye has weakened. Yellow or blue shifts can occur as other dye layers deteriorate, particularly in poorly stored material. Yet a red cast is not proof that every scene should be pushed toward cyan. Sunset footage, brick interiors, wood-paneled rooms, and tungsten-lit scenes may legitimately be warm.
Separate the reel into correction groups. A daylight exterior sequence, a living-room sequence, and a nighttime street scene should not share one automatic preset. Even within a scene, exposure may drift when the camera moves from shade into direct sun. Shot-level or scene-level correction takes longer than applying a global filter, but it avoids the familiar failure mode where one corrected shot looks clean and the next looks unnatural.
Find Reliable Reference Points
The safest references are objects with known or likely neutral values: white shirts, gray pavement, black camera cases, clouds, paper, chrome, or painted walls. Use them carefully. A white shirt under tungsten light is not necessarily neutral, and bright clouds can be tinted by late-day sun.
Skin tones are useful but not absolute. They should sit plausibly against the rest of the scene rather than being forced to a single hue. In archival work, an image is credible when the relationships between colors make sense: skin does not turn gray, grass does not become neon, and a blue sky remains consistent with the light in the shot.
A Controlled Workflow for Color Recovery
Correct in a repeatable order. Start with the broadest defect, then narrow the correction. First, establish black and white levels without crushing shadow detail or clipping highlights. Next, balance the dominant color cast. Then refine contrast, gamma, and saturation. Finally, make restrained secondary adjustments for skin, skies, foliage, or an isolated channel problem.
Black level matters because a color cast often hides in the shadows. If the darkest parts of the image carry excessive red, lifting or lowering the entire red channel without setting luminance can contaminate the midtones. Likewise, an aggressive white-point correction can erase cloud texture, wedding dresses, or reflective highlights.
Use channel-aware controls rather than relying only on a single temperature slider. Temperature and tint can be fast for mild scan imbalance, but aged film frequently needs independent red, green, and blue adjustment. Curves are especially useful when fading is not uniform. For example, you may need to reduce red in shadows while preserving warm skin tones in the upper midtones.
Gamma correction should follow channel balancing, not replace it. A gamma tool such as GamMac can help restore usable midtone separation when a scan appears flat or overly dense. It cannot recreate clipped information, and it should not be used to force contrast into scenes that were softly lit on the original stock. Watch the image at 100 percent while checking scopes. Fine grain and low-contrast detail can disappear long before the picture looks obviously damaged in a small preview.
Saturation is usually the last global control to touch. Faded film tempts users to increase saturation until the image feels alive again. That approach often creates unnatural red faces, electric green foliage, and color noise in shadows. Recover channel balance first. Once the color relationships are correct, only a modest saturation increase may be needed.
Treat Instability and Dirt Without Corrupting Color
Color work does not happen in isolation. Dust, scratches, splice flashes, weave, and flicker can mislead both automatic correction and your own visual judgment. A bright dust mark may look like a highlight. A splice flash can trigger exposure compensation. Frame movement makes it harder to compare a neutral object from one frame to the next.
For this reason, stabilize the image before relying on temporal restoration filters, especially on perforation-driven scans. Perforation locking can provide a steadier reference for color and exposure evaluation. Remove isolated dirt and splice defects with settings that protect fine texture, then return to color if the cleanup changes your perception of the shot.
Temporal tools require restraint. Filters based on motion estimation, including workflows using MVTools2, can reduce flicker or noise effectively, but overly aggressive settings may smear grain, fine hair, leaves, or fast motion. The same caution applies to dirt removal tools such as RemoveDirtMC. Their value is substantial when tuned for the material, but no cleanup setting is universally safe across 8 mm, Super 8, 9.5 mm, and 16 mm scans.
Use Automation for Consistency, Not for Final Judgment
Automatic white balance and color matching can accelerate a long restoration, particularly when a reel contains repeated daylight scenes with a stable cast. They are less reliable on mixed lighting, strongly faded reversal stock, animation, titles, or scenes with a large colored subject. A red car filling the frame is not evidence that the image needs cyan correction.
Build a tested preset for each film family or scan condition, then apply it in batches as a starting point. Review representative frames from the beginning, middle, and end of each scene. If the cast changes gradually over a reel, keyframed or segmented adjustments are more appropriate than one global correction.
AvyScan Lab supports this type of controlled pipeline by placing specialized film restoration operations, preview, and batch processing around AviSynth+ rather than asking the operator to build every script manually. The practical advantage is not automation for its own sake. It is the ability to repeat a tested correction while retaining direct control over color, dirt, grain, stabilization, and export decisions.
Export a Master That Preserves the Work
Do not make a highly compressed H.264 or H.265 file your only restored master. Those codecs are efficient delivery formats, but they can introduce banding in smooth skies, block artifacts in grain, and chroma loss that makes future color work harder. Export a preservation-quality master first, then create access copies for sharing or streaming.
For a working master, choose a format and codec appropriate to your storage budget and postproduction needs. FFV1 is often a practical archival option, while high-quality intraframe formats may suit editing workflows. Keep the native frame rate unless there is a specific delivery requirement. Preserve original audio separately or in sync when the film includes a magnetic or optical soundtrack.
Keep the unprocessed scan, the restoration master, and a record of settings. A restoration is an interpretation informed by the source, not a permanent truth. Better tools, new reference material, or a future client requirement may justify revisiting it.
The best recovered image still feels like film: its colors are coherent, its contrast serves the photographed scene, and its remaining texture belongs there. When a viewer notices the memory rather than the correction, the color work has done its job.