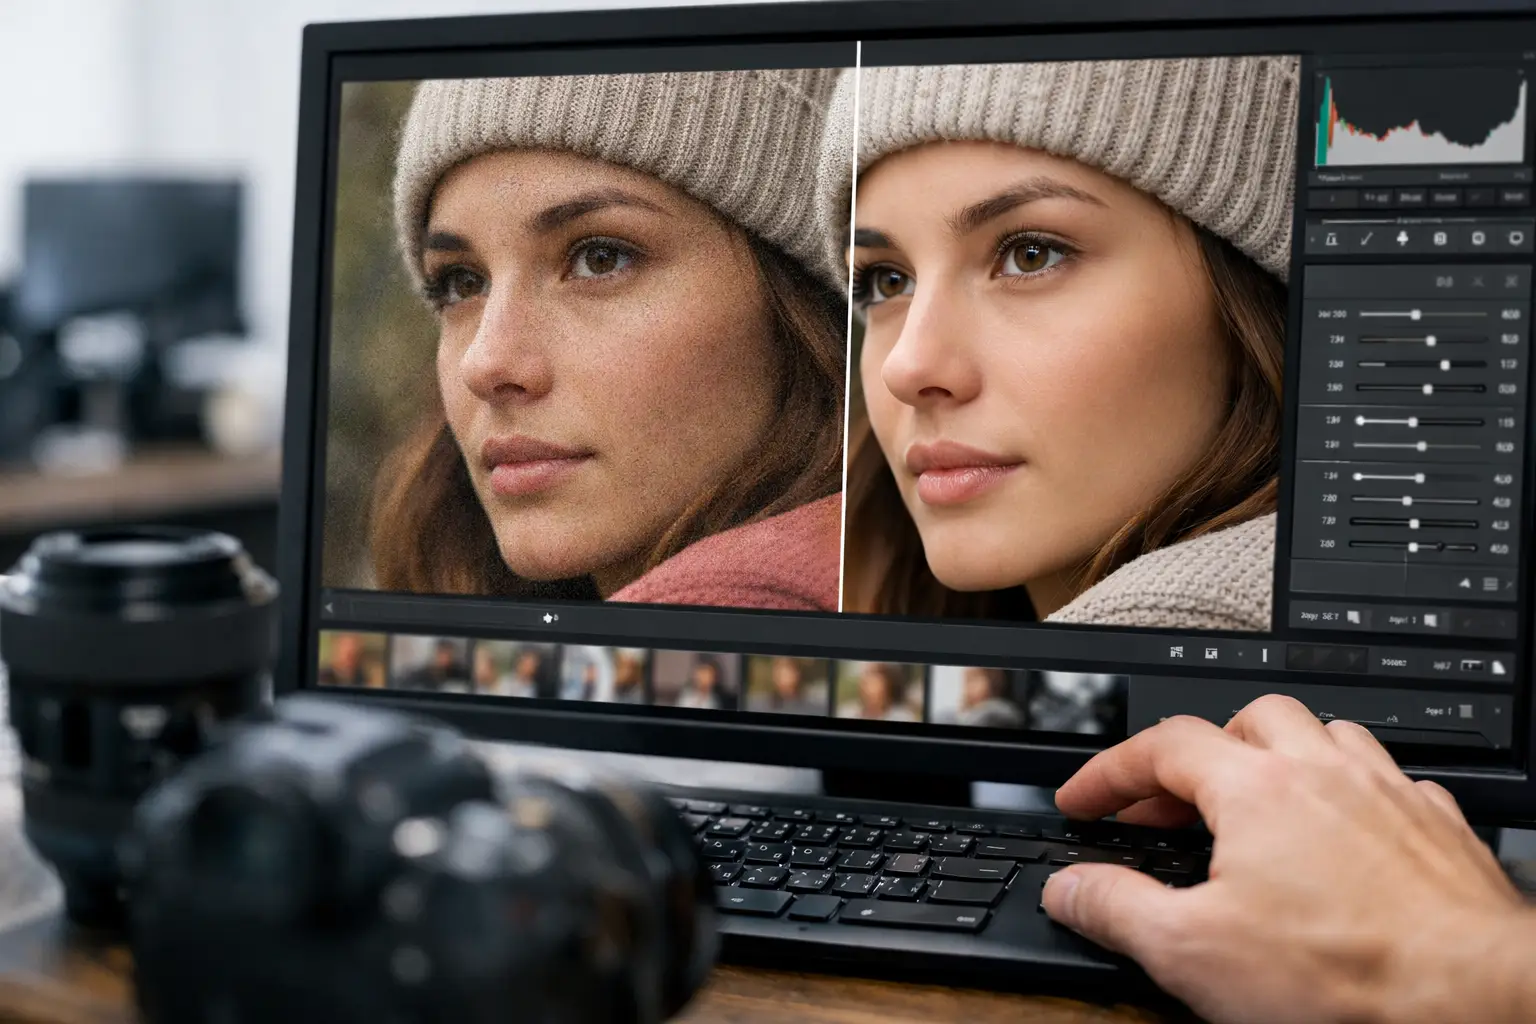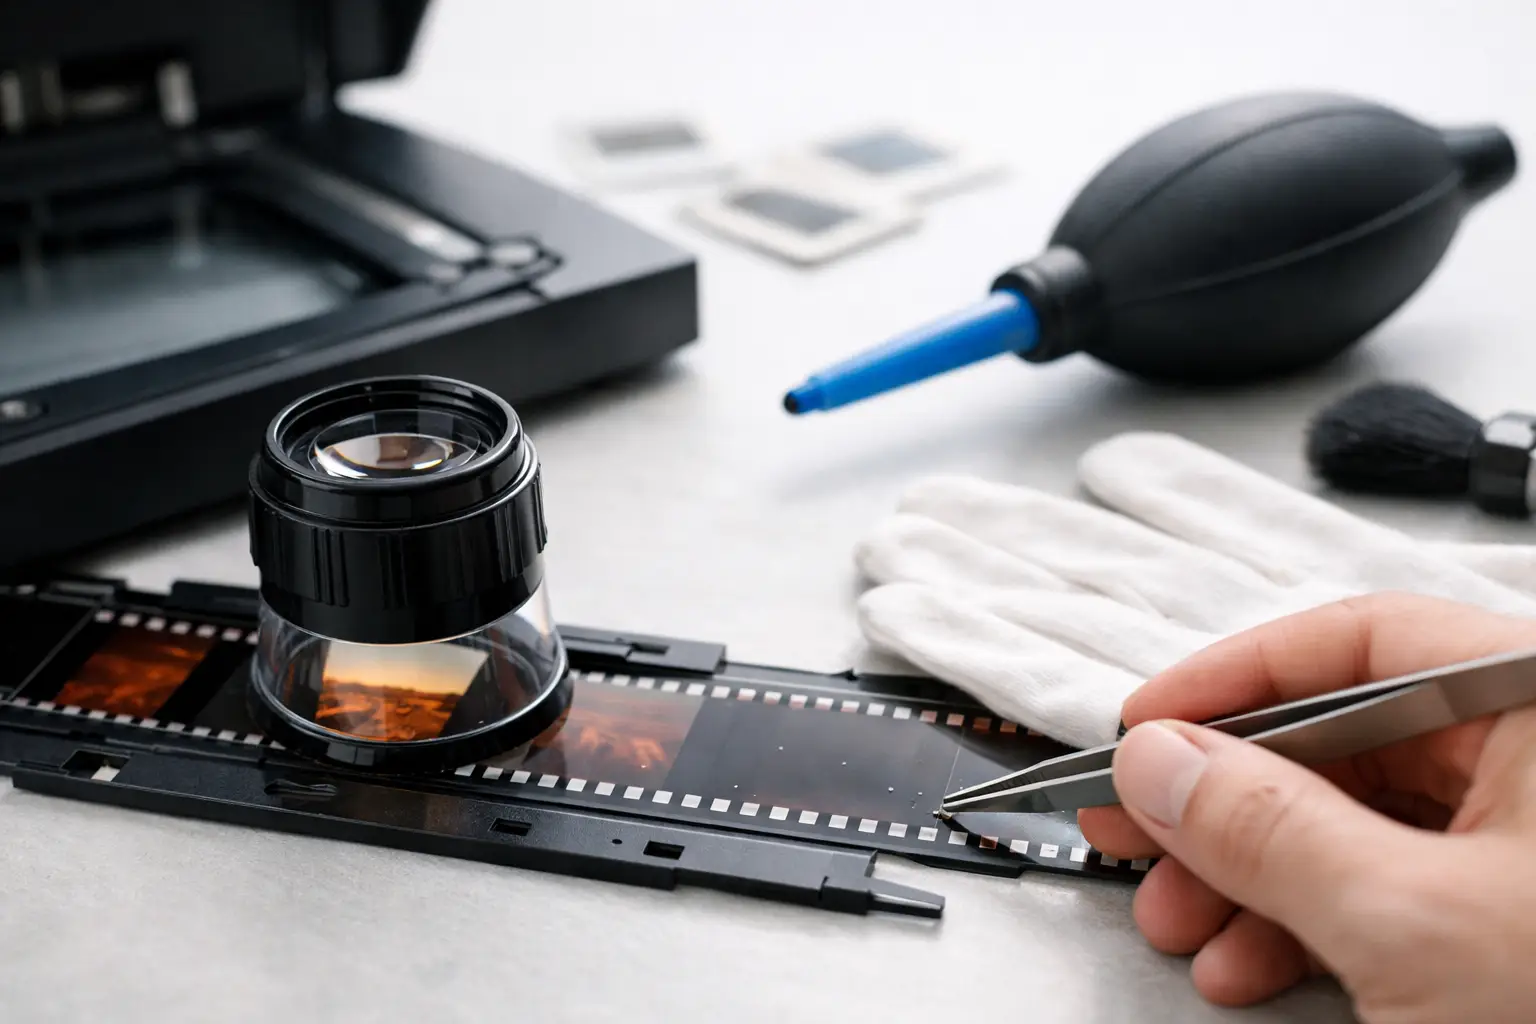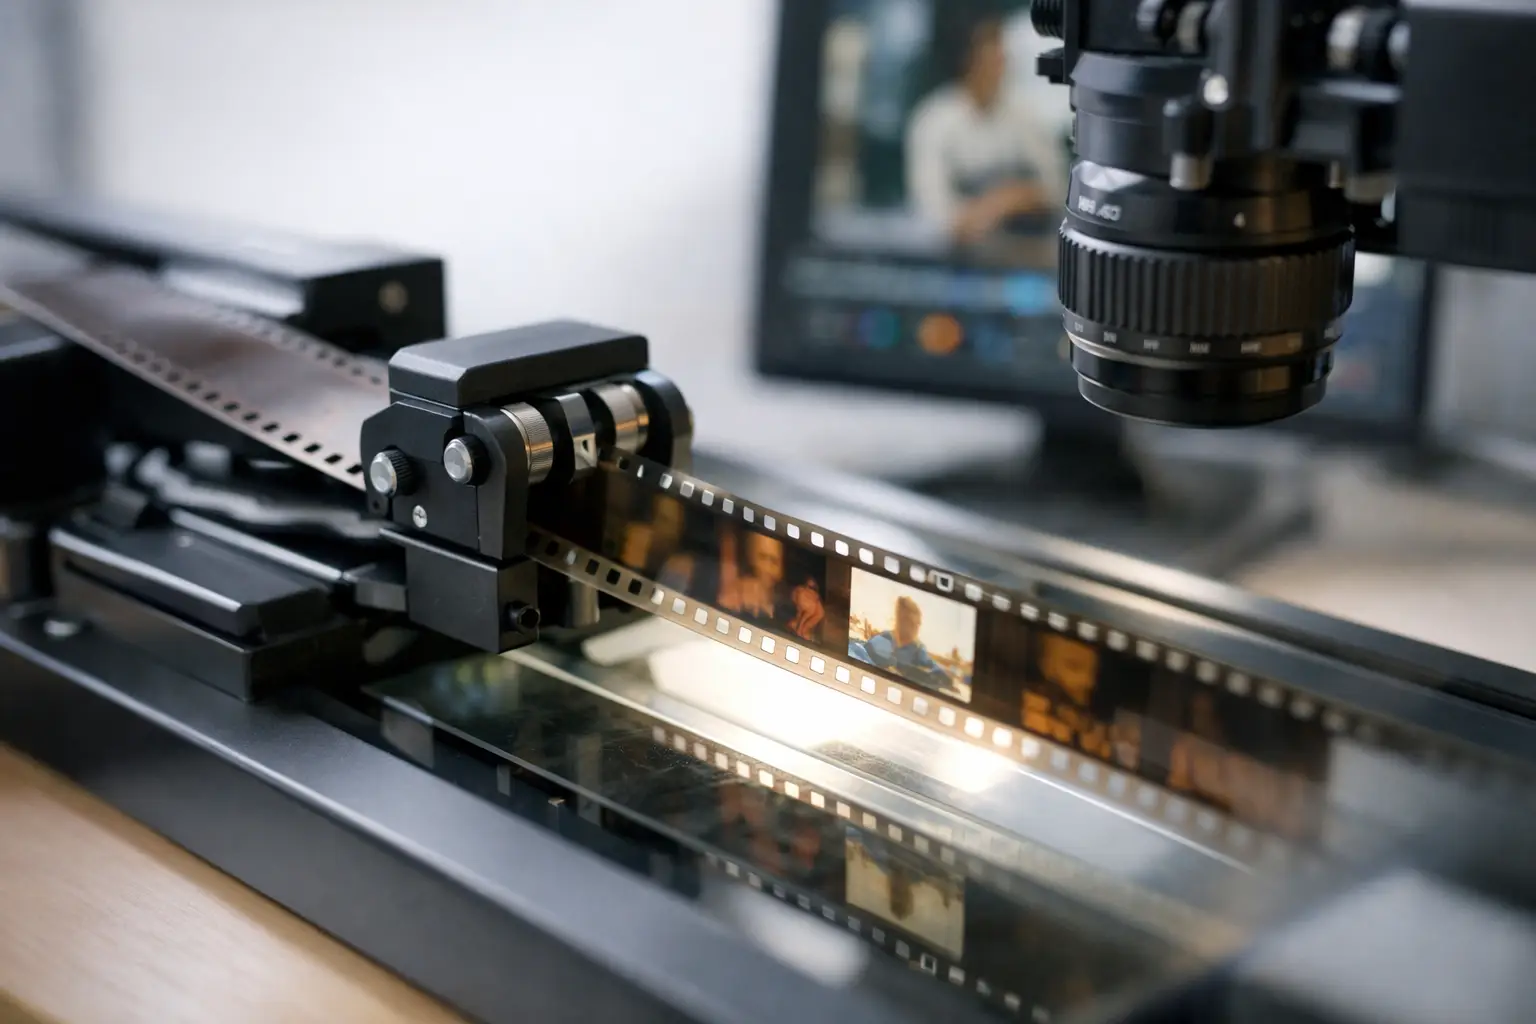
A film scan can be sharp, well exposed, and correctly graded - and still look amateurish if the frame is wandering. That is exactly where perforation stabilization film scan workflows matter. When the image is anchored to the sprocket geometry instead of the unstable gate motion of the scanner or projector path, small-gauge film suddenly looks controlled, readable, and much closer to the original photographic intent.
What perforation stabilization film scan actually means
In practical terms, perforation stabilization uses the film’s perforation as a positional reference. Instead of estimating motion from picture content alone, the software tracks the sprocket hole from frame to frame and repositions the image accordingly. On 8 mm, Super 8, 9.5 mm, and 16 mm sources, this is often the most reliable way to correct weave and jitter caused by shrunken stock, worn pressure plates, scanner transport variation, or imperfect telecine capture.
This distinction matters. Content-based stabilization can work well on many digital shots, but archival film has different failure modes. Grain, flicker, scratches, exposure breathing, and repeated patterns can confuse generic motion tracking. A perforation is mechanical, high contrast, and tied directly to the physical frame. If the scan includes it cleanly, it becomes a much stronger reference than the image area.
Why image stabilization alone is often not enough
Anyone who has restored family reels or archive elements has seen the same problem. A generic stabilizer reduces some motion, then introduces another kind of motion. Faces stop drifting left and right, but the frame starts breathing. The crop changes. Edges pulse. Splices cause abrupt jumps that the tracker interprets as camera movement.
That happens because the tool is trying to infer intent from unstable visual content. Was that vertical displacement caused by scanner weave, handheld shooting, or a fast pan? On film, the answer can be all three in the same shot. A perforation-guided pass separates transport instability from actual photographed motion.
For small-gauge formats, this is especially valuable. Regular 8 and Super 8 often carry significant mechanical instability from the original camera, later projection, and finally the scanning stage. 9.5 mm and 16 mm can be steadier, but archive wear, shrinkage, and damaged perforations change the equation quickly. Perforation locking does not make every shot perfectly still, nor should it. What it does is remove frame placement errors that do not belong to the scene.
Where perforation-based stabilization works best
A perforation stabilization film scan workflow performs best when the scan includes visible perforation information with enough contrast and consistent framing for the tracker to follow. Overscanned material is ideal because the software has full access to the sprocket area without sacrificing image content. If the scan is tightly cropped to the picture only, there is no perforation reference to track.
Condition also matters. Clean, intact perforations are easier to follow than torn, clogged, or severely warped ones. That said, a good restoration workflow can still recover difficult reels if stabilization is combined with splice handling, defect cleanup, and selective parameter control. A reel with occasional bad sections does not always require abandoning perforation tracking for the entire film. Often the right answer is segment-by-segment treatment.
There is also a format-specific dimension. Super 8 perforations are smaller and the frame geometry is tighter than 16 mm, so capture precision becomes more important. With 9.5 mm, the central perforation layout changes how the scan must be interpreted. A specialized film restoration tool understands those geometries. A generic video stabilizer usually does not.
The restoration pipeline matters more than a single filter
Stabilization should not be treated as an isolated fix. In real restoration work, it sits inside a sequence of interdependent operations. If you apply aggressive dust removal or interpolation before establishing stable frame registration, some defects can smear or become harder to distinguish from true motion. If you crop too early, you may remove the very perforation area needed for accurate locking.
A more reliable order is to import the overscanned footage, define the usable frame region, establish perforation tracking, then continue with cleanup and grading. Grain reduction, dust and spot removal, splice repair, and color correction all benefit from having the image stabilized first. Encoding choices come later, once the geometry is no longer shifting frame by frame.
This is one reason specialized restoration applications are more productive than building a workflow from unrelated utilities. In a tool designed around film defects, perforation lock is not a gimmick. It is part of the logic of the pipeline. You can preview the effect in context, judge how much border loss is acceptable, and move directly into the next treatment stage without rewrapping clips or rewriting scripts.
Trade-offs: accuracy, crop, and preservation
No stabilization method is free. Perforation-based correction usually requires some combination of repositioning, border fill, or cropping. The more the frame is allowed to move to compensate for transport errors, the more likely you are to lose edge area unless the scan was generous. That is why overscan is not just convenient. It is preservation-friendly.
There is also a judgment call between mechanical accuracy and viewing comfort. If the original shot contains handheld motion, a fully locked frame can sometimes feel unnaturally constrained if the operator accidentally removes intended movement along with weave. The right approach depends on the material. Home movies often benefit from gentle correction that preserves the character of the camera. Technical documentation, animation elements, and copy material usually benefit from tighter registration.
Damaged perforations introduce another trade-off. If the tracker follows a torn or deformed sprocket too literally, the image can inherit that defect as a positional error. Good software allows tolerance settings, fallback behavior, or selective exclusion of bad sections. Automation is useful, but archive work still rewards operator judgment.
What to look for in a practical tool
If you are evaluating a perforation stabilization film scan solution, the first question is simple: can it work directly with overscanned small-gauge film and expose controls that match film behavior rather than generic video assumptions? You want visible tracking feedback, precise frame geometry tools, and enough responsiveness to test adjustments without long render cycles.
The second question is whether stabilization is integrated with the rest of the restoration chain. On real jobs, you will likely need dust and stain removal, grain management, color correction, splice cleanup, and delivery encoding in FFV1, x264, or x265. Handling those steps in one environment saves time and reduces mistakes. It also makes batch processing realistic when you are dealing with dozens of reels.
A specialized Windows workflow such as AvyScan Lab is built around that reality. The value is not just that it can access advanced processing through AviSynth+. The value is that an operator can use perforation locking, defect removal, preview, and export inside a structured interface instead of stitching together command-line fragments and hoping every clip behaves the same way.
Common failure cases and how to think about them
When stabilization disappoints, the problem is usually not the concept. It is the source, the framing, or the settings. If the perforation is clipped, inconsistent, or heavily occluded, tracking confidence drops. If the scan is low contrast or badly compressed, the reference becomes unstable. If the reel includes many splices, the software may need explicit cleanup or segmentation around those joins.
Another common issue is expecting stabilization to repair all image defects at once. It will not fix blur, torn frames, emulsion scratches, or severe warping by itself. It simply gives the rest of the restoration chain a stable foundation. Once the frame placement is reliable, motion-compensated cleanup with tools in the MVTools2 and RemoveDirtMC family becomes more predictable, and color correction is easier to judge because the viewer is no longer distracted by weave.
Why this matters for archival and commercial work
Perforation stabilization is not only about making footage look nicer. It improves legibility. Text is easier to read. Facial expressions are easier to study. Edge detail stops shimmering. If you are delivering scans to families, broadcasters, museums, or post houses, those gains are not cosmetic. They affect trust in the transfer.
This is even more relevant when the film has sound or will be edited into modern productions. A stable frame sits better against graphics, cuts more cleanly with digital footage, and creates fewer downstream problems during finishing. For preservation masters, it also means your encoded result reflects the photographed content more faithfully, not the random behavior of transport mechanics decades after the film was shot.
The useful mindset is this: treat the perforation as metadata carried by the film itself. When your scan captures that information, stabilization becomes an act of measurement rather than guesswork. That is why overscanning and format-aware restoration tools keep paying for themselves long after the first reel is finished.
If your transfers still look shaky after exposure, color, and cleanup are under control, the missing step is often not another cosmetic filter. It is giving the software a better physical reference and letting the film tell you where the frame actually belongs.