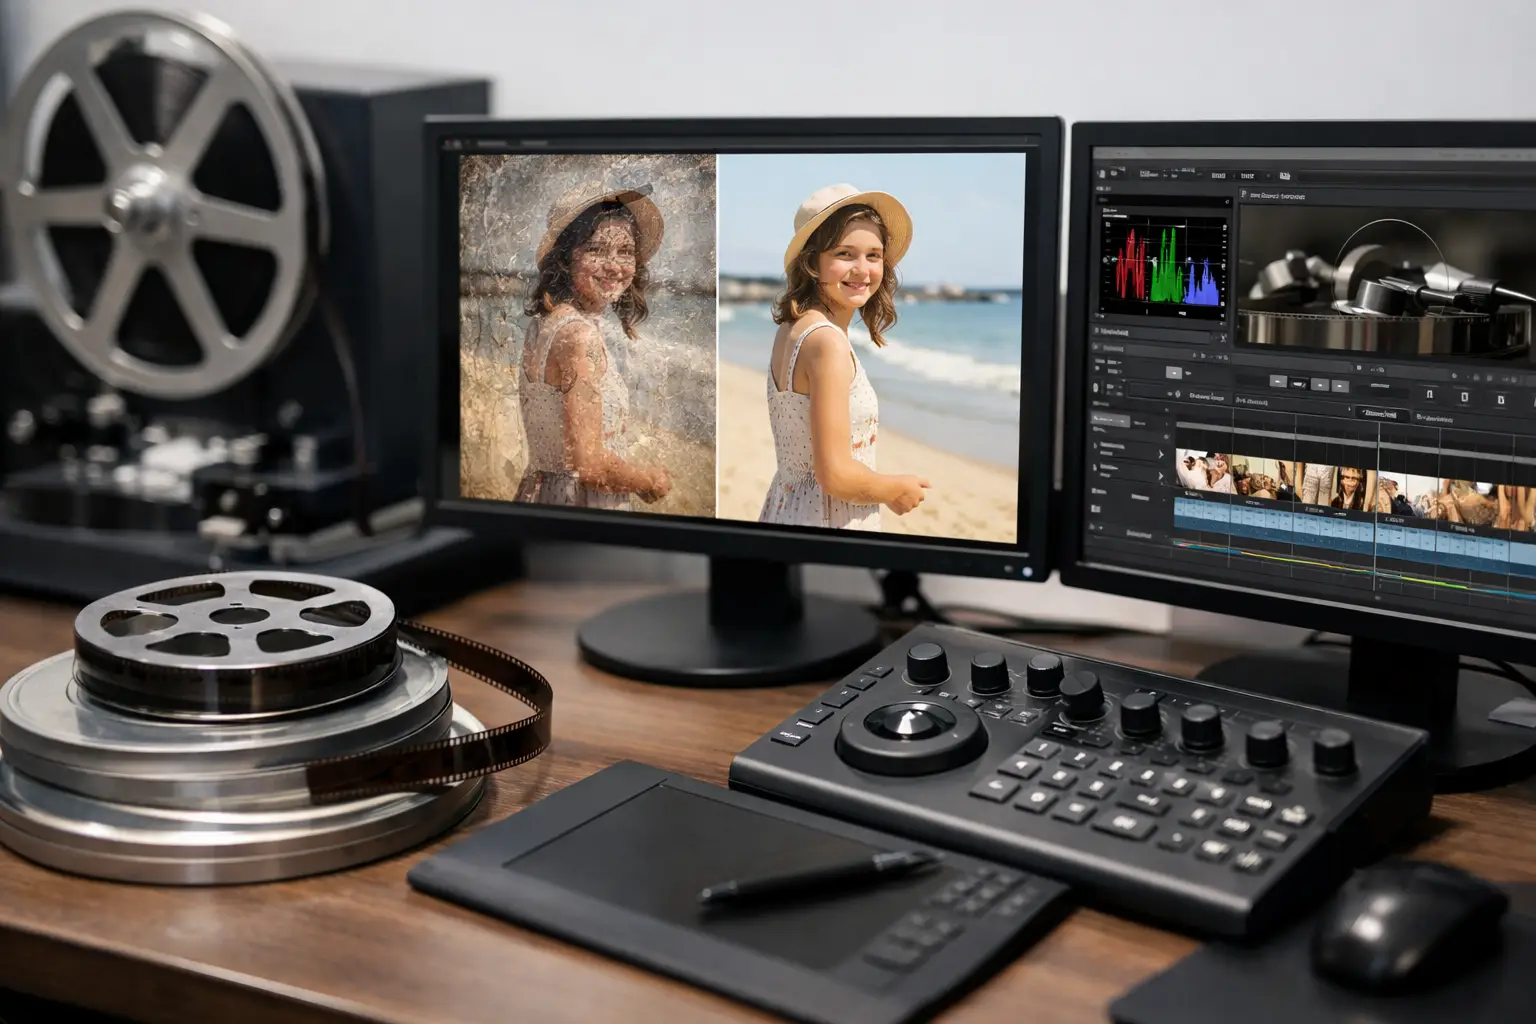
A scanned home movie can look worse than the reel looked on a projector. High-resolution capture reveals gate weave, embedded dust, splice flashes, faded dyes, and every frame-to-frame exposure shift. Film restoration software is the stage that turns that raw scan into a stable, credible viewing and preservation file without erasing the texture that makes film look like film.
For 8mm, Super 8, 9.5mm, and 16mm collections, the right tool is not simply a video editor with a denoise effect. It needs to understand the mechanical and photographic defects carried by scanned film, then let the operator correct them in a controlled order. That order matters. A poor sequence can blur detail, create temporal artifacts, or make a family archive look artificially processed.
What Film Restoration Software Must Solve
A film scan is a record of both the photographed image and the physical state of the reel. Grain belongs to the image. Dirt, scratches, mold marks, damaged splices, and perforation instability do not. Restoration requires separating those categories as accurately as possible.
Grain reduction is a clear example. Aggressive temporal filtering can remove noise, but it can also smear facial detail, soften fabric, and leave motion trails around moving subjects. A useful workflow provides adjustable temporal and spatial processing, with preview controls that let the operator inspect a difficult passage at full resolution. The goal is not a plastic-smooth picture. It is a cleaner image that retains natural detail and motion.
Stability has similar constraints. Generic stabilization tracks features within the photographed scene. That can be effective for handheld video, but a film scan often needs a different reference: the perforation. Perforation-based stabilization can correct the side-to-side and vertical movement caused by transport variation while preserving the intended camera movement inside the frame. This distinction is particularly valuable with shrunken, warped, or inconsistently scanned amateur reels.
Color correction also needs to work at the shot level, not as a one-click promise. A faded reel may have a persistent cast, while another contains exposure changes from one scene to the next. Controls for levels, gamma, saturation, color balance, and selective correction allow an operator to restore believable skin tones and neutral areas without forcing every frame into the same look. Tools such as GamMac are useful when tonal balance needs precise adjustment rather than a broad automatic correction.
Build the Restoration Pipeline in the Right Order
The strongest results come from a repeatable pipeline. Import the highest-quality scan available, preserve its native frame rate, and avoid applying lossy compression before restoration. If the scan is interlaced, determine whether the original transfer actually contains fields before applying deinterlacing. Treating progressive film frames as interlaced footage can discard vertical detail for no benefit.
Stabilize the physical image first
Correcting frame position early gives later filters a more consistent image to analyze. With perforation-aware tools such as Perfo Lock, the software can use the film transport reference rather than guessing from picture content. Check the edges during preview. If the scan includes perforations or an unstable border, cropping and stabilization settings should be evaluated together so that the finished frame does not reveal distracting edge movement.
This is also the point to address damaged joins. A splice can cause a bright flash, a jump, a missing frame, or a momentary shift in alignment. Splice Cleanup should be used conservatively and reviewed frame by frame on severe damage. Automatic repair can save substantial time across long reels, but a physical break that removes image information cannot always be reconstructed perfectly. The correct result is often a clean, brief transition rather than an invented frame.
Remove dirt without flattening the image
After stabilization, dust and spot removal can work more reliably because the frame is no longer moving unpredictably. Temporal filters such as RemoveDirtMC compare neighboring frames to identify transient defects. Their effectiveness depends on motion, scene complexity, and the condition of the source. A white dust particle against a static wall is straightforward. Dirt crossing a face during a fast pan is more difficult because the filter must not confuse genuine motion with damage.
Use a short test section that includes movement, faces, fine detail, and a high-contrast edge. Compare the cleaned output with the original at 100% scale. If skin becomes waxy or moving objects leave faint trails, reduce the strength of the temporal treatment. If persistent debris remains, a second, lighter pass or localized manual repair may be preferable to forcing one heavy filter across the entire reel.
Correct color and contrast after cleanup
Dust, scratches, and severe grain can mislead automatic color analysis. Once the image is cleaner, set black and white levels carefully, then adjust gamma and color balance. Avoid crushing shadow detail merely to achieve deeper blacks. Underexposed family footage often contains useful information in dark clothing, interiors, and backgrounds that can be retained with measured tonal correction.
Shot changes deserve attention. A reel may move from bright daylight to tungsten-lit interiors, or it may contain footage from several cameras and film stocks. Grade by scene when necessary. A single global correction is efficient, but it can make some sections worse. Film restoration software should support settings that are easy to preview, revise, and apply consistently to selected ranges.
Controls That Separate Specialized Tools From Video Editors
A general video editor can trim clips, add transitions, and apply broad color or stabilization effects. It is not always built for the defects introduced by film transport and scanning. Specialized software earns its place when it provides controls that map directly to restoration work: perforation stabilization, splice repair, dirt detection, grain management, frame-accurate preview, and image-to-sound synchronization for sound film.
The processing engine matters as well. AviSynth+ remains valuable because it supports high-quality filter chains and precise frame-based processing. The obstacle for many users has been scripting. A visual application that organizes AviSynth+ processing into understandable stages removes that barrier while retaining access to capable technologies such as MVTools2 for motion analysis and RemoveDirtMC for temporal cleanup.
That combination is central to AvyScan Lab's approach: a Windows workflow that exposes advanced restoration processing through a structured interface rather than requiring command-line work or hand-written scripts. The benefit is not automation for its own sake. It is repeatability. Once a reliable treatment has been established for a scan condition, it can be previewed, adjusted, and reused without rebuilding the pipeline from scratch.
Export a Master Before You Make a Viewing Copy
Restoration is only half the job. A weak export choice can throw away the detail recovered during processing. Create a preservation-oriented master first, then derive smaller delivery files from that master. For many archives, FFV1 is a sensible option for lossless or near-lossless preservation workflows, while ProRes-family formats may fit an editorial environment. The right choice depends on storage capacity, downstream tools, and the organization responsible for the archive.
For viewing copies, H.264 through x264 and H.265 through x265 offer efficient delivery. Do not assume H.265 is always better. It can reduce file size at comparable quality, but encoding is slower and older devices may have weaker playback support. Keep the original frame rate whenever possible. Converting 16 fps, 18 fps, or 24 fps film to a standard video rate can introduce duplicate frames, blended motion, or an unnaturally smooth appearance.
Color sampling should also match the purpose. A high-quality master may justify 4:2:2 or 4:4:4 chroma when the source and workflow benefit from it, while 4:2:0 is commonly sufficient for practical web or television playback. Preserve metadata, label the reel and scan date clearly, and retain the untreated scan. Restoration choices improve over time; the source should remain available for future work.
Use Batch Processing Without Losing Judgment
Batch processing is essential when a collection contains dozens or hundreds of reels. It is most effective when reels are grouped by scan characteristics: same format, scanner, exposure profile, and damage level. Applying identical settings to unrelated material is fast, but it can create inconsistent results.
Build a tested preset, render a representative sample, and inspect it before committing the whole batch. Watch for scenes that break the assumptions of the preset, especially rapid camera movement, titles, fades, dense grain, or heavily deteriorated sections. Batch automation should handle repeatable labor. Human review should protect the image where the footage becomes unusual.
The final standard is simple: the restored reel should feel more stable, clearer, and easier to watch while remaining faithful to its original photographic character. When each correction is visible in preview, adjustable in context, and encoded into an appropriate master, restoration becomes a controlled preservation process rather than a collection of effects.