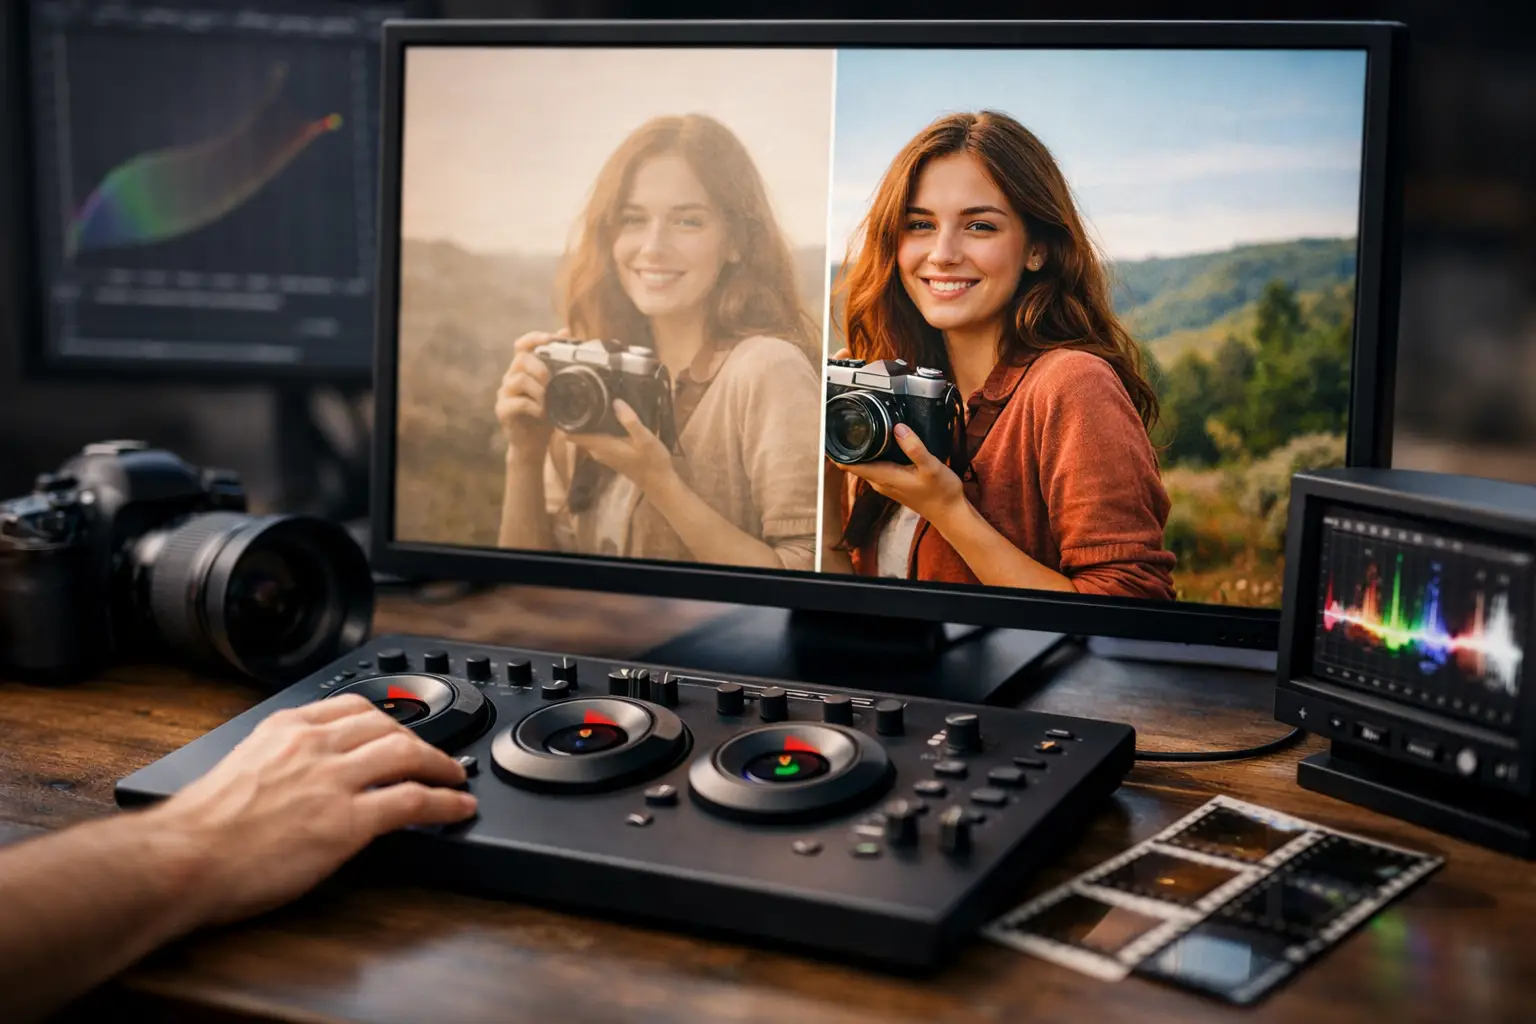
A faded family reel rarely fails in just one way. The blue layer may have disappeared, reds may dominate every face, and the highlights may have turned yellow while shadows close into brown. Effective color correction for faded film is therefore not a matter of adding saturation. It is a controlled restoration decision: recover as much of the original color relationship as the scan still contains, without manufacturing detail or changing the character of the image.
For 8 mm, Super 8, 9.5 mm, and 16 mm collections, the best result usually comes from correcting in the right order. A clean, stable, properly interpreted scan gives color tools something reliable to work with. A noisy, flickering, or mechanically unstable image does not.
Why Film Fades Unevenly
Color film is built from dye layers, and those layers do not age at the same rate. Storage temperature, humidity, exposure to light, processing chemistry, and film stock all influence the result. Many amateur reels develop a red or magenta cast because cyan dye has weakened. Others shift toward yellow, blue, or green. A reel can also vary from shot to shot when it was exposed under different lighting conditions or when sections have aged differently.
This is why a single global correction often looks convincing for one scene and wrong for the next. A daylight picnic, an indoor living room, and a snow scene do not share the same neutral reference. The goal is not to force every frame toward identical RGB values. The goal is to make skin, whites, grays, foliage, skies, and scene contrast behave plausibly while retaining the visual evidence of the original footage.
There is another limit worth stating clearly: correction cannot restore dye information that no longer exists in the scan. If a channel is clipped, nearly empty, or dominated by scanner noise, aggressive adjustment can produce false color, posterization, and crawling chroma. A restrained image with credible tones is more valuable than an oversaturated reconstruction.
Start With a Scan That Preserves Information
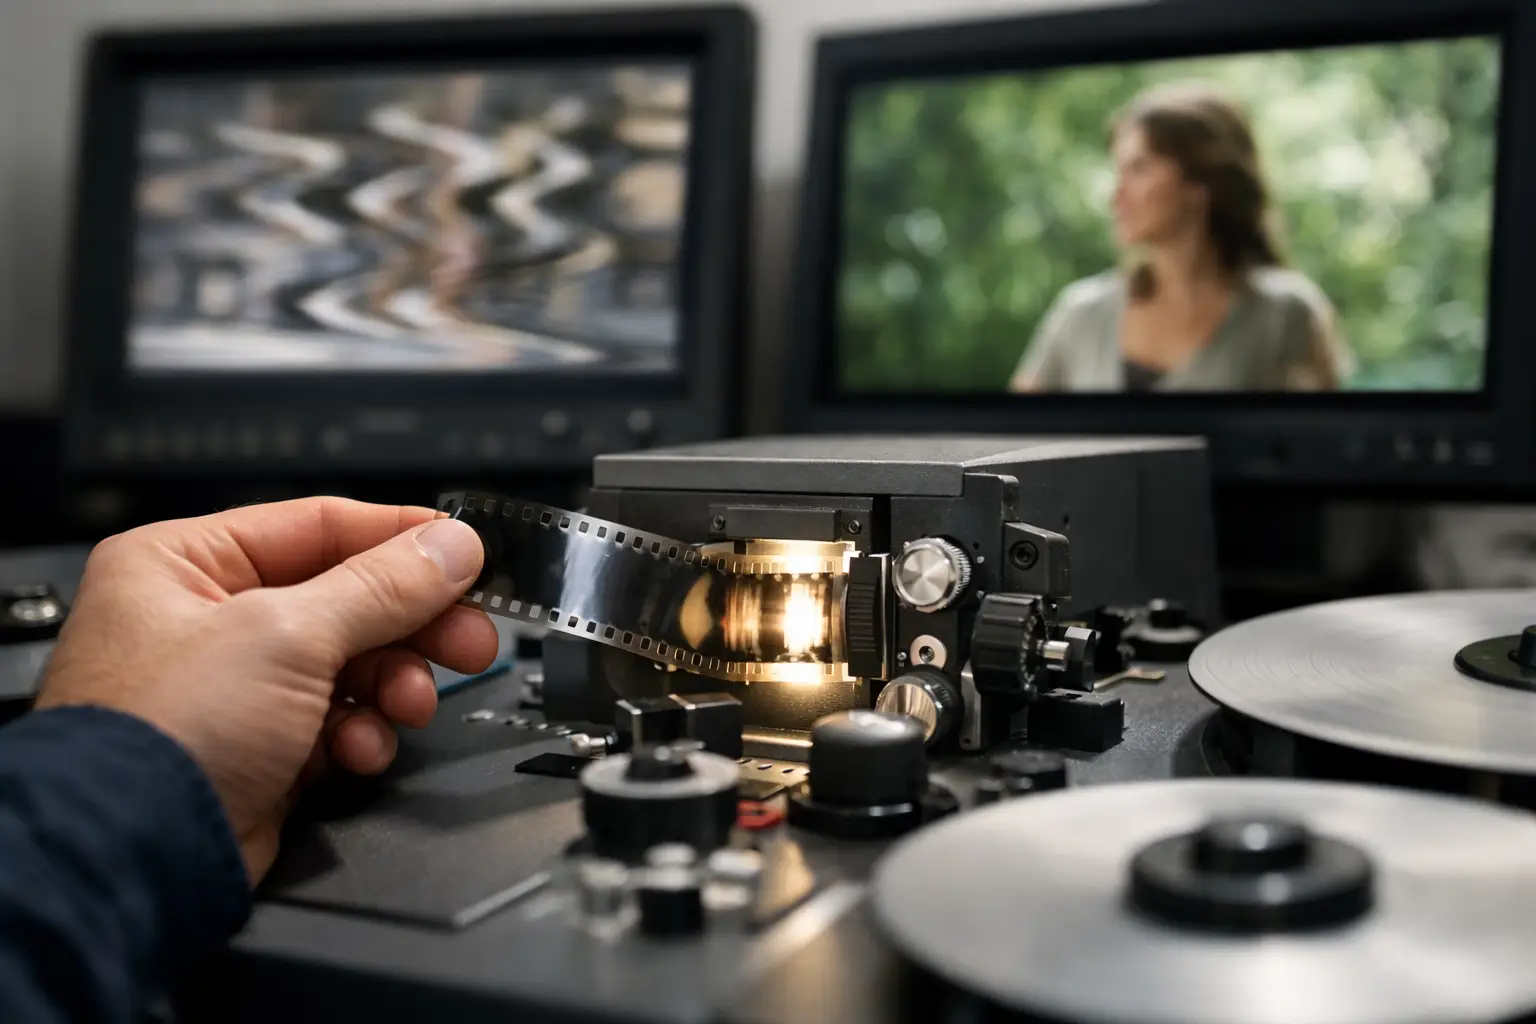
Color recovery begins before the correction stage. Scan at the highest practical bit depth and avoid formats that discard chroma detail early in the workflow. A 4:2:2 or 4:4:4 intermediate, or a lossless archival master such as FFV1 where appropriate, leaves more room for controlled grading than a heavily compressed delivery file.
Do not bake strong automatic color enhancement into the scan unless you have tested it against a neutral capture. Scanner auto-balance can chase scene changes, causing visible shifts between frames or shots. It may also neutralize intentional warm lighting, sunset scenes, or colored interiors. A flatter, consistent capture is generally easier to restore because the correction remains repeatable and reviewable.
Check the scan before judging color. Incorrect black and white levels, a gamma mismatch, or a limited-range versus full-range interpretation error can imitate fading. If the image has crushed blacks or clipped highlights before you begin, no color control will produce a natural result.
Build the Correction in the Right Order
Stabilize and clean before final grading
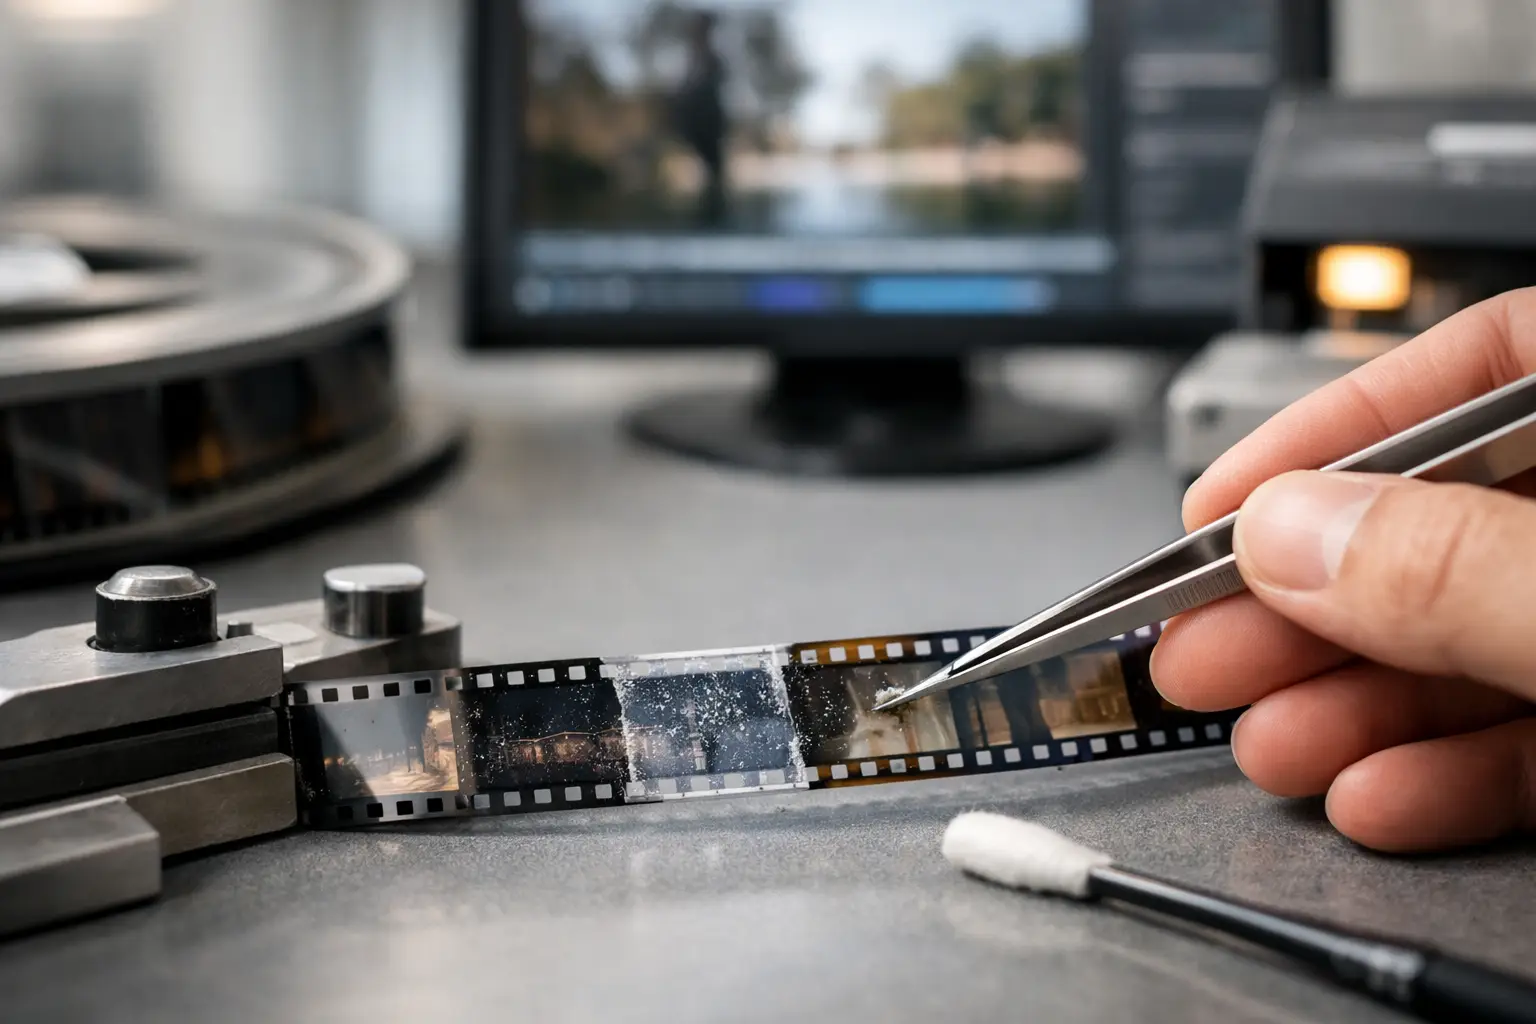
Film dirt, splice flashes, weave, and exposure flicker can confuse both automated analysis and the eye. A bright dust speck may look like a highlight. A frame shift can make a wall or sky appear to change color. A splice can create a sudden density jump that resembles a grading error.
Start with mechanical stabilization and conservative cleanup. Perforation-based stabilization is particularly useful when the frame itself moves relative to the scan. Temporal dust and dirt removal should be tuned carefully, since excessive filtering can erase fine grain, fabric texture, hair, or subtle motion.
Color work can begin before cleanup for diagnosis, but finalize it after the image is stable. Otherwise, you may compensate for defects that later disappear or change.
Set luminance and contrast first
A strong color cast is easier to evaluate once the tonal range is under control. Establish black point, white point, and midtone placement before pushing individual color channels. Use scopes where possible, but do not treat them as a substitute for scene interpretation.
A faded outdoor image may have no true black or white. Forcing its darkest tree shadow to absolute black can destroy detail that belongs in the scene. Likewise, making every pale wall pure white can remove the warm tone of aged paint or late-afternoon sun. Set endpoints from meaningful image areas, then protect highlights and shadow detail with a gentle curve or gamma adjustment.
GamMac-style gamma and level controls are useful here because they let you correct perceived density without immediately overdriving saturation. Often, restoring midtone separation makes the existing color look substantially better before any channel-specific correction is applied.
Neutralize the cast with real references
After luminance is stable, identify objects that should be approximately neutral: white shirts, gray pavement, clouds, chrome, paper, or black-and-white signage. These references are helpful, not absolute. A cream-colored dress is not white, and a blue-gray winter shadow should not be forced to neutral gray.
Adjust channel balance in small increments. When red is excessive, reducing red may be safer than aggressively adding cyan or blue, especially if the missing channel is noisy. Watch flesh tones, because they reveal errors quickly. Skin should retain variation between cheeks, shadows, lips, and highlights rather than collapsing into a uniform orange or pink field.
A useful practical rule is to correct the dominant cast first, then reassess saturation. Raising saturation before balancing channels usually exaggerates the defect. Once the cast is controlled, a modest saturation increase may restore separation between colors. In some severely faded reels, leaving saturation below modern-video expectations produces the more believable result.
Match Shots, Not Just Individual Frames
Film restoration is experienced in motion. A frame can look excellent in isolation and still fail when a sequence flickers between green, magenta, and neutral. Preview several seconds around every adjustment, especially at shot changes, splices, and lighting transitions.
For a reel with broadly consistent fading, one base correction can serve most of the program. Then create restrained shot-level overrides for difficult scenes. This is more efficient and more faithful than building a separate grade for every clip. When the color shift changes continuously within a shot, keyframed correction may be justified, but it should be used sparingly. Frequent correction movement can become more distracting than the original fade.
Batch workflows are valuable when processing many reels from the same stock and storage history. Apply a proven baseline, then inspect representative scenes from each reel before committing to a full export. Similar film stocks can still differ because of exposure, laboratory processing, or storage conditions.
Protect Grain, Chroma, and Historical Character
Color correction amplifies artifacts along with image information. Raising a weak blue channel can reveal blue noise in shadows. Heavy chroma smoothing may hide that noise, but it can also smear colored edges, embroidery, signage, and facial detail. The right balance depends on the intended use.
For an archival master, preserve more grain and chroma texture than you might for a social-media copy. For a client delivery or family viewing file, moderate denoising can be appropriate if it does not create plastic-looking faces or motion trails. Always compare the corrected image against the original at full resolution, not only in a reduced preview window.
Avoid treating film grain as a defect by default. Grain is part of the photographic structure of the image and can help a restored reel retain depth. Tools based on motion compensation, including workflows using MVTools2 and RemoveDirtMC, can reduce transient dirt while respecting temporal detail when configured conservatively. They are not a replacement for careful color decisions.
A Repeatable Workflow for Faded Reels
A practical restoration pipeline is: import and verify levels; stabilize registration; remove dust, splice artifacts, and distracting defects; set tonal range; correct the global color cast; match shots; apply restrained grain or chroma cleanup; then encode an archival master and separate delivery versions.
In a specialized environment such as AvyScan, this sequence can be assembled visually while still using the processing strength of AviSynth+. That matters when you need repeatable settings across a collection, immediate previews, and professional exports without maintaining command-line scripts for every reel.
Keep a reference frame or short approved segment for each project. It gives you a stable target when revisiting settings days later and helps maintain consistency across batch jobs. Save the project configuration with the source and export notes, including scan format, color assumptions, filters used, and codec settings such as x264, x265, or FFV1.
When Not to Fully Correct the Image
Some films should retain a degree of their age. A 1970s indoor reel shot under tungsten lamps may genuinely be warm. A low-budget reversal stock may have a limited palette even when new. A historical archive may require documentation of the scan's uncorrected state alongside the restored version.
The best correction is the one that makes the footage easier to see and trust without making it look newly shot. If viewers notice the grade before they notice the people, place, and moment on film, pull the correction back a step.